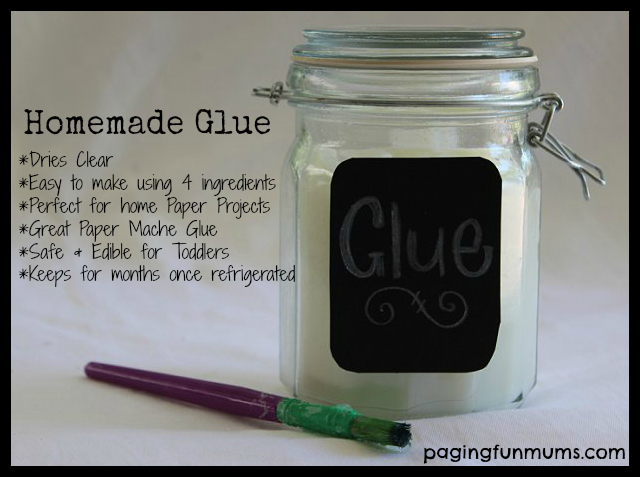
My Mum would make this Homemade Glue for my Brother and I growing up…I’m happy to now share it with all our Fellow Fun Mums too! It will save you money on buying glue and you will know it’s completely safe for your children to use too.
Ingredients-
- 1 cup Cornflour or Cornstarch
- 1 tablespoon of white vinegar
- 2 teaspoons of Salt
- 4 cups of Hot Water
Method –
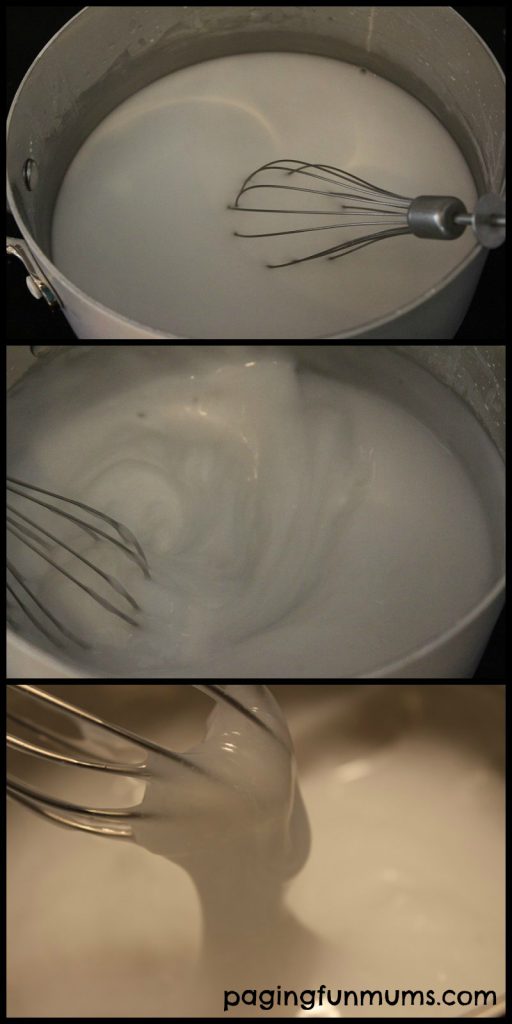
Place all the ingredients in a medium saucepan and mix well with a whisk (there should be no lumps). Turn the stovetop onto a high heat and bring the mixture to the boil. You will notice the mixture will start to thicken and turn translucent within minutes of boiling. Once the mixture is translucent you may take it off the heat to cool.
Once it’s cooled down enough to touch you can use it on your projects. It does make aprox 4 cups of glue which is great if you’re doing a large paper mache project.
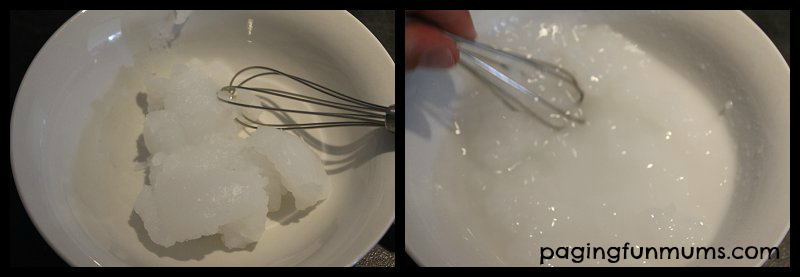
The glue can be stored in an airtight container in the fridge for 3 months. It will turn to a solid Jelly once refrigerated – just remove the amount you need and add some Hot Water from the kettle until it resembles the thickness you need. *as pictured below.
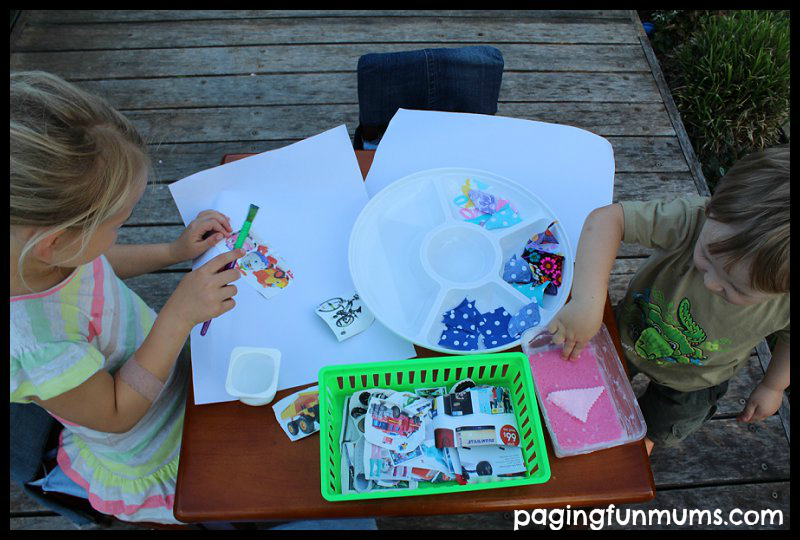
Here are some photos of my kids using the glue to paste some fabric off-cuts and pictures cut from a Toy Brochure. You will notice we had some in a tub with a paintbrush for my 5yo and we used our DIY Sponge Pad for my 19 month old.
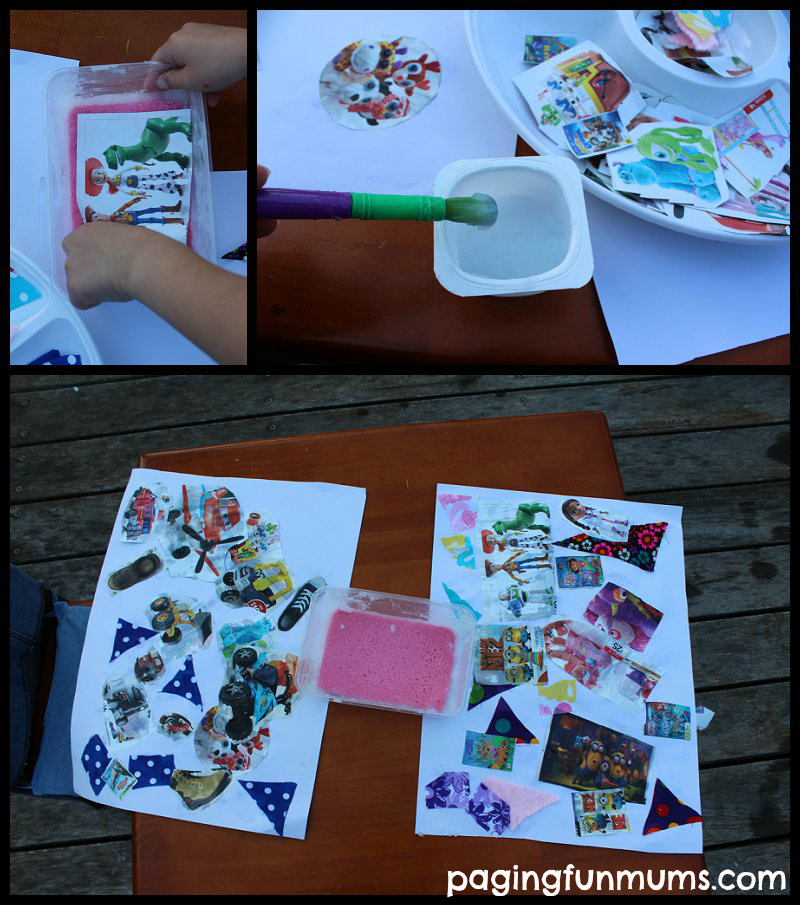
The glue dries clear. It won’t go mouldy either – as long as it’s fully dried.
We hope you enjoy this Homemade Recipe as much as we do. You might also like some of our other popular Homemade DIY recipes – Homemade Modeling Clay, No Cook Playdough, Cloud Dough, DIY Bath Paints, Foam Paints, Chalk Paint or Homemade Finger Paints.

Is it thick enough that you could fill up an old glue stick container and use it that way?
Hi Dana,
I was thinking about that with the last batch we made – I think it would work if we added some gelatin to the mix??? I will try that next time and let you know how it goes.
Louise x
We use an even simpler version of this corn flour paste all the time. It’s great for finger painting with too and I recently made a really thick batch and used it for sensory play which was loads of fun!
We’re about due for some papier mache fun! Will give this recipe a try. I love the idea of putting it into a clag style glue pot…. I’ve also got a stack of magazines here for cutting! Thanks for sharing! 🙂
Very handy to know.
This is great to know. Pinned 🙂
Looks easy & really handy with little ones craft projects seen as its 100% safe.
Im so sick of buying glue so will be trying this soon
thanks
i love this….if you cant use it all , just freeze it. and use as needed. ive had some froze about a year when thawed it works as good as day one
Could get children involved in making the glue too and you have a great science experiment 🙂
Thanks for the recipe! Pinned 😀
Anytime Debs : ) My kids LOVE this…as do hubby & I : ) Jenni x
My grandmother used to make this :). Not sure if she used vinegar though? Never wrote it down… So thank you for sharing. So helpful.
It’s amazing how these recipes last the years doesn’t it Pauline! : ) Jenni x
I’ve been looking for a good glue recipe for ages, this looks pefrect, thanks 🙂
WOW, I never thought to make my own glue before. That’s great so thanks for the recipe. Love it.
Can this glue be used in other recipes on here that require glue? Love this site!!
Hi Shara, you can use this glue for so many crafts! I have tested it to make slime like some of our other recipes but it wasn’t a success.
Louise x
Even more simple glue is made with ordinary starch. dissolve a teaspoon of starch in small amount of cold water and fill the cup with near boiling water while stirring. This glue can be used for few days, but it’s so simple to make, I don’t think the best before date is any problem.
More than once I’ve realized we are out of glue when we are in the midst of something. I’ve tried one recipe before with flour and it was just a clumpy mess. This looks fantastic!!! Glad to have this in my back pocket!!!
Hi Alana,
So happy you found this! My Mum used to make it for my brother and I because we loved to cut and paste :). So happy to share her recipe with our Fun Mums!!
Louise x
Hello!
This is my first time and your website, and wooooow it’s amazing!
Thanks for sharing your recipes, ideas with us!
I’ll try some of you recipes today with my children 😀
Hello Abbey,
Welcome!! We are so happy to see you here. Thank you for taking the time to say hello. We look forward to sharing more new and amazing ideas with you!
Louise x
Could this be used on fabric? I like to mold doilies around bowls.
Hi Mary, I think it would work just fine :). We’ve used it with fabric with great results. Just be sure that it fully dries :). Louise x
We used this recipe for years all the time I was growing up, it was the recipe for wallpaper paste that my Grandmother passed down to my mother from her mother…works great!! :-p
Hi Darlene, My Mum passed it on to me…not sure who passed it on to her but it’s fantastic! So happy we have been able to share it with more Fun Mums :). Louise x
Can you use another starch, like tapioca or arrowroot? We don’t use cornstarch.
I use tapioca flour 🙂
Mix the flour with cold water to get a milky white solution, slowly add boiling water, stirring continuously until you get a translucent glob. Add more boiling water if you want to thin it out.
Hi Betty, this recipe sounds great! Thank you for sharing! Louise x
Perfect! Exactly what I was looking for 🙂
A fantatic alternative for PVA glue.
I needed glue in a pinch. My daughter is in kindergarten and we couldn’t figure out what she had done with the glue when we needed it to do her homework. I found you by google and I made a batch of this quickly and we were able to get her homework done just in time for bedtime. Now I have a stash in the fridge for if I need it again.
Hi Ruth,
Thank you so much for this lovely comment! We are so happy to have been able to help you in your time of need :). Louise xx
We just made this and it was ready to use in about fifteen minutes. My boys helped me stir and then enjoyed watching the mix turn translucent. Much fun pasting was had and no need for me to stress because it’s so much cheaper than glue sticks – let’s face it, with two boys it’s always going to get messy : ) I now have a whole yoghurt container in the fridge. What a fantastic recipe. Thanks for sharing!
Hello Emma, We are so happy that you enjoyed both the making process and also the creative play with your boys!! We use this all the time at home for so many different projects.
Louise xx
Hi Louise,
I just wanted to let you know it’s months later – April 26 2015 – and we just took out the glue from the fridge to use. A minute in the microwave and a bit of lump squashing equals perfect glue for some collage making on a rainy day!! I can’t believe it wasn’t mouldy and that it still worked. Thanks again!
Emma
I would like to make hand print molds with my preschool class, the 2 ingredient receipe i.e., corn starch and glue. Would this glue recipe work for that project? Have found so kany wonderful ideas on your site! Thank you so, so much!
Hi Deb, we haven’t tried it with our homemade glue but I would worry that it might be hard to get the right consistency… So glad you are enjoying our site! Louise x
I cant wait to show my son. This is going to make art projects so much easier. Seems as if this is going to make glitter a whole lot easier too. I also admire you as it seems you have replied to every one of your followers who comment, well done.
So thrilled to have this. I work with children at church. This is fantastic. Thrilled to find this site
Thanks for sharing . great idea!
Can this glue be used for decoupage projects?
It sure can Char 🙂 Jen x
I wanted to make some glue for my 20 month old daughter and I found your post. You gave me a great idea!! Thanks!
you just pure some glue over the sponge or you soak it in it and squizze out the excess?
Antonia
Hi Antonia, No need to squeeze off the excess – it will just help as they ‘stick’ their cuttings in before pasting :). Enjoy! Louise x
What is the necessity of refrigeration? Can this be used and stored at room temperature? I don’t want to utilize my space in the frig for glue and have someone not pay attention to the label of glue and eat it. What are some other options for storage at room temperature. Thanks, I really like your advice.
Irene
Hi Irene, because it has no added preservatives it will grow mould if left at room temp. I would recommend storing it in a child-proof jar. However it should do no harm if ingested (without the mould). Louise x
this glue is amazing!!!! thank you for recipe I read at the comments can be used for decoupage!!! you save my money from expensive decoupage glue!!! I am a mum but my children grown up (about 30 y old now!!!) but very usefull for me!!!! thank you so much is very helpful your site for all not only for kids but also for us the grown up older kids hohoho!!!!
Hi Zoe! So happy to read this :). Glad you enjoyed the recipe as much as we do! Louise x
wow i go thur so much makeing cards to mail i going try this for sure ty, i love saving money so i can buy others thing i cant made to craft with, ty ty so much,
This is waht we used to use for wallpaper in the “olden days”. does anyone else remember that far back?
say what now
cool bro
I love this glue recipe and will use it with my grandson when we do our projects!
Hi Cathy, that’s great news :). Louise x
Hi there,
Do you think that this could be used to glue layers of cardboard? I want to DIY a layers cardboard ball, cardboard scratch tower, and possibly a cardboard cube (inside cut out) lounger for my cats? The ones that you can purchase in store say “non-toxic starch adhesive.”
Hi there, I don’t think this glue would be strong enough to support the weight. Louise
Can use another vinegar or must use white vinegar?
You could use another – it might effect the colour but will protect against mould. Louise
Has anyone attempted to put it into glue sticks yet? Any results to share?
Thank you so much for sharing this. We just made it this afternoon and used it for cardmaking and paper mache repairs and really like the result. No wobbely paper and no sign of glue anywhere and it sticks like it should, no pealing off after it dries. And we love that it is edible so could even be used for food creations 😀
For those wanting to use grams instead of cups, 1 cup of cornstarch is 125 grams.
We made a quarter of the recipy to start with.
So pleased that you found our recipe so useful and thank you for sharing the gram measurements too!
Lou xx
Could I use Argo starch instead of the cornstarch?
Yes, Argo cornstarch can be used. My mother was one of those women who used the recipe minus the vinegar and salt. She used it as wallpaper paste, starch for clothes ( not as thick, experience teaches one as to how thick etc. ).
My parents had a grocery store when I was growing up. As a teenager working in the store, a woman who inquired about cornstarch for clothes, I suggested what my Mom used. I recall her saying, “Are you sure?”
She didn’t put much truth in what I said and bought the laundry starch made for laundry.
After marrying my husband in 1950, we lived in a second story cold water flat. One had to pass through the kitchen of our landlord to reach the laundry. My landlord noticed my box of Argo sitting on my laundry and she inquired if I knew I did not have the correct starch. I told he it was what Mom used. After I had ironed the starch items, she was surprised that it worked.
Can you use this glue to make slime?
Thanks for the info! Will this glue peel off the palm of my hand? Been wanting to try something fun for my kids. Trying not to use animal products. Thanks in advance.
Can i use this glue for tissue decoupage
Could this glue be used for felt (glued to more felt)? Thanks!!
Sure can!
Thank you so much for passing on this great recipe.
Isn’t it wonderful that women have kept such useful knowledge, which can be incredibly creative as well.
I used it yesterday to make sculptural faux paper – papier maché – for an art project.
Below is my process, for anyone curious to experiment and learn more of what this glue can do.
To remove excess fluid from the hand made waste paper pulp and to make a flat rectangular shape, I used Chux wipe towels, old towels (old wool blanket pieces are good to use for those who have them) and a discarded narrow fly screen with aluminium frame. I used hands and an old rolling pin to flatten it out more.
My artist mentor uses large square marine boards top and bottom and jumps on them to do the compressing — in gumboots outside of course.
This took me a long time and many changes of Chux & towels, and many rollings – & much cleaning up after 🙂
Peeling ‘paper’ off the Chux is a delicate process.
I placed the very damp moulded paper extremely carefully onto baking paper and placed in the oven on the lowest possible setting. It’s winter here, wet and cold. The ‘paper’ wasn’t going to dry without help. Oven drying meant that I had to check regularly, for safety reasons; and also that I had no control of warping, but that’s okay for my project. It adds interest.
I included dry petals, images and text for colour and interest after most of the rolling out was done. My artist mentor adds them before compression but her process is more controlled and less likely to cause damage.
This glue dries clear! It’s fantastic.
There were areas, where the paper pulp didn’t cover spots, which are now delightfully interesting places for light to shine through.
The glues is quite tough even though, overall, it’s thin. The ‘paper’ is thick for paper – heavy gauge. There were mixed results with the petals, probably because of the slow low baking. Air drying may have been better for retaining subtle colours, but then again salt and vinegar may alter them too.
I am finishing the piece off by SEWING on some wool thread with a long thick needle. The threads are about 1″/2.5cm apart and I took the thread over the wool then back through the hole from which the needle came up. This distance apart didn’t threaten the integrity of the ‘paper’.
Sewing can be tough going where the paper pulp pieces are thicker. I am amazed that the clear glue spots were strong enough to support some sewing, although I am being very cautious, doing very little.
This was definitely an adult project… or it could be for an older, and very patient, child or teen.
The shape of the pieces made could be varied and food colours would make for interesting options. Another idea for experimenting: use inks or food colour over the clear dried glue for a stained glass look.
Happy experimenting and creating (in the space where art and science and your inner self meet)
🙂
Thank you again for this recipe. It was just the thing.
Is this glue similar to YES glue? Will this glue be considered a stick flat type glue?