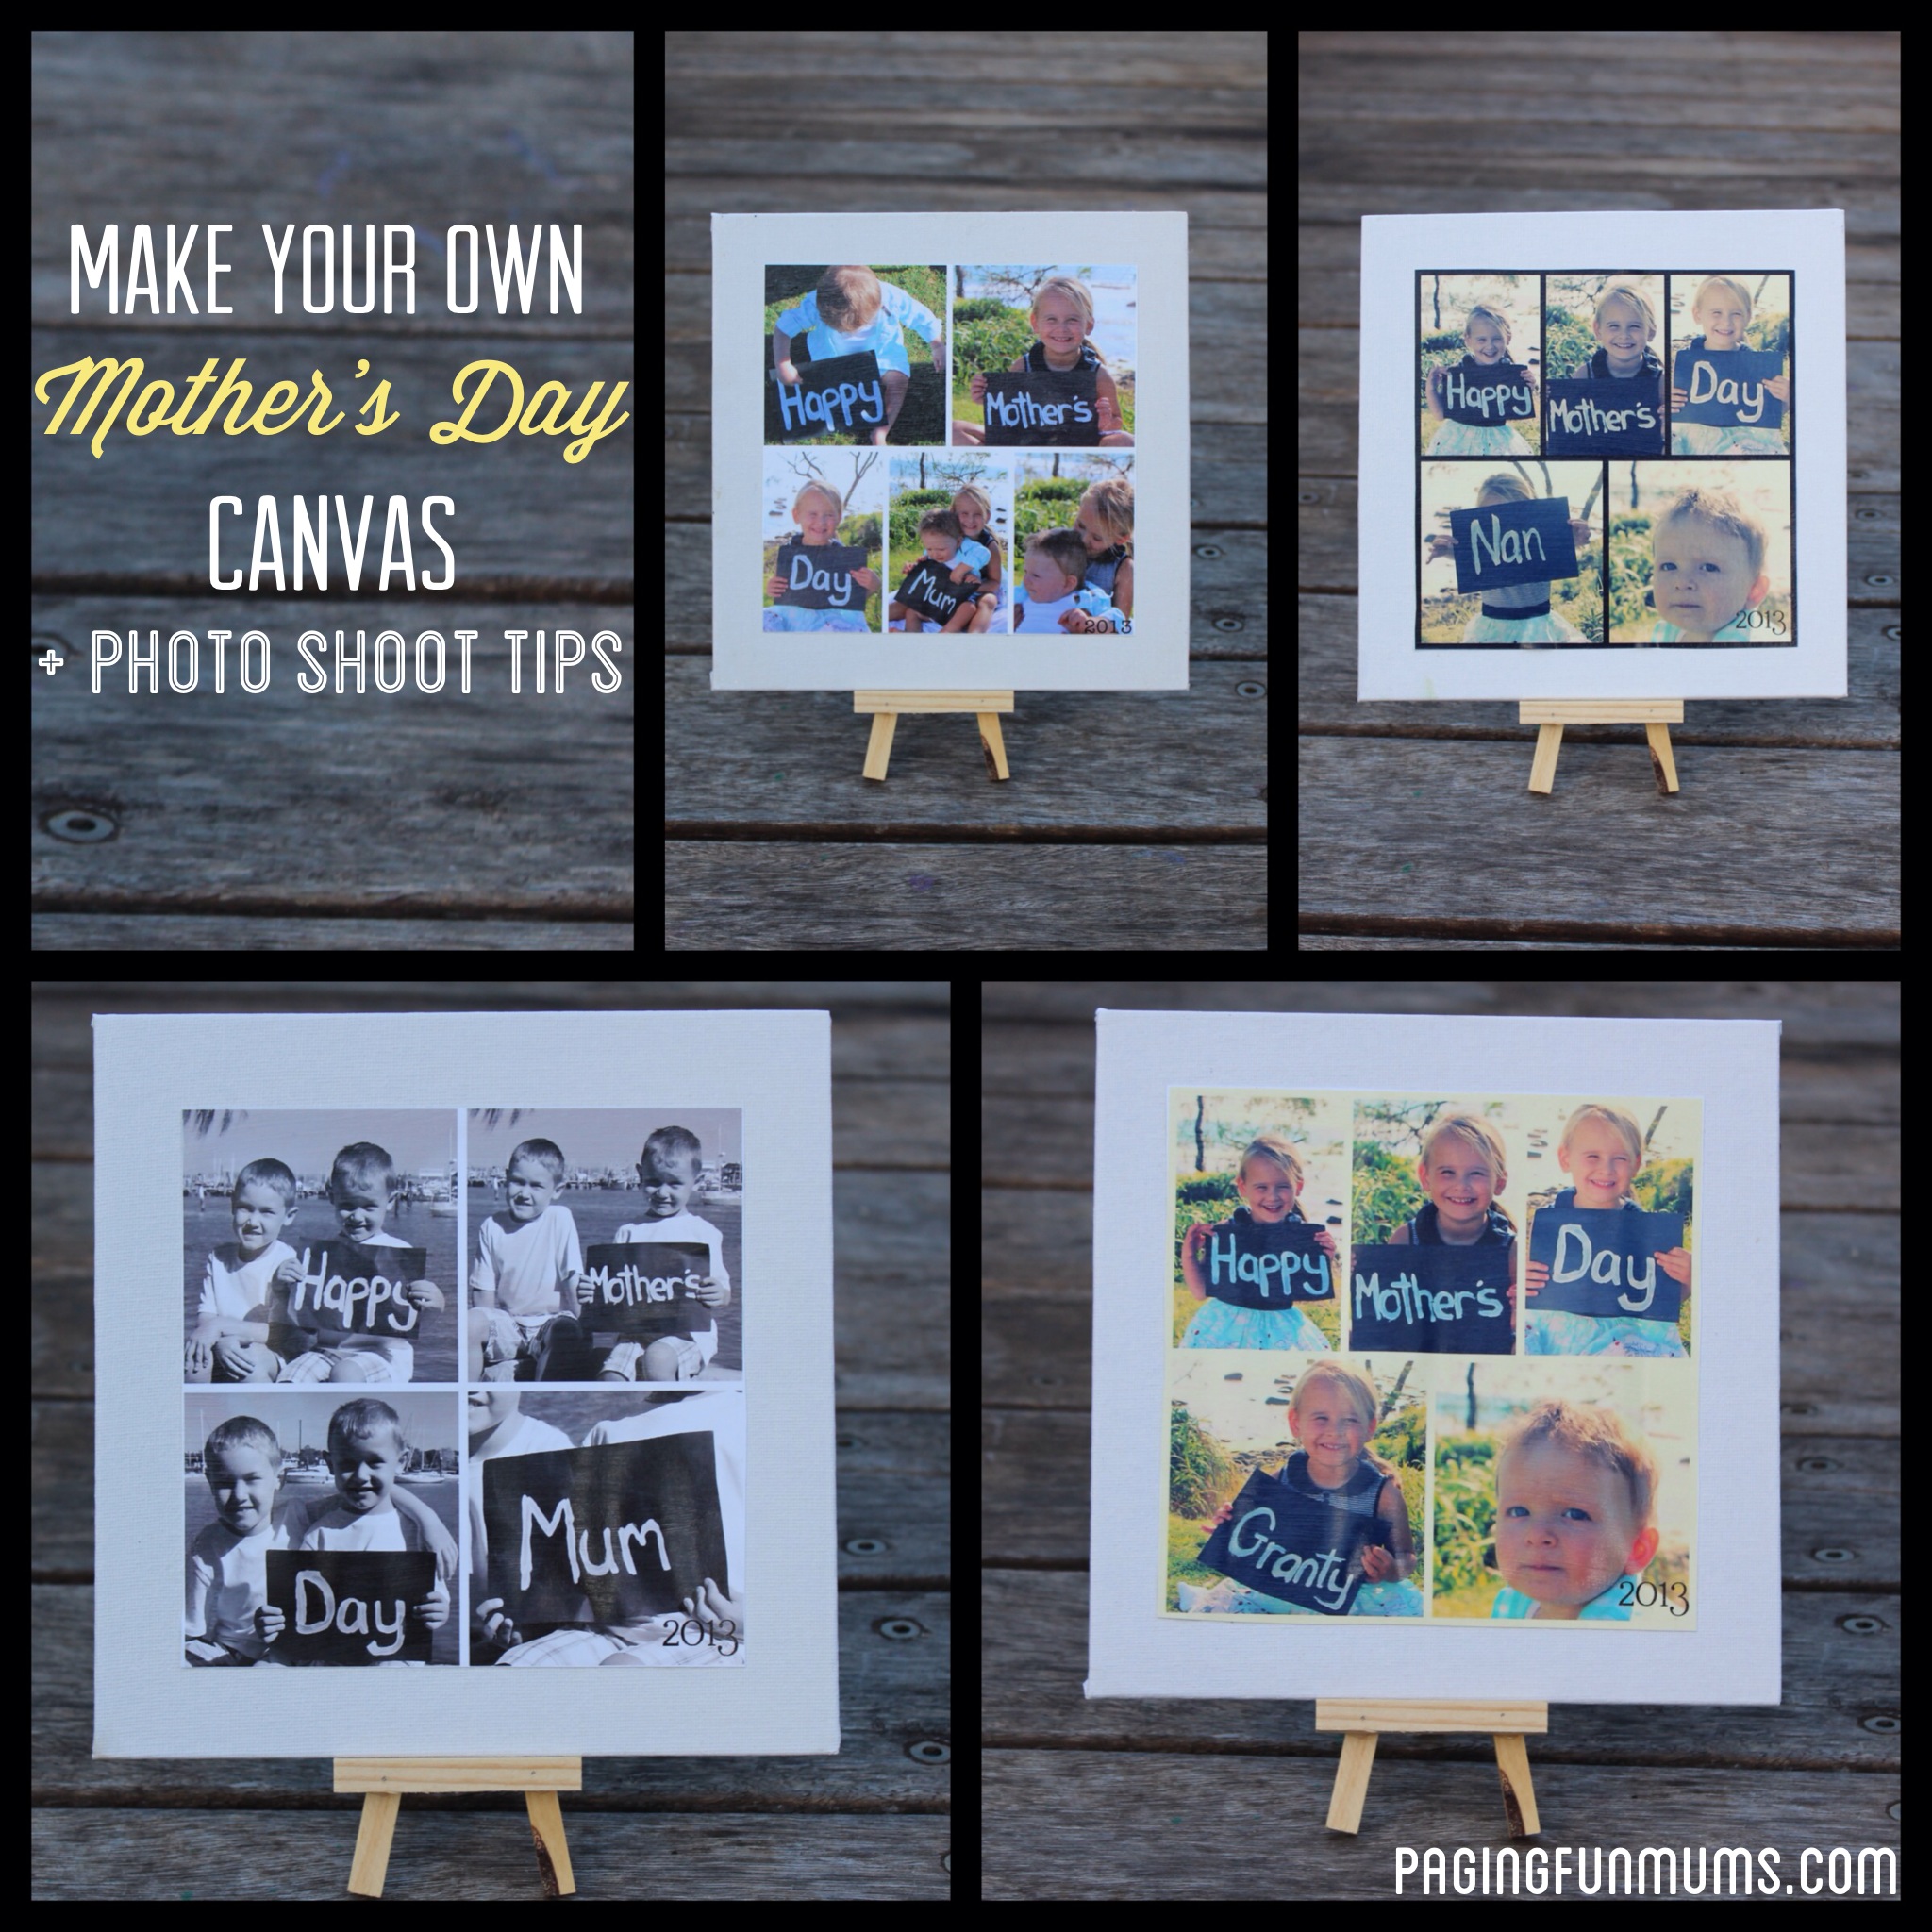
How to make your own Mother’s Day themed Canvas
Jenni and I both love taking pictures of our kids – we are certified ‘Mamarazzi’ lol.
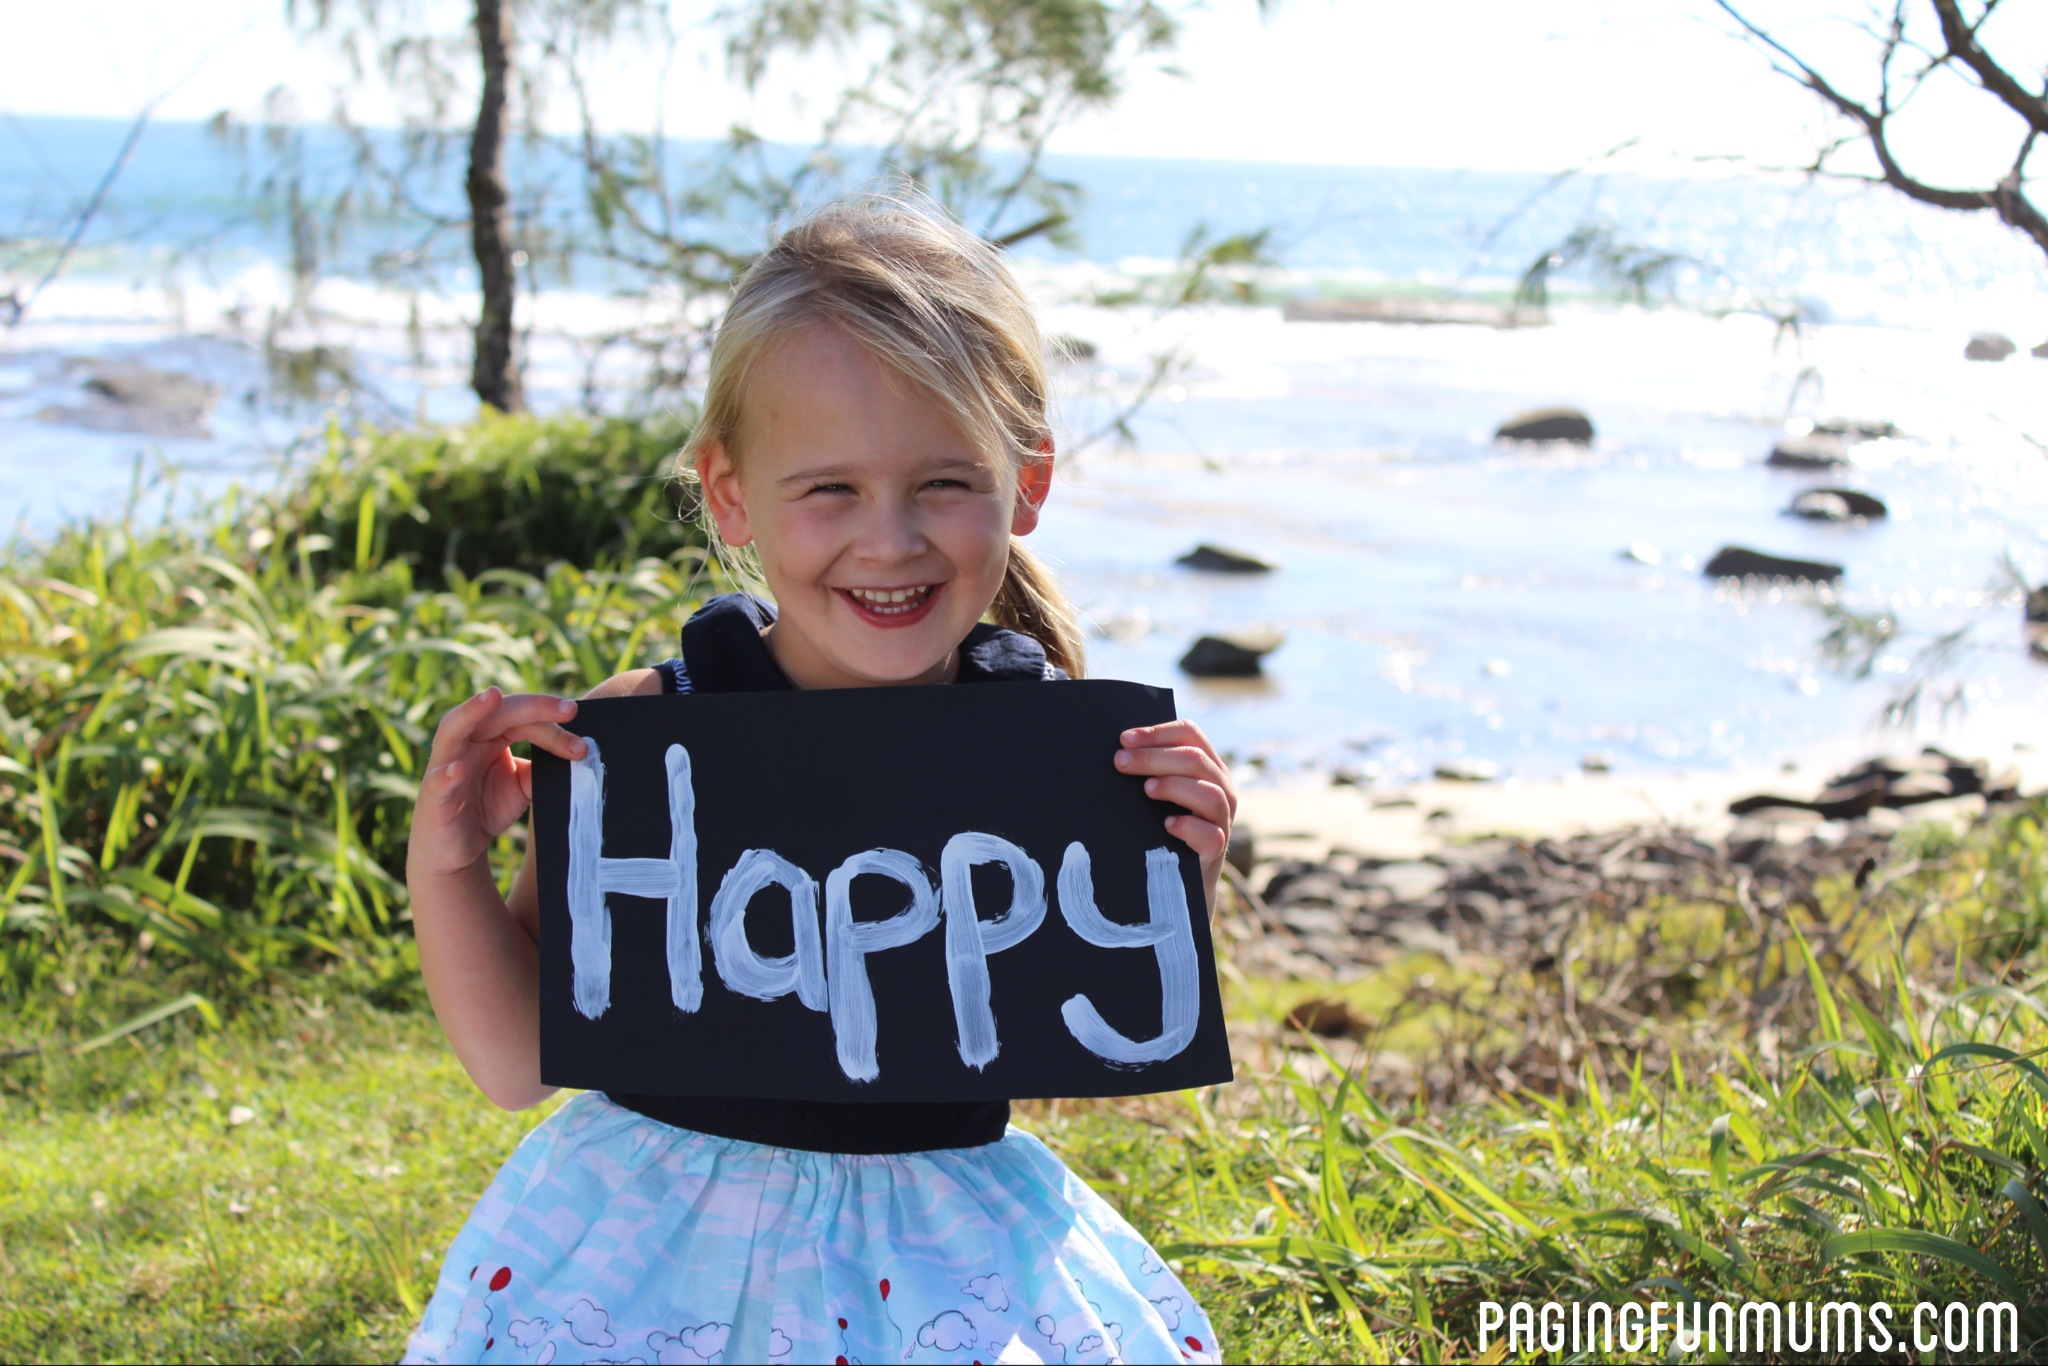
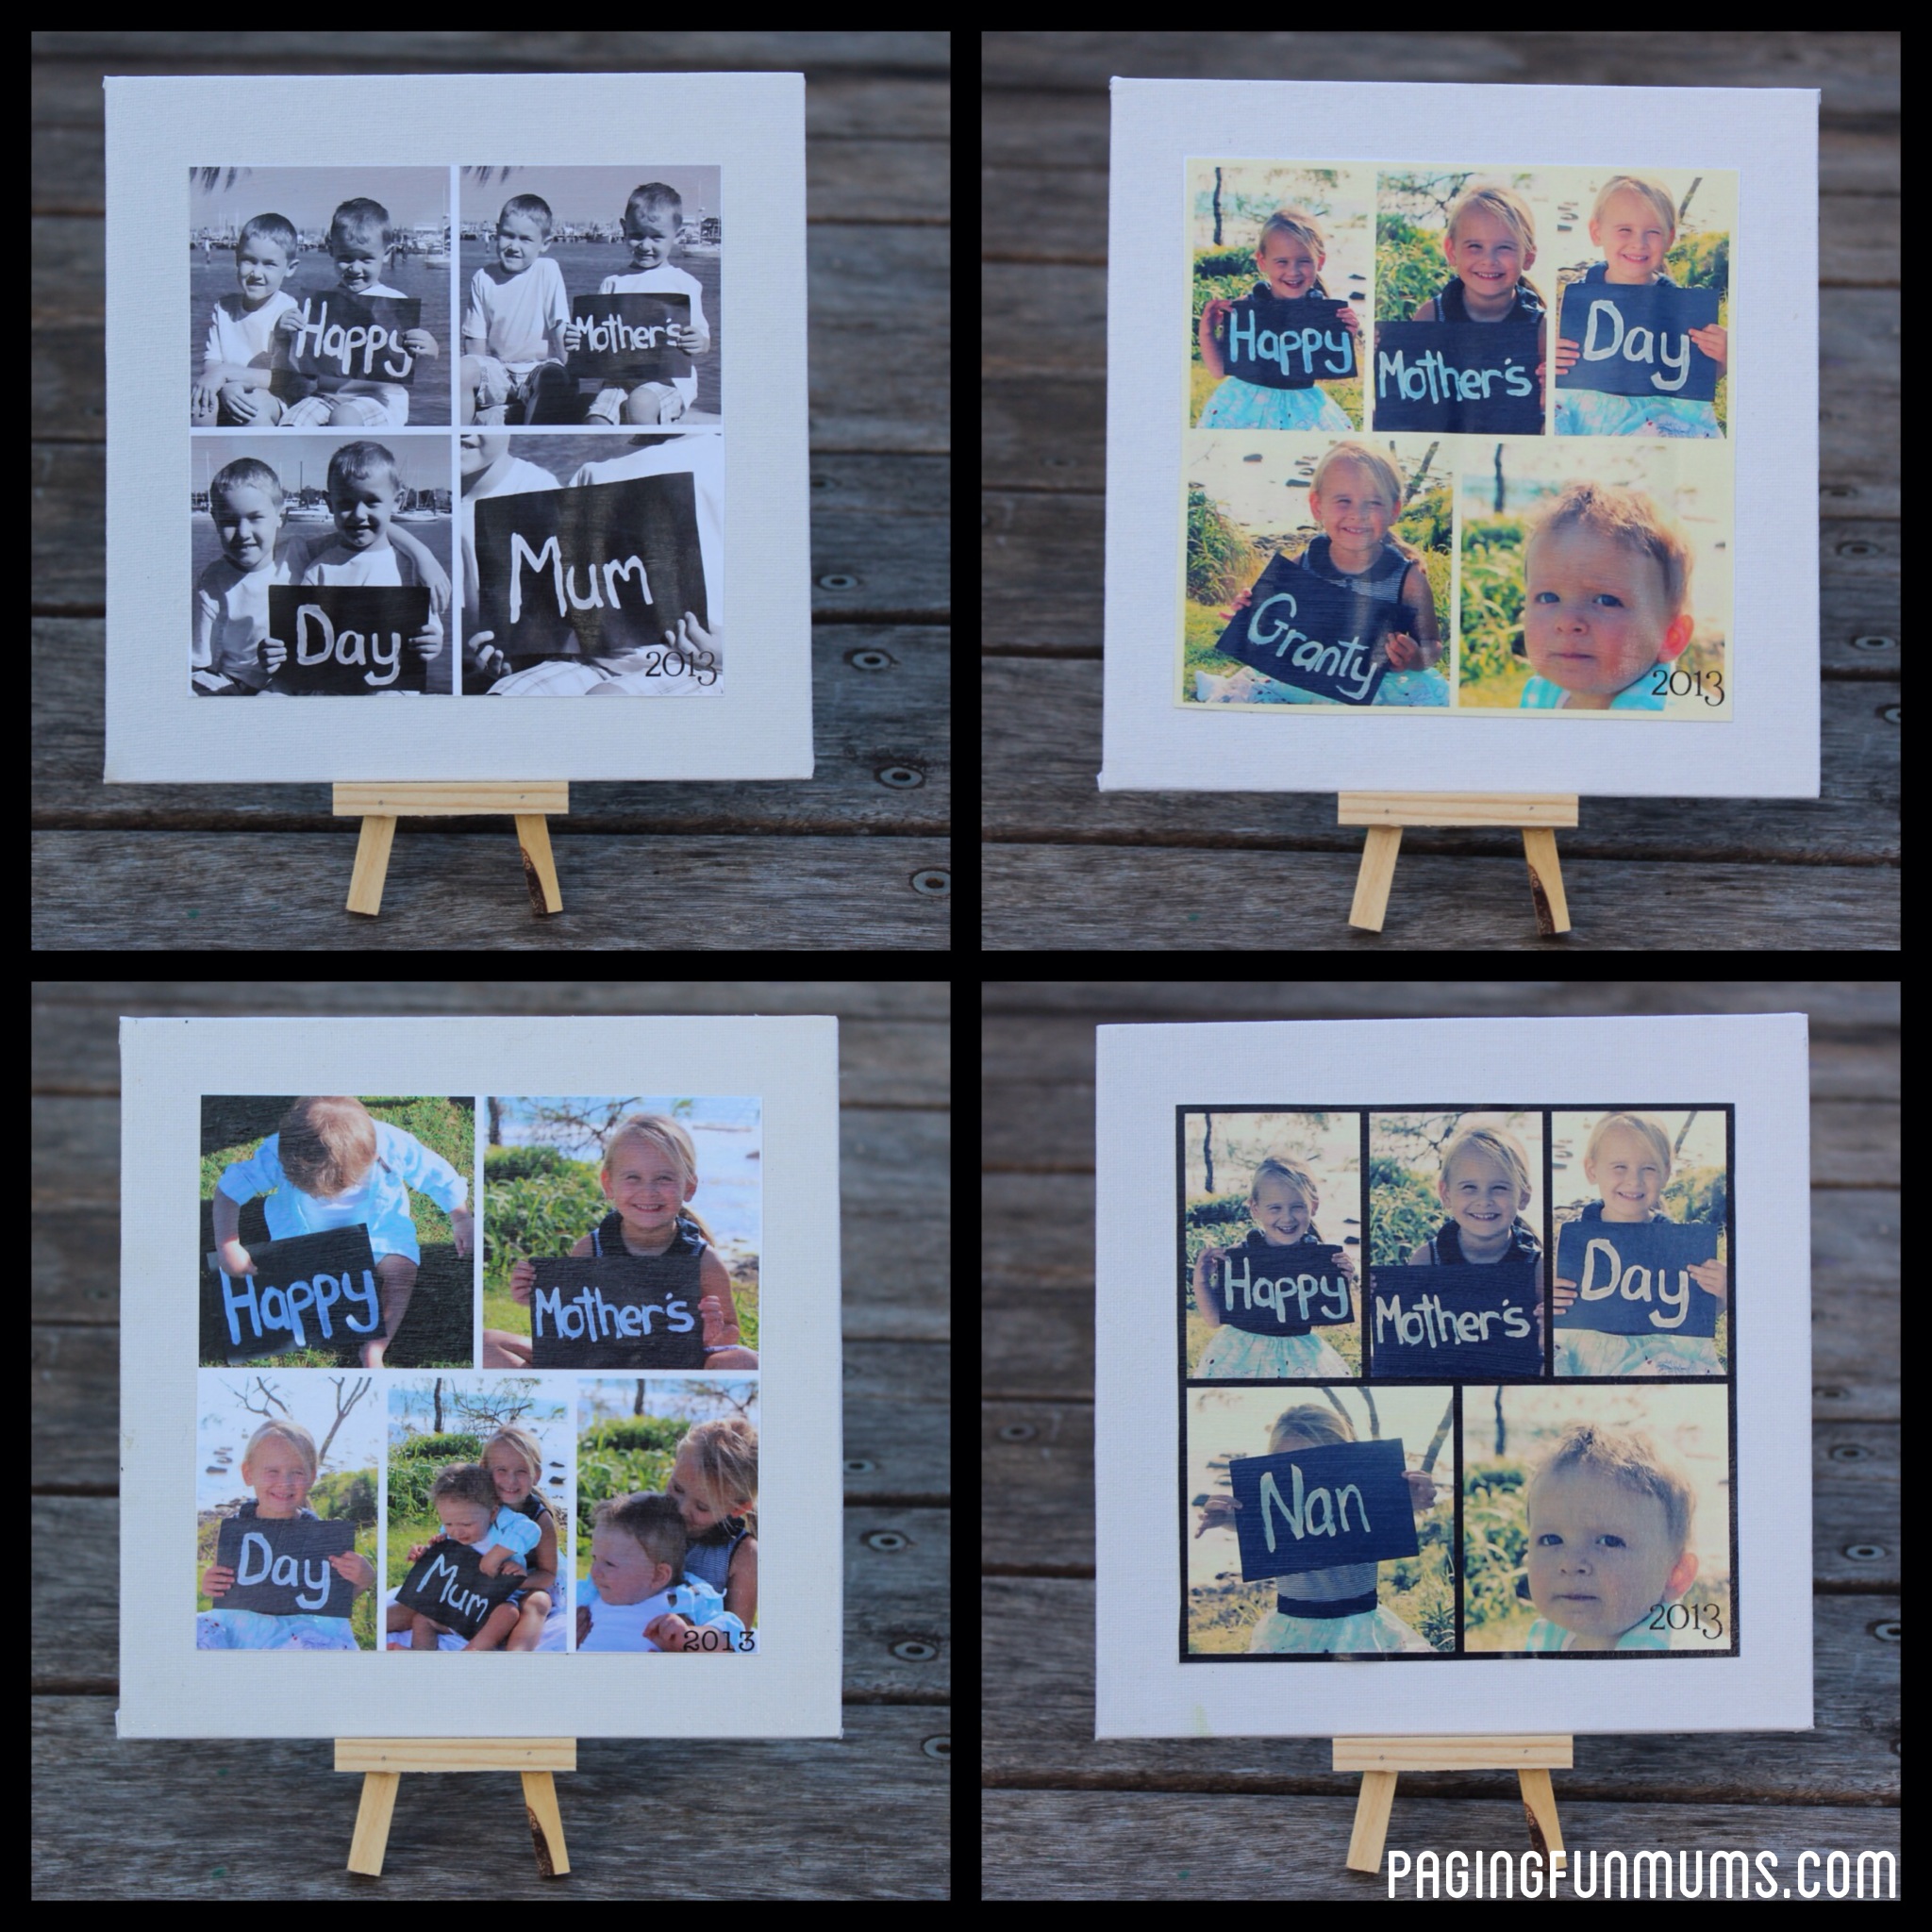
We started doing this a few years ago with the kids – making signs and getting the kids to pose to make Mother’s and Father’s day gifts. It’s now evolved to include making them into an awesome Canvas.
The Photo Shoot –
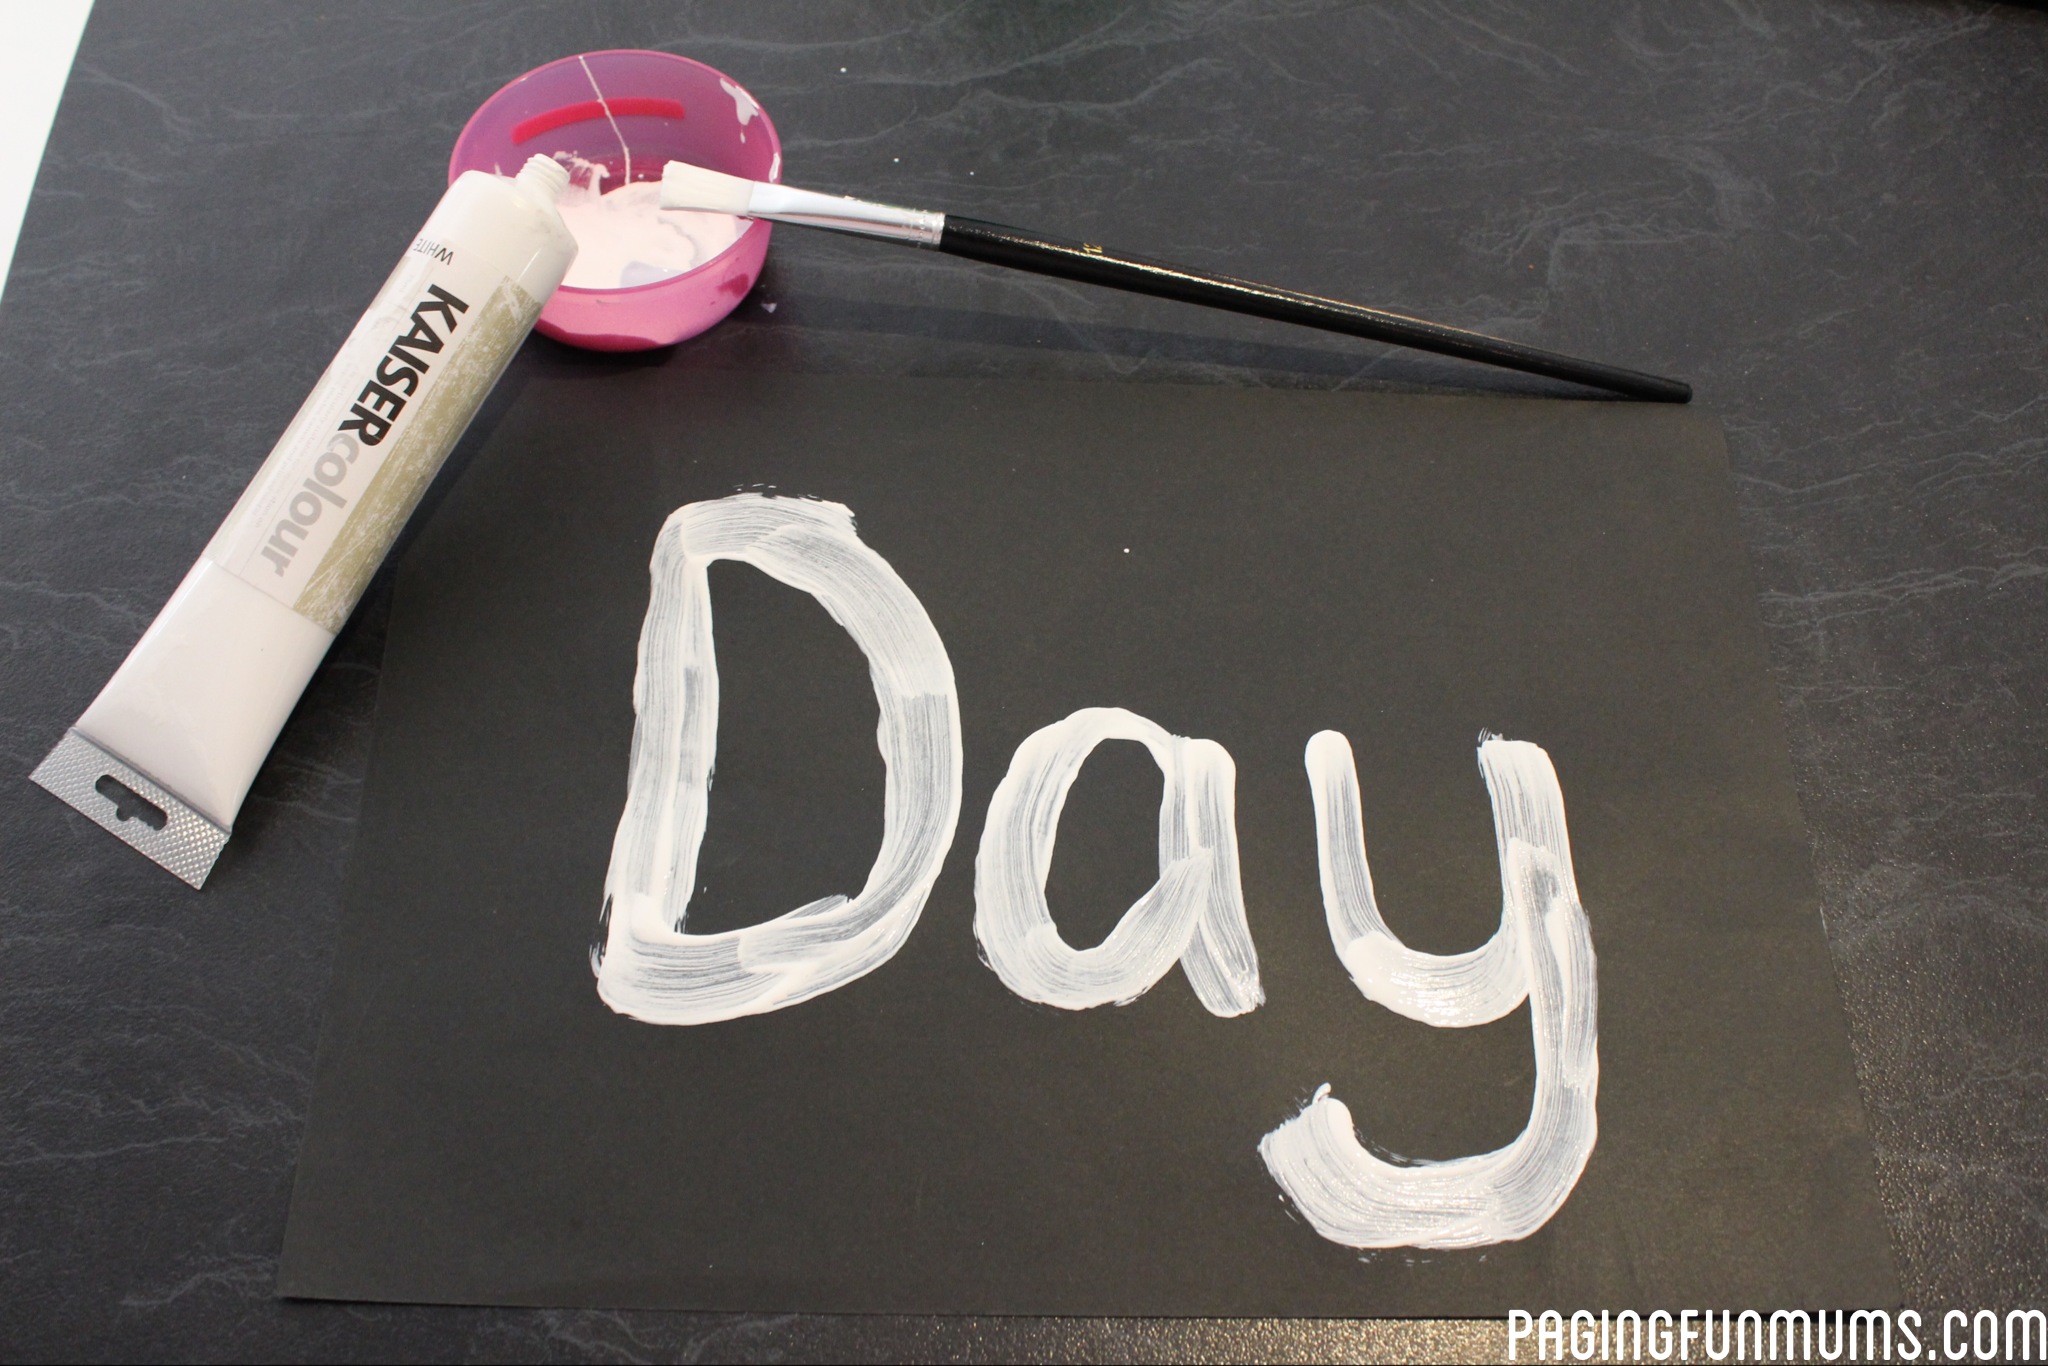
What you’ll need is some regular black cardstock and some white paint (unless you are lucky enough to have a chalkboard at your disposal). We painted each word onto the cardstock, you can reverse them and fit two words on one piece. I also made a sign for their Grandmother’s – (Granty & Nan).
Then we headed to our favourite picnic spot to have the ‘photo shoot’. I have to admit it was not easy to get my 1 year old son to sit still long enough to get a good shot. That’s the beauty of using a multi frame app as you can arrange the pics to include ‘hopefully’ one good shot of each child ;).
Hints and tips for getting good shots-
Technically – try to find a nice well lit spot where there isn’t too much shadow or full sunlight on your ‘subject’…the best time is a few hours after sunrise or a few hours before sunset. I was unable to take these at that time so I found a nice shaded area that still had some nice lighting.
You can always use a reflective car visor to reflect some extra light onto your ‘subject’.
Use photography aids –
Use one of these Camera Buddies – especially if you have younger aged children. My son gets mesmerised by their googley eyes and therefore I can usually sneak a couple of good pics with him looking at the camera.
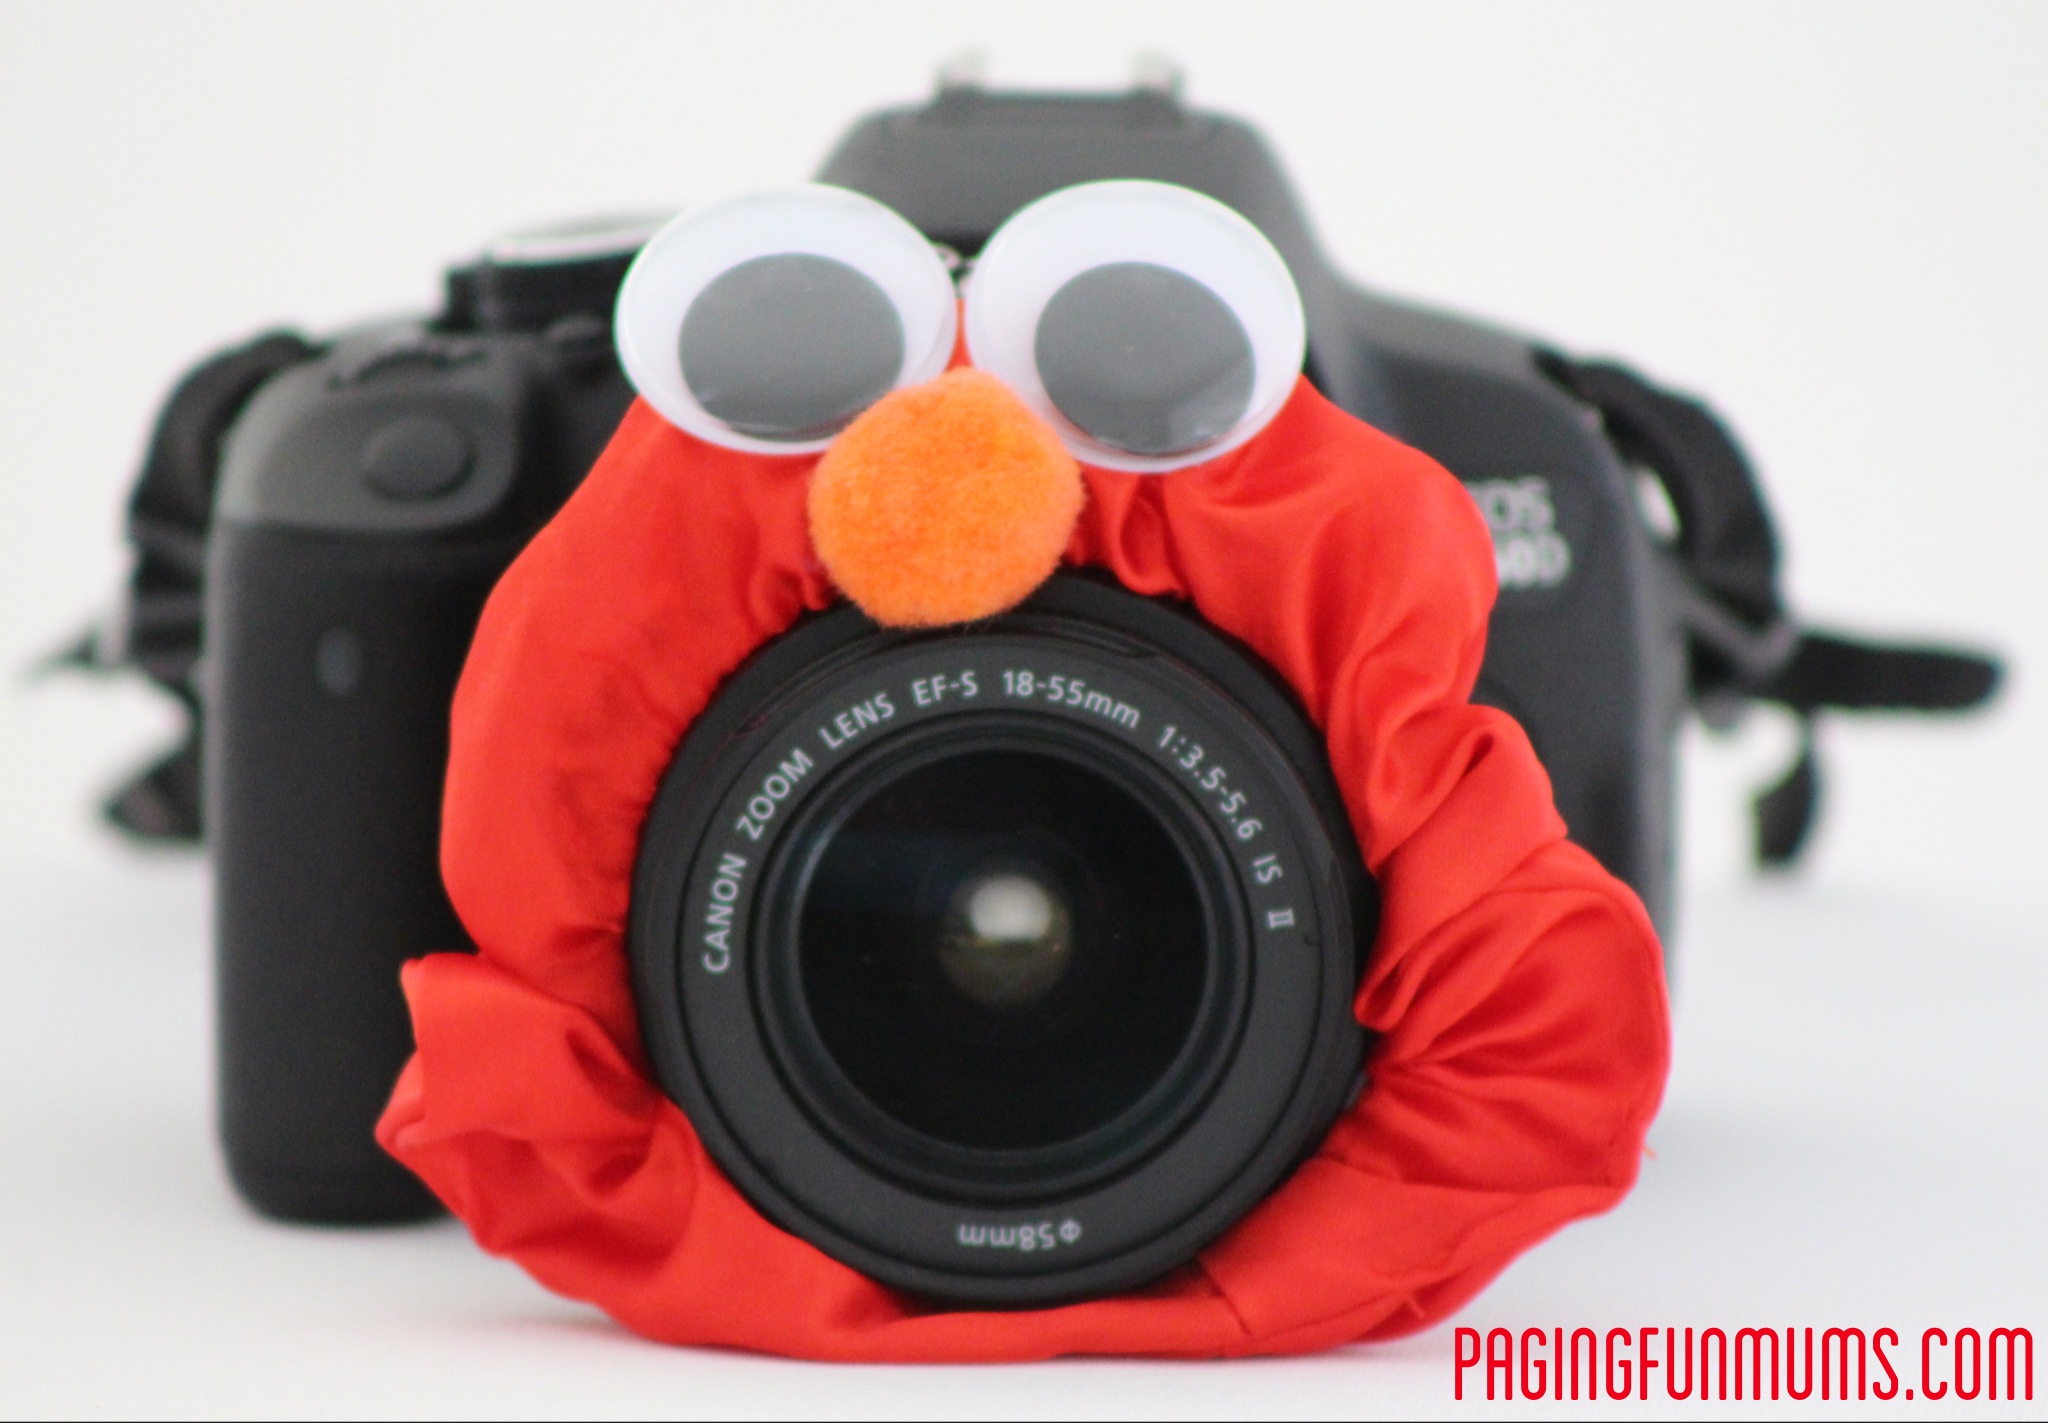
Another great aid is a simple feather duster to tickle the kids with.
Clothing –
Dressing your children is important – what looks best on them? Brings out their eyes? You also probably want to keep the clothing simple and comfortable. This is a photo you want to have hanging forEVER so make sure the kids are dressed in something you will like the look of for a long time;).
Try to capture a special ‘moment’ – DON’T ask for ‘Cheese’
Ask your kids to tell you a funny story, or in this case I asked Miss M what she loved doing with her Mummy, Granty and Nan. All of my favorite photos of my kids are when they are naturally smiling NOT when they’re being forced to ‘say cheese’.
Last but not least – Make it fun!
Be prepared with all the above and try to relax and enjoy some family time together. Don’t let the shoot drag on too long and try to time it when the kids aren’t hungry or tired.
The editing process –
I don’t like to spend hours editing photos…I find some of my best editing is done on my iPhone or iPad.
I used ‘PicFrame’ to place the photos into the collage. This is such a simple app to use and has a huge number of different layouts to choose from.
I then used ‘iDarkroom’ to edit the filters, black & white, cross processed, Faded, Sepia etc. iDarkroom link . Find the link here.
Lastly I wanted to add the date ‘2013’ – for this I used the app ‘Over’. Find the link for that here.
Making the Canvas
Because PicFrame makes a square image I needed a square canvas – I found some nice flat ones that were 8” x 8” in a pack of 2 for $2.50 at our local discount store – BARGAIN!!
I printed each finished collage onto some Matt Photo Paper using my home printer then cut them out.
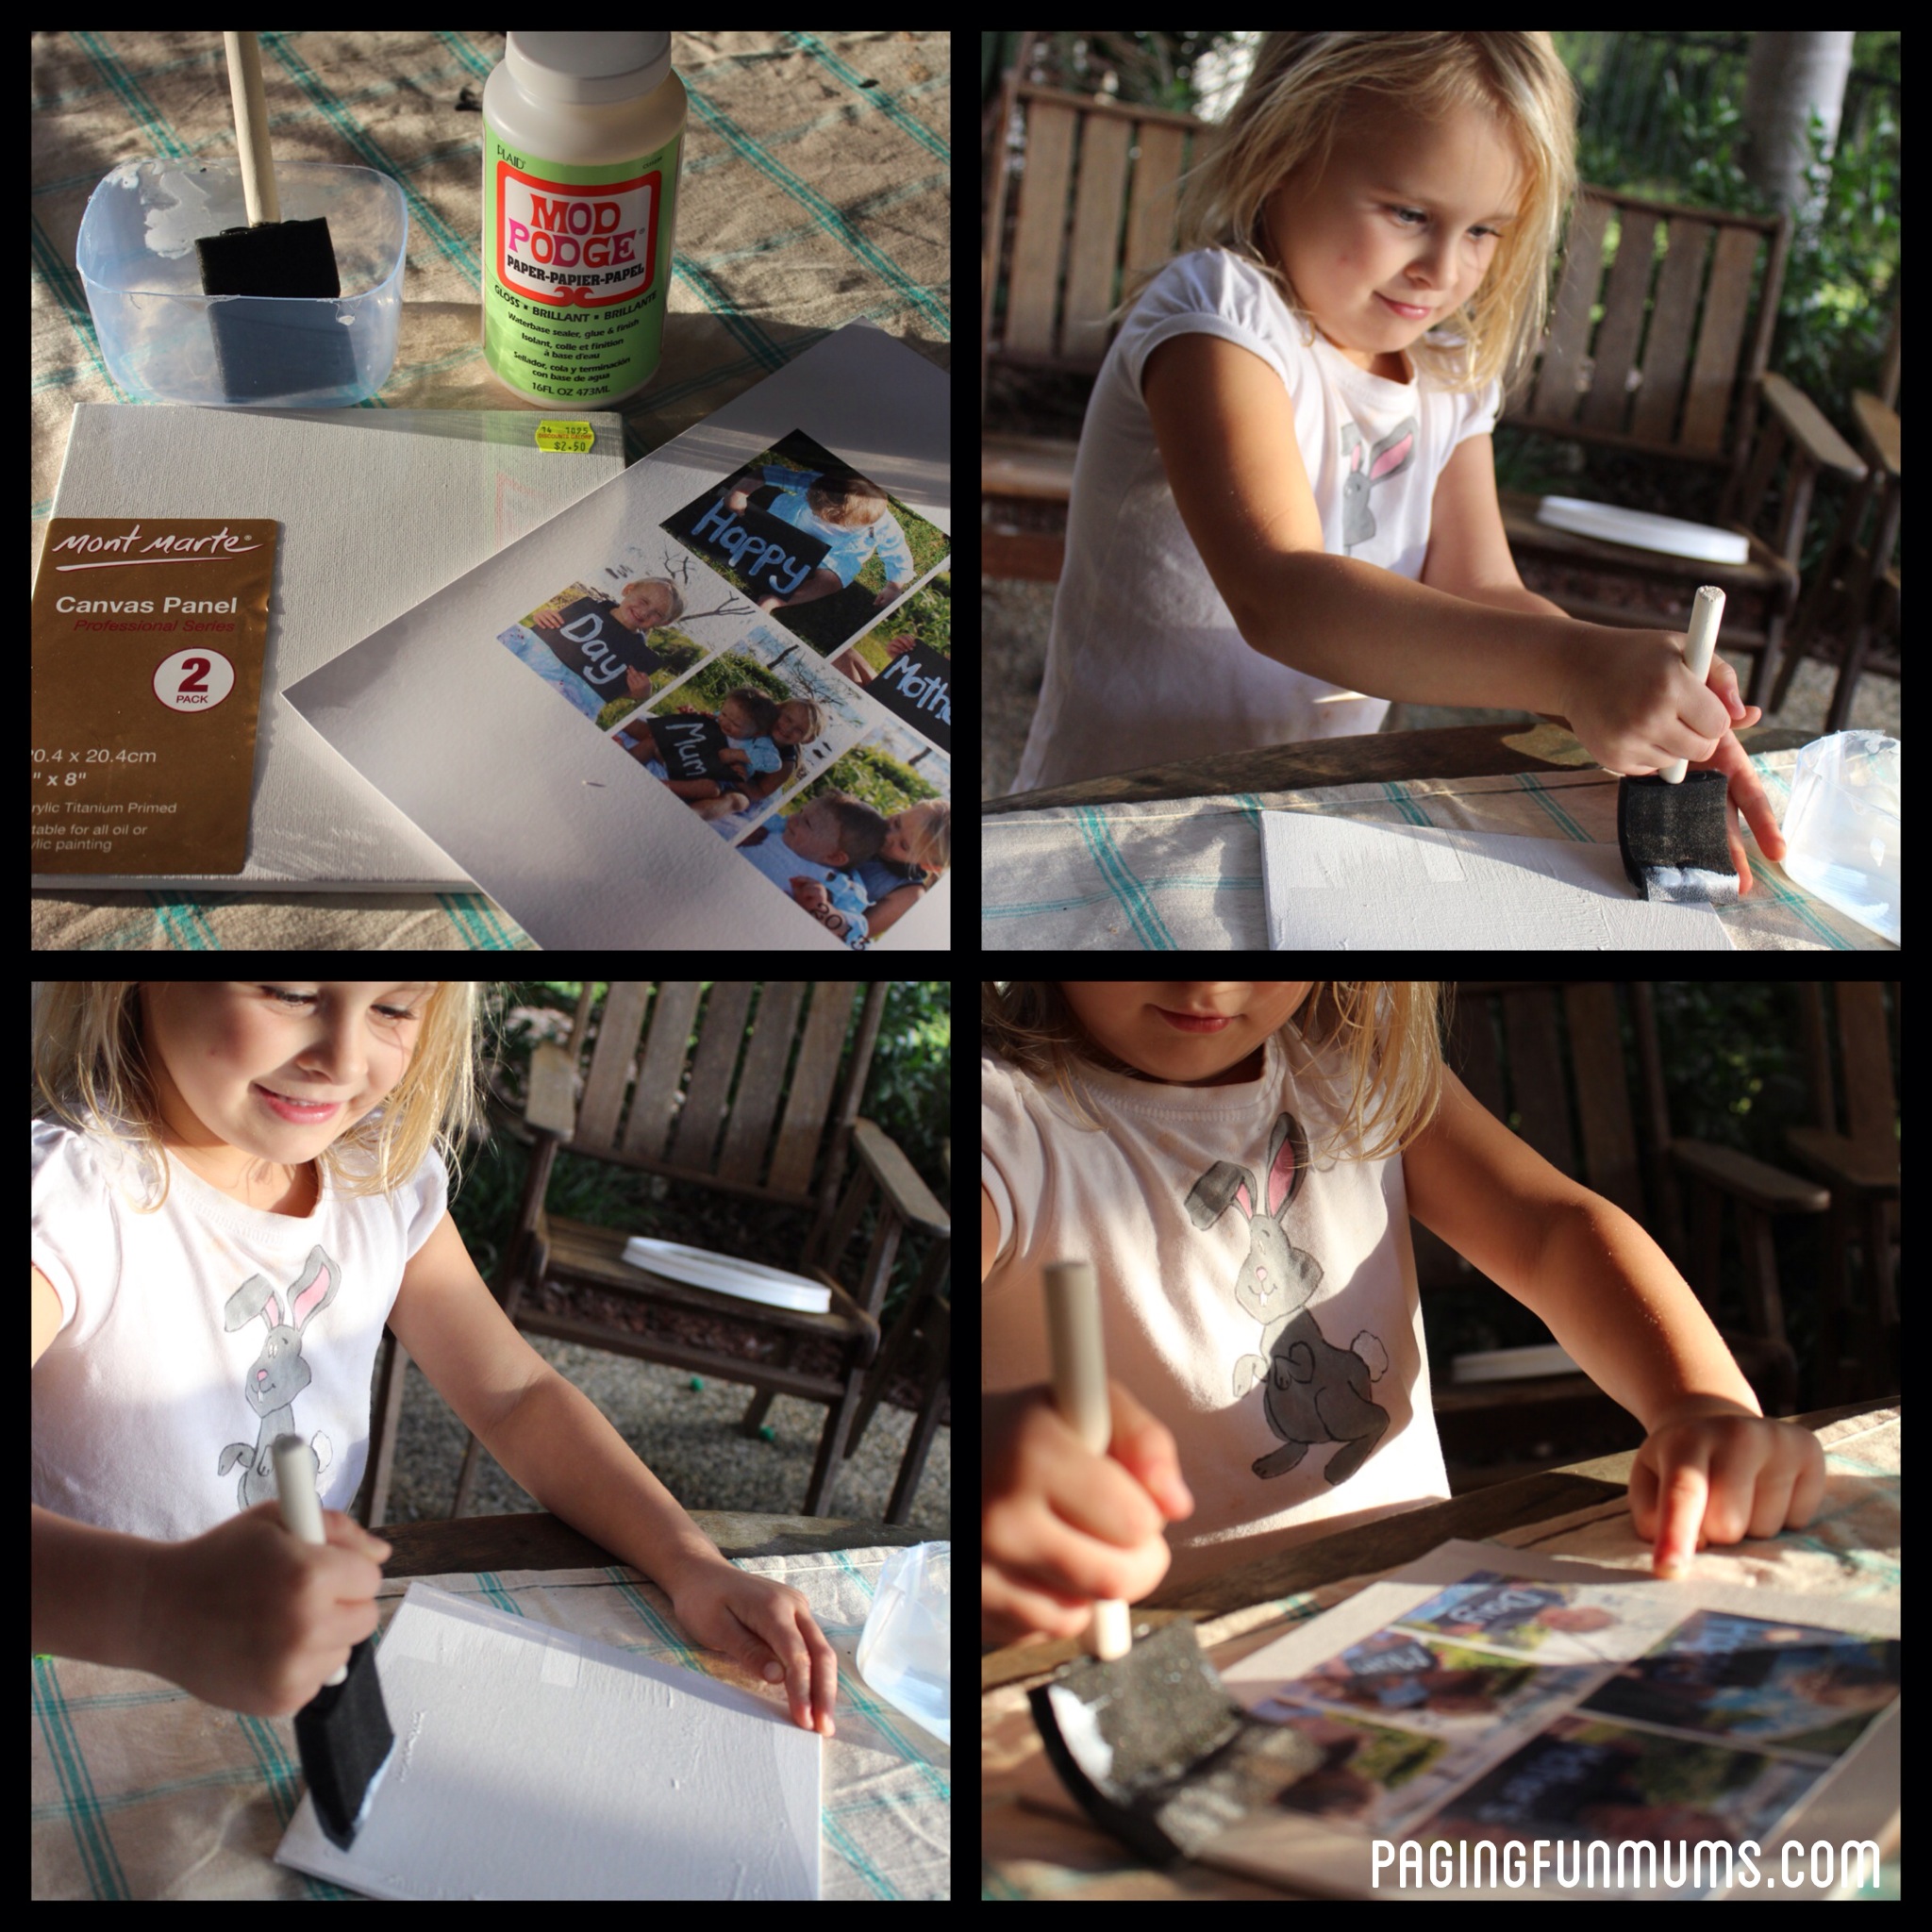
My little assistant (Miss M) then applied a layer of Mod Podge before I placed each print ‘roughly’ in the centre. Miss M then applied one final layer of Mod Podge to seal the photo and the canvas.
Then you just need to allow them to dry.
These make a great gift and look beautiful hanging on a wall or placed on an easel. It also makes for a lovely family tradition to do each year.
PS. I thought you might get a giggle from these ‘Out Cuts’…things don’t always run to plan ;).







One thought on “DIY Mother’s Day Canvas + Photo Shoot Tips”