If your house is anything like mine, then there can NEVER be enough ‘Frozen’ happening at any one time!
We have made plenty of Frozen crafts such as our….
I am also a HUGE fan of thumbprint crafts…especially for Christmas. It has become a bit of a tradition in my house. We’ve made Thumbprint Reindeer Gift Tags, Thumbprint Reindeer Baubles, Adorable ‘Snowman’ & ‘Penguin’ Thumbprint Baubles
So this year, I decide to mesh these two together and make a very cute Olaf ornament!
To make your own you will need:
Blue baubles (I got mine from a $2 shop)
White paint (I used acrylic)
Orange & Black permanent pens (I used Sharpies)
A cute thumb or two
Step 1
Paint a tiny thumb with the white paint (this is a lot neater then getting your kiddies to dip their thumbs into a pile of paint!)
Step 2
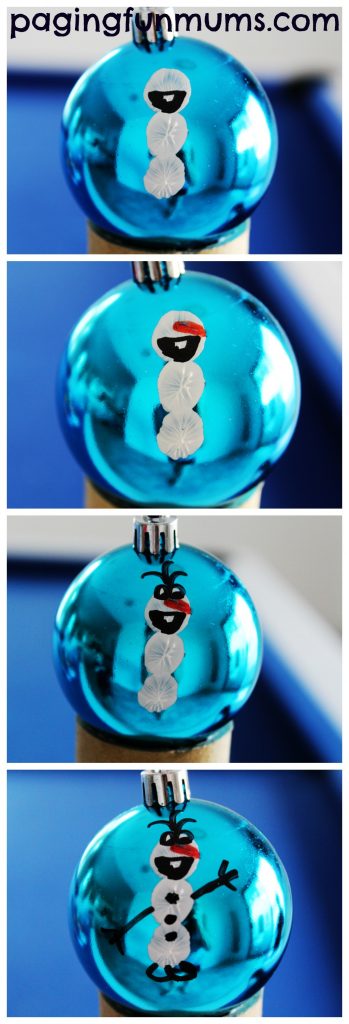
Stamp three thumbprints on top of each other (reapplying the paint after each stamp)
Step 3
Let the paint dry (we let it dry over night just to be sure, but a few hours should do the trick)
Step 4
Start drawing your special Olaf (follow the images below for that) it’s soooo easy!

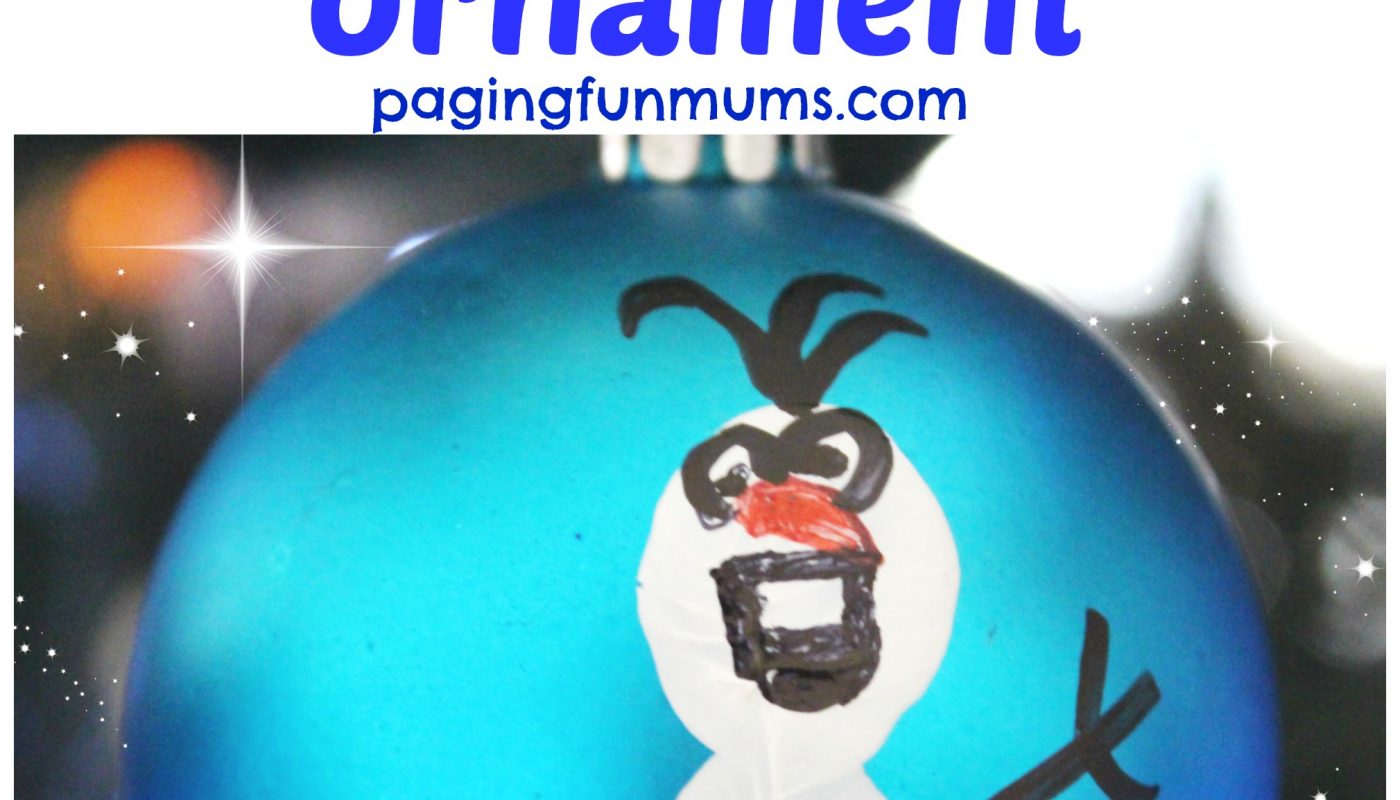
Ta da – a very cute Christmas ornament that the kiddies love!
If you liked this craft, you may also like our:
Santa Hands Christmas Ornament
Glowing Christmas Trees (made from Party Hats!)


These will be wonderful to do with my grandkids!