63 Clever Elf on the Shelf Ideas for all ages
The Elf on the Shelf Tradition The Elf on the Shelf has been visiting our home on the 1st of December for years. He brings …
Replacing Insanity with fun!
The Elf on the Shelf Tradition The Elf on the Shelf has been visiting our home on the 1st of December for years. He brings …
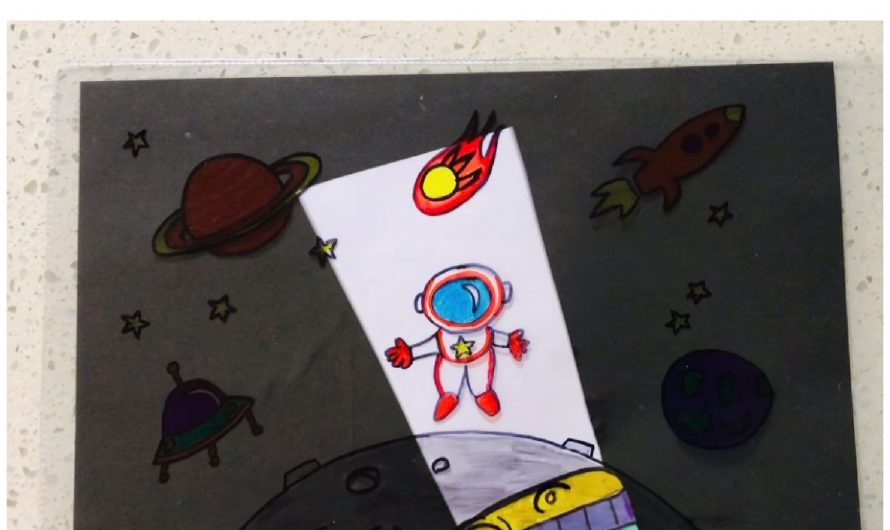
This craft is just so cool, who doesn’t want to provide a little bit of magic into their kids lives. The best part is, …
It’s no surprise that the Trampoline market has EXPLODED in recent years with so many families having to stay home during the pandemic. Now …
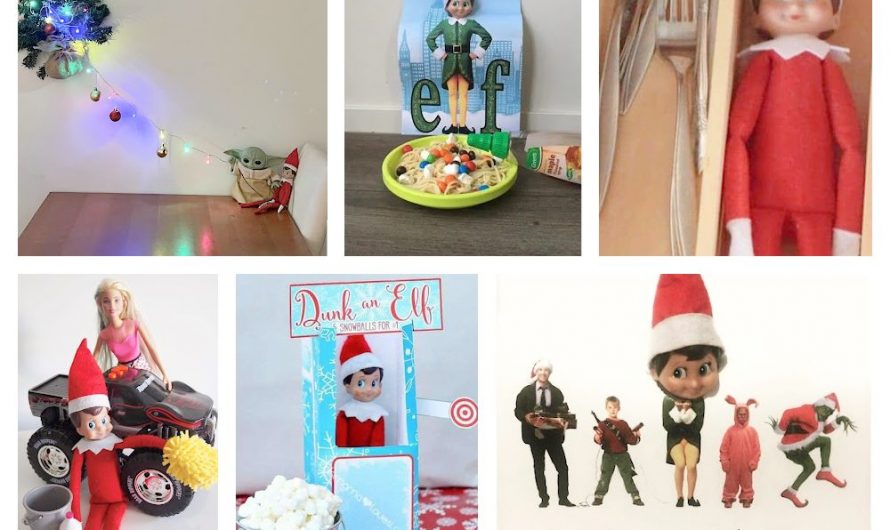
Here at Paging Fun Mums HQ, we are absolutely obsessed with the little elves that arrive at our house on December 1st every Christmas. They …
Sponsored by StartingBlocks.gov.au Deciding to enrol your child into child care is a big decision to make as a parent as the advantages and …
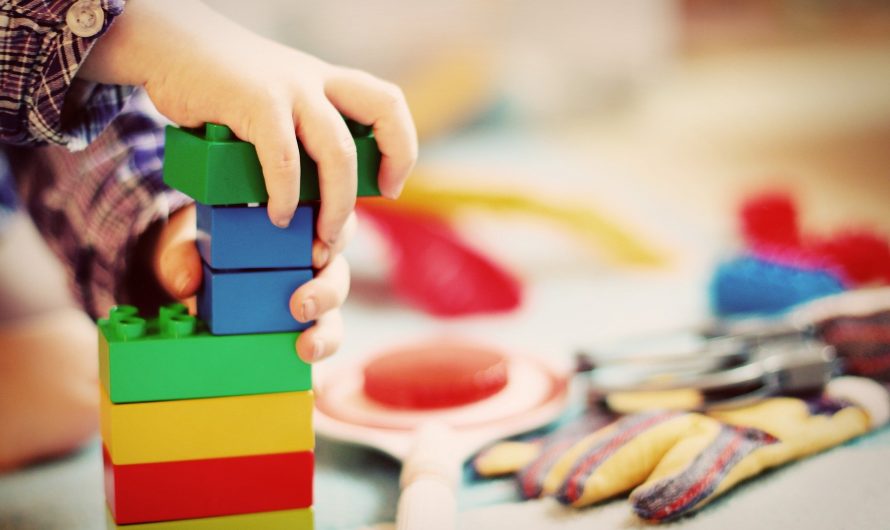
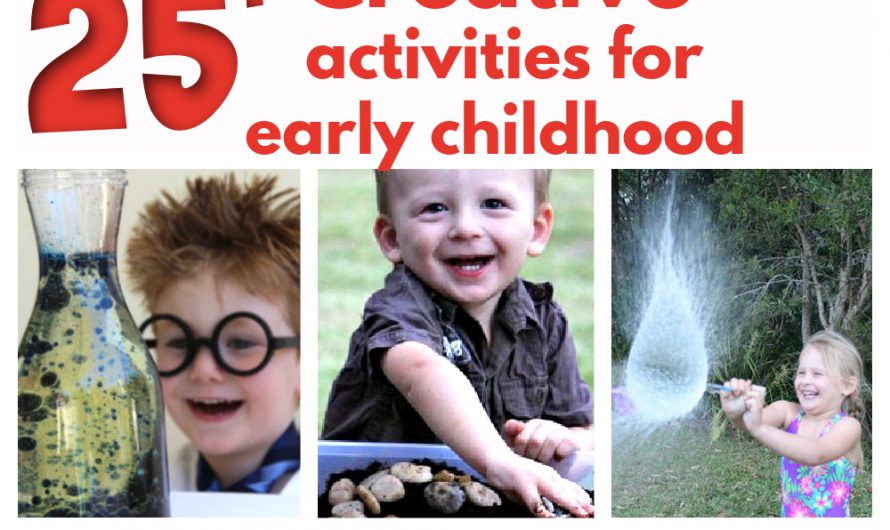
Early Childhood activities are so important for our kids. Did you know that the emotional, social and physical development of our young kids has a …
We have had the pleasure of testing out the brand new Sonic Colours: Ultimate game which is a remastering of the 2010 Nintendo Wii …
If you’re like us, then you get excited about Black Friday and the amazing offers that you can snaffle up! One of our favourite brands …