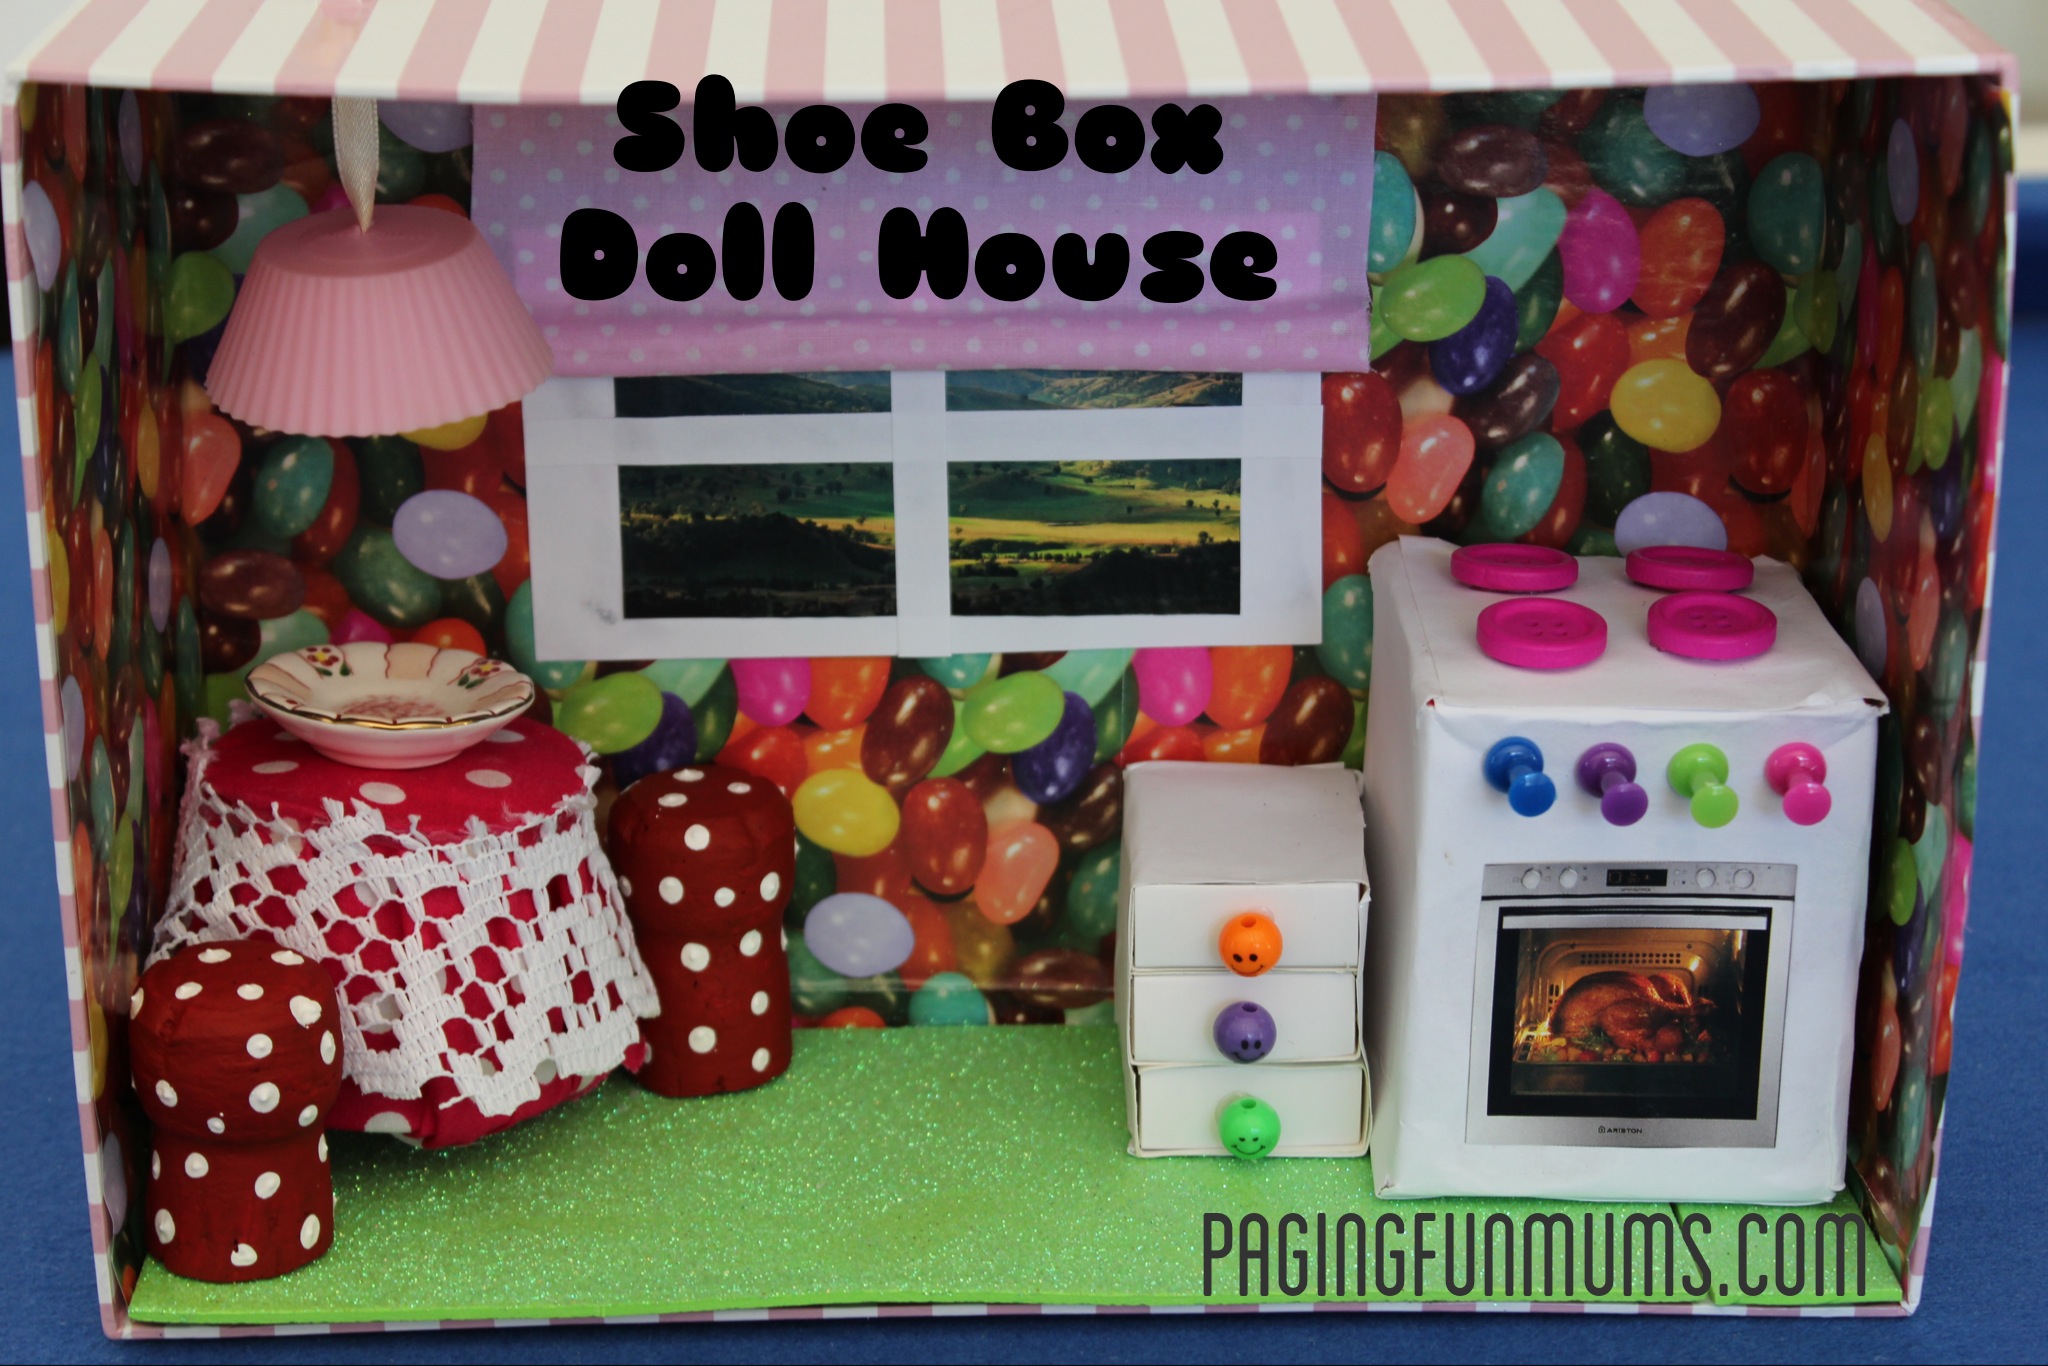
I loved teeny dolls when I was a little girl so I thought I would try my hand at a teeny shoe box dolls house for my 2yo daughter. Well the kitchen section anyway…I plan on some extensions too: a few bedrooms, a bathroom, a study, a lounge room etc! The possibilities are endless (and only limited by your imagination). It was really fun to make …finicky but fun! Most of the things in the dolls house are made from things found around the house!
Let’s take a little tour so I can show you what I mean : )
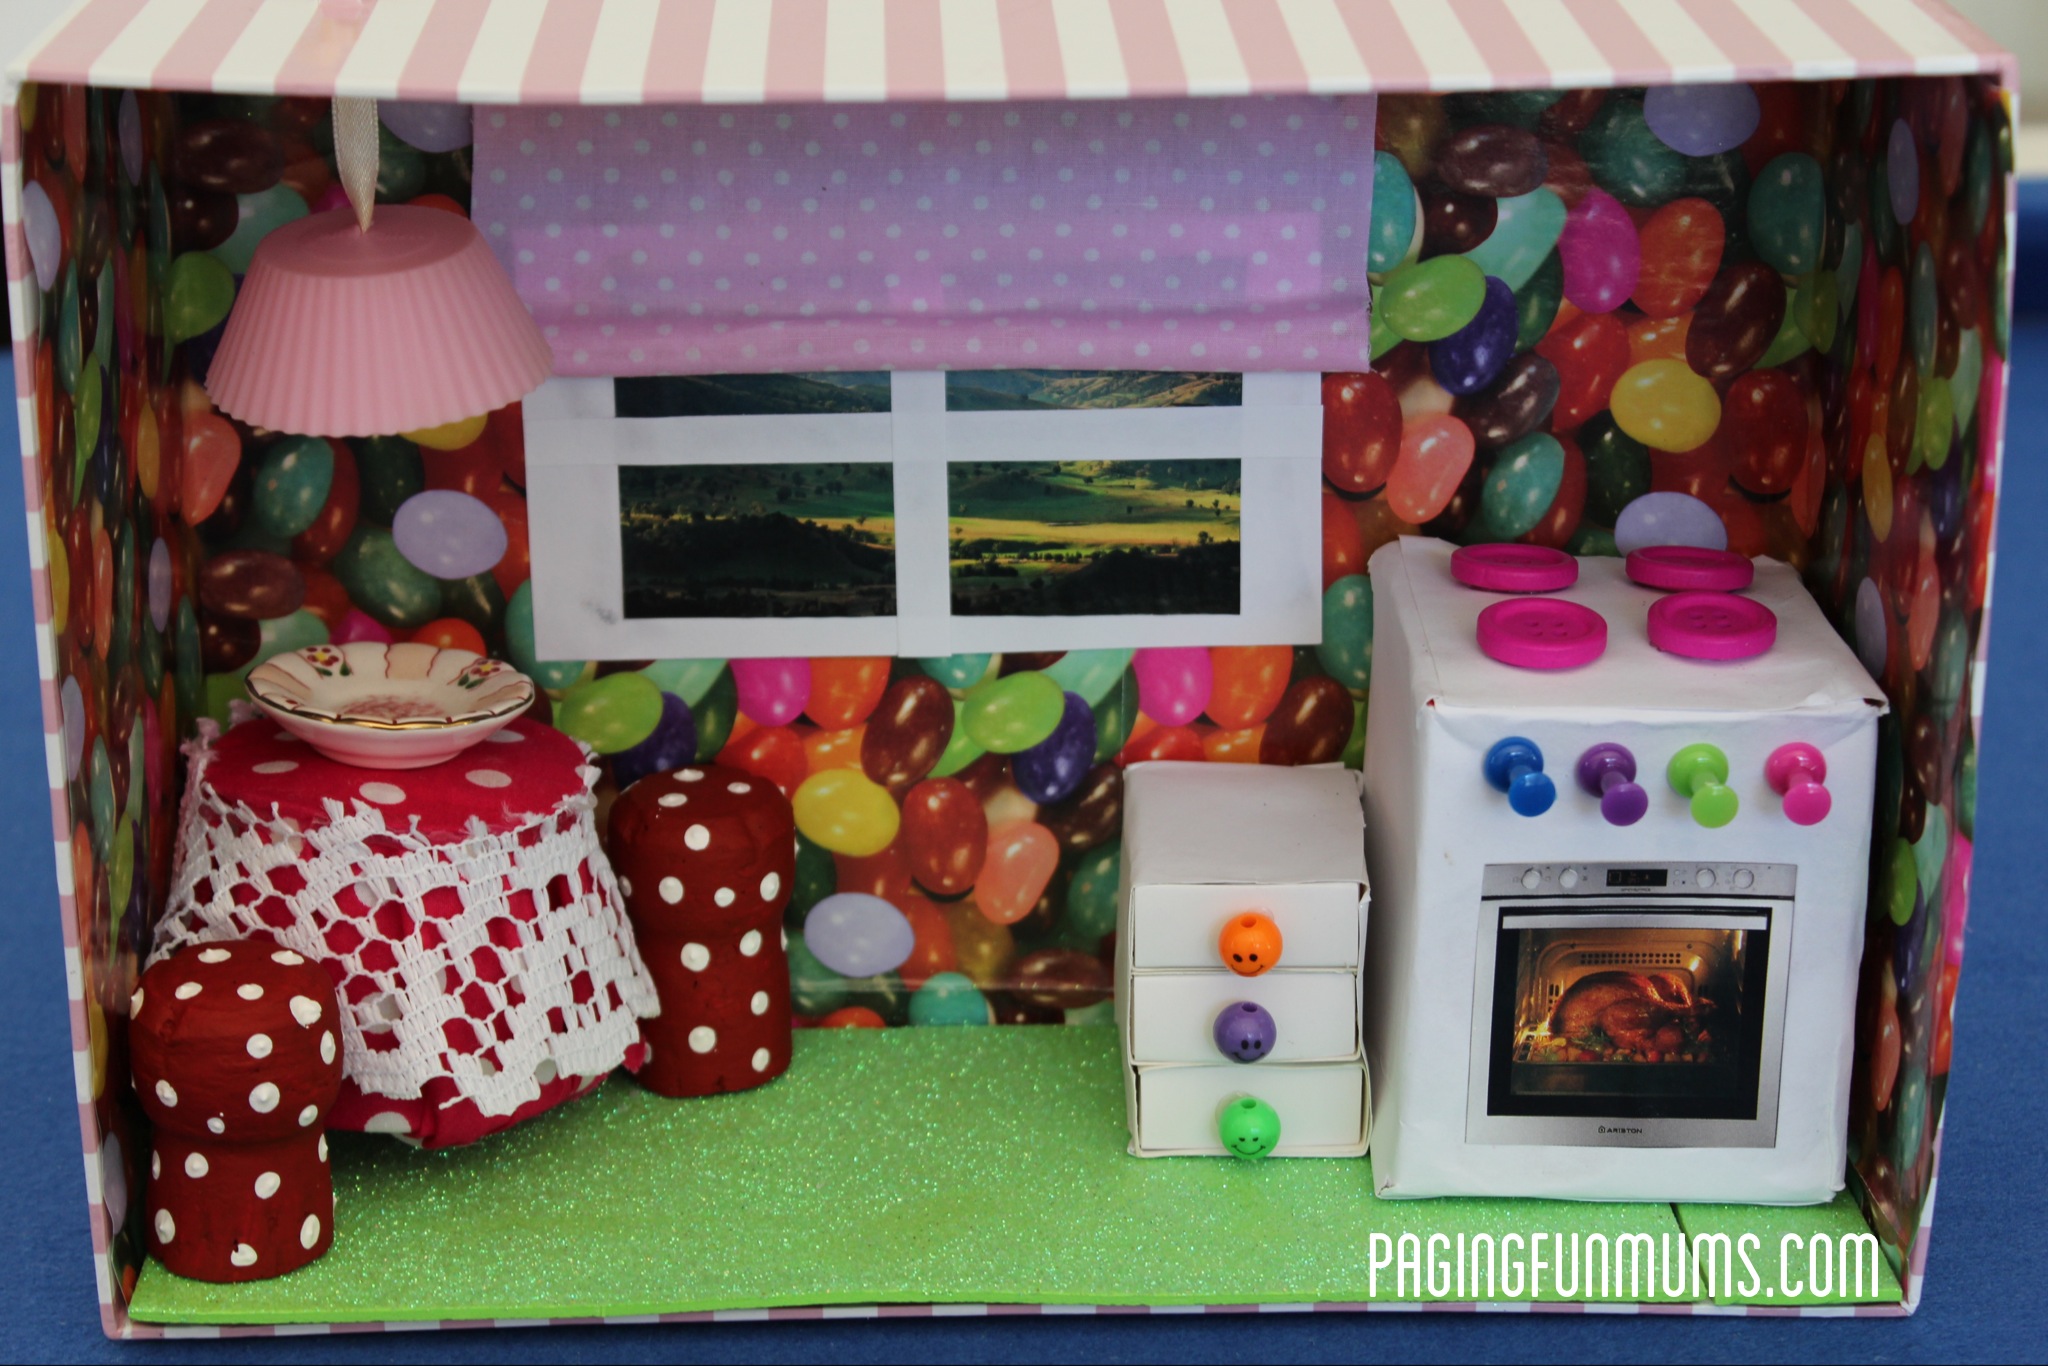
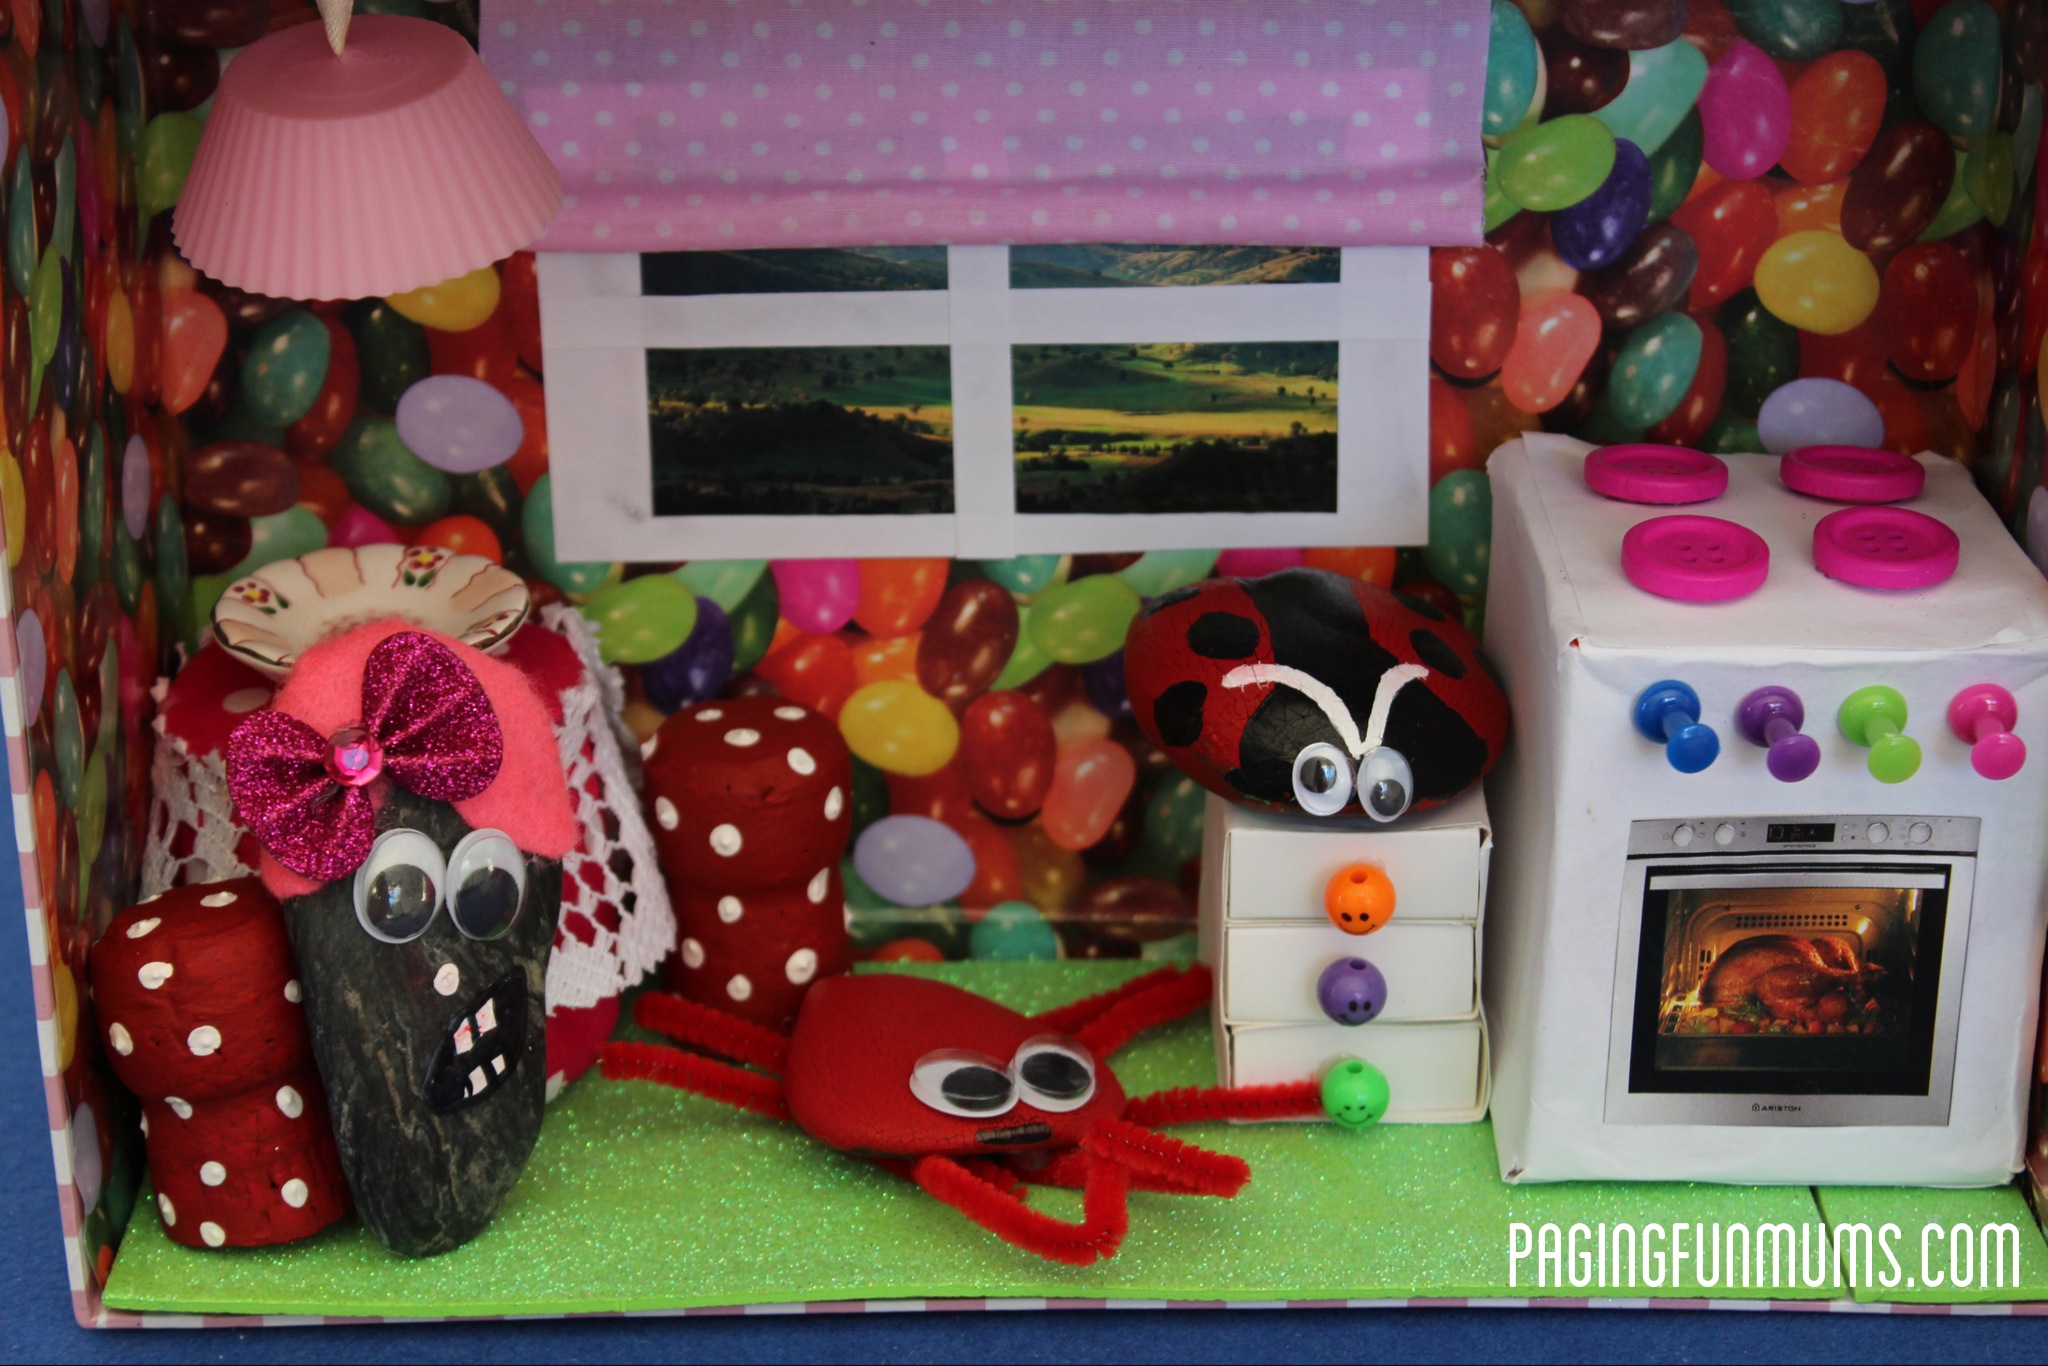
First things first, I made the ‘wall paper’ by gluing down some wrapping paper. I wanted it to look like a kitchen a little kid would want! I think I’d be happy with Jelly Bean wall paper though! Lol! I then had some glittery ‘foam’ that was used for the flooring
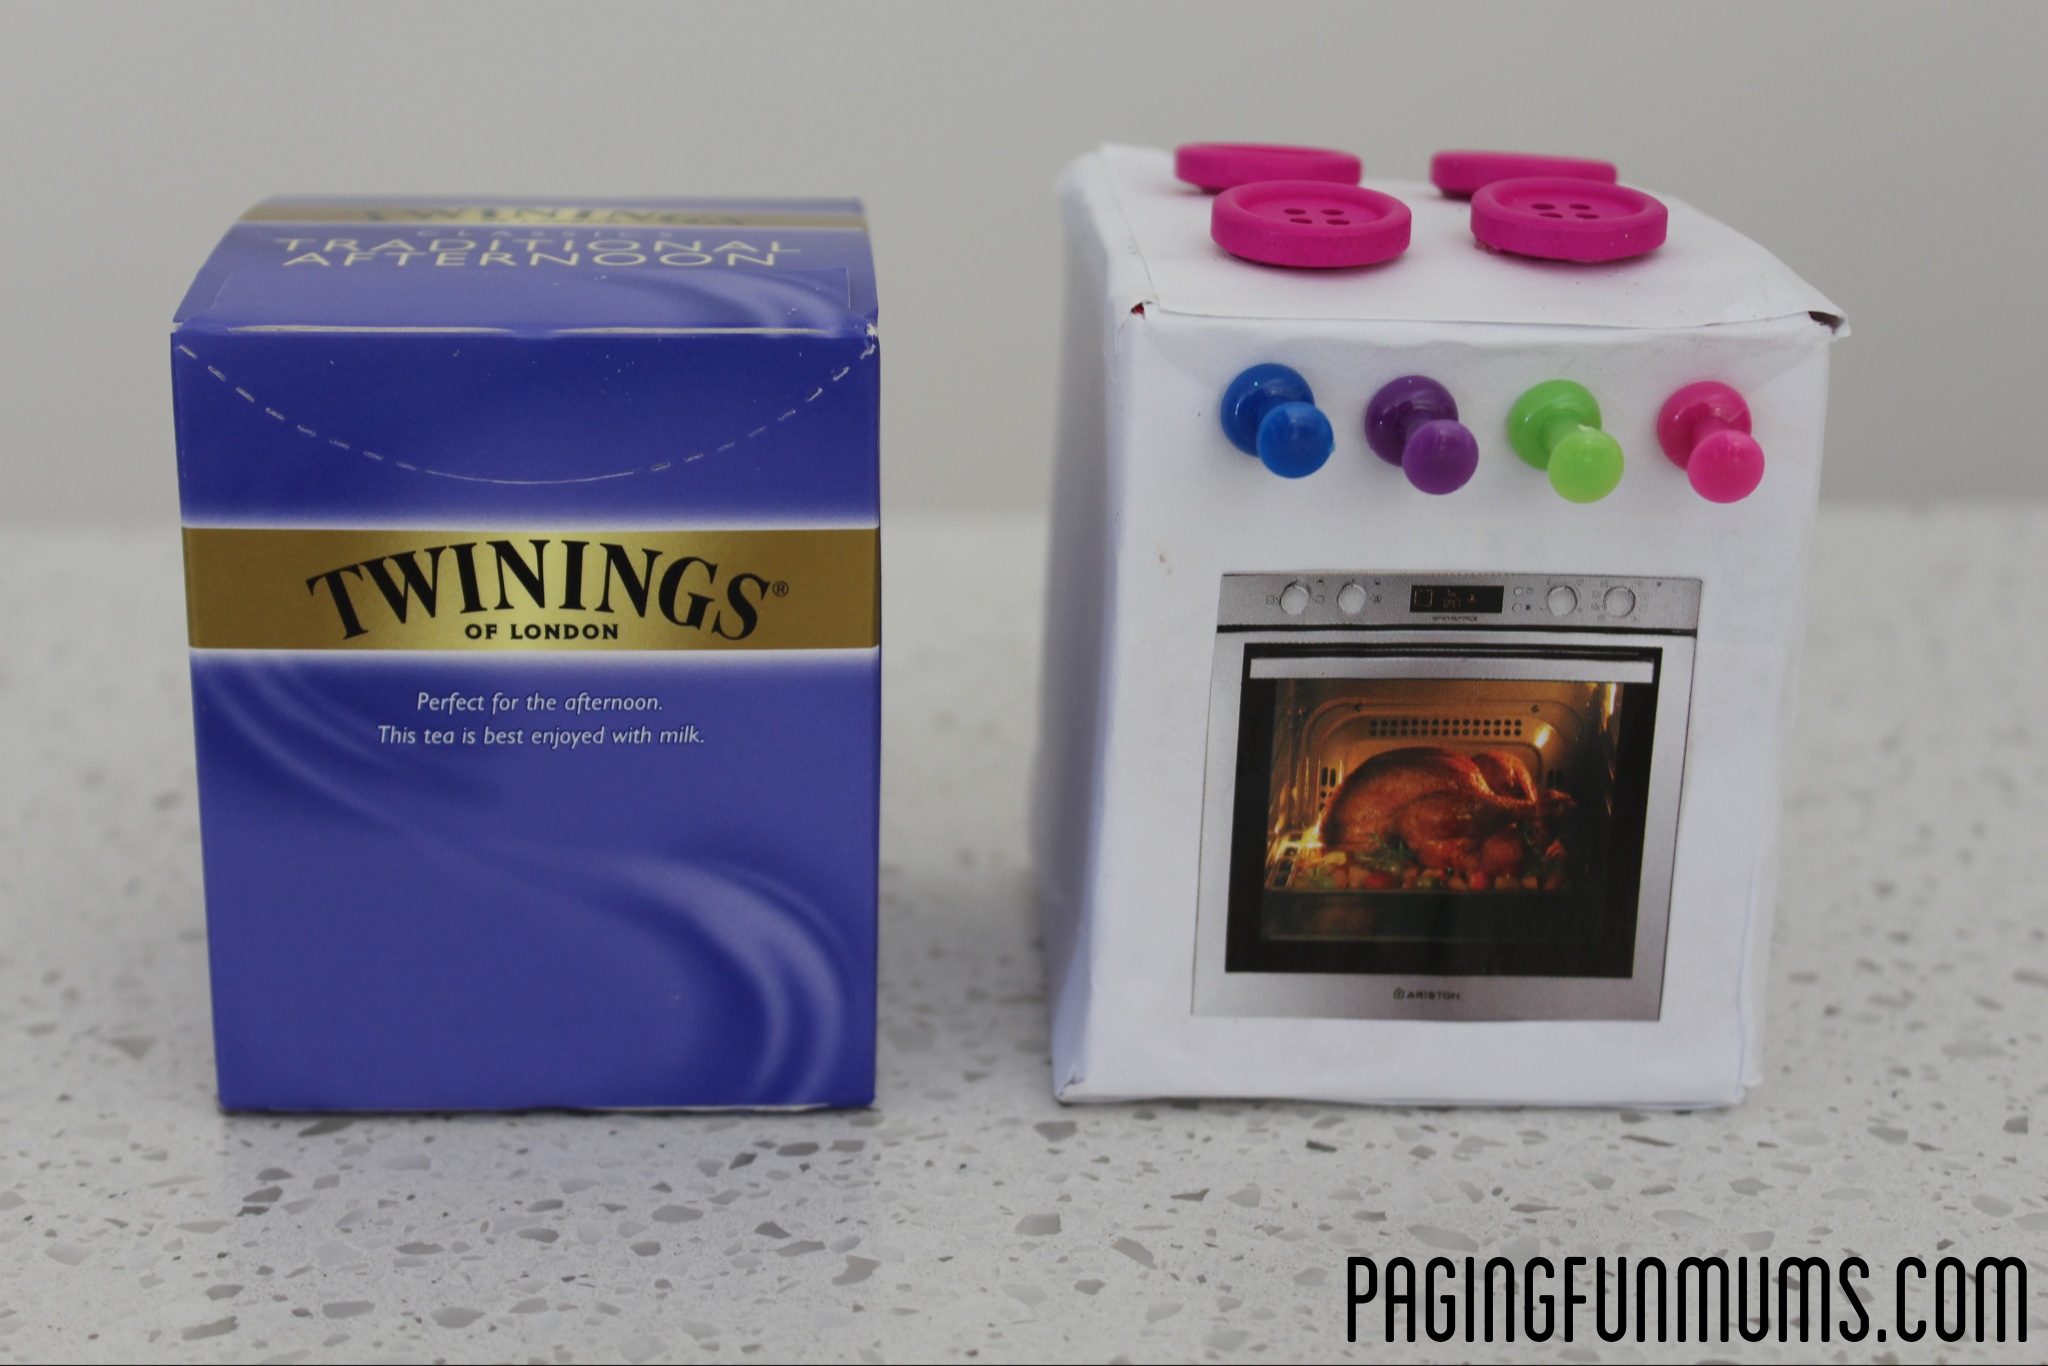
My ‘Oven’ was made by covering a small tea box in white paper, adding buttons for the cook top, push pins for the knobs & dials & I went though some of my (many) cooking magazines and found a a picture of a gorgeous roast chicken cooking in the oven and glued that to the front! Mmmmmm.
My ‘drawer set’ was made by glueing 3 craft matchboxes atop of one another, covering in white paper, then adding some cute beads for the knobs.
My window (with a gorgeous view!) was made with a clipping from a magazine, then framed with white paper. I then added two white strips to form the remainder of the window). I then cut out some polka dot material for the curtain & added a straw at the bottom to look like a roller blind.
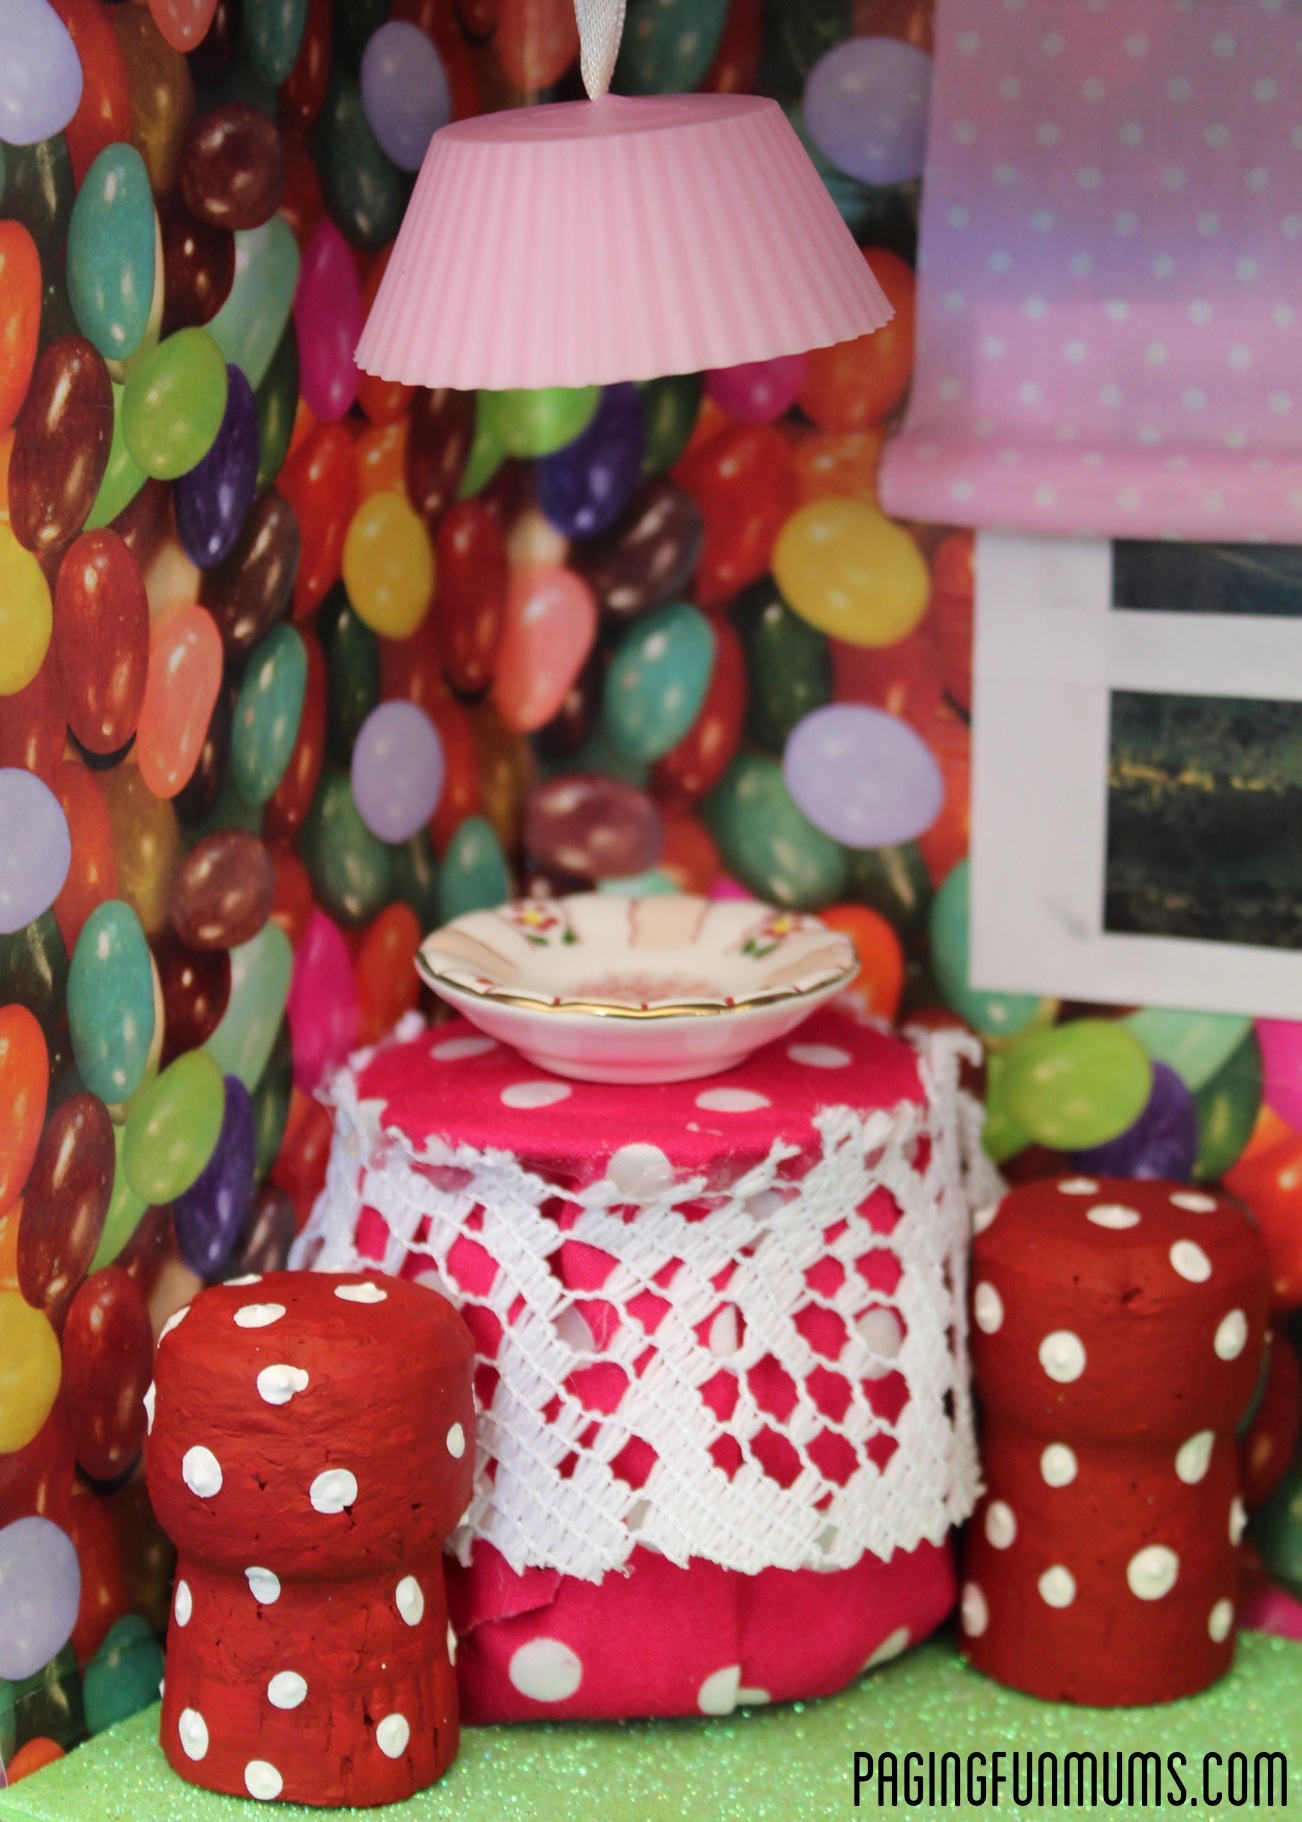
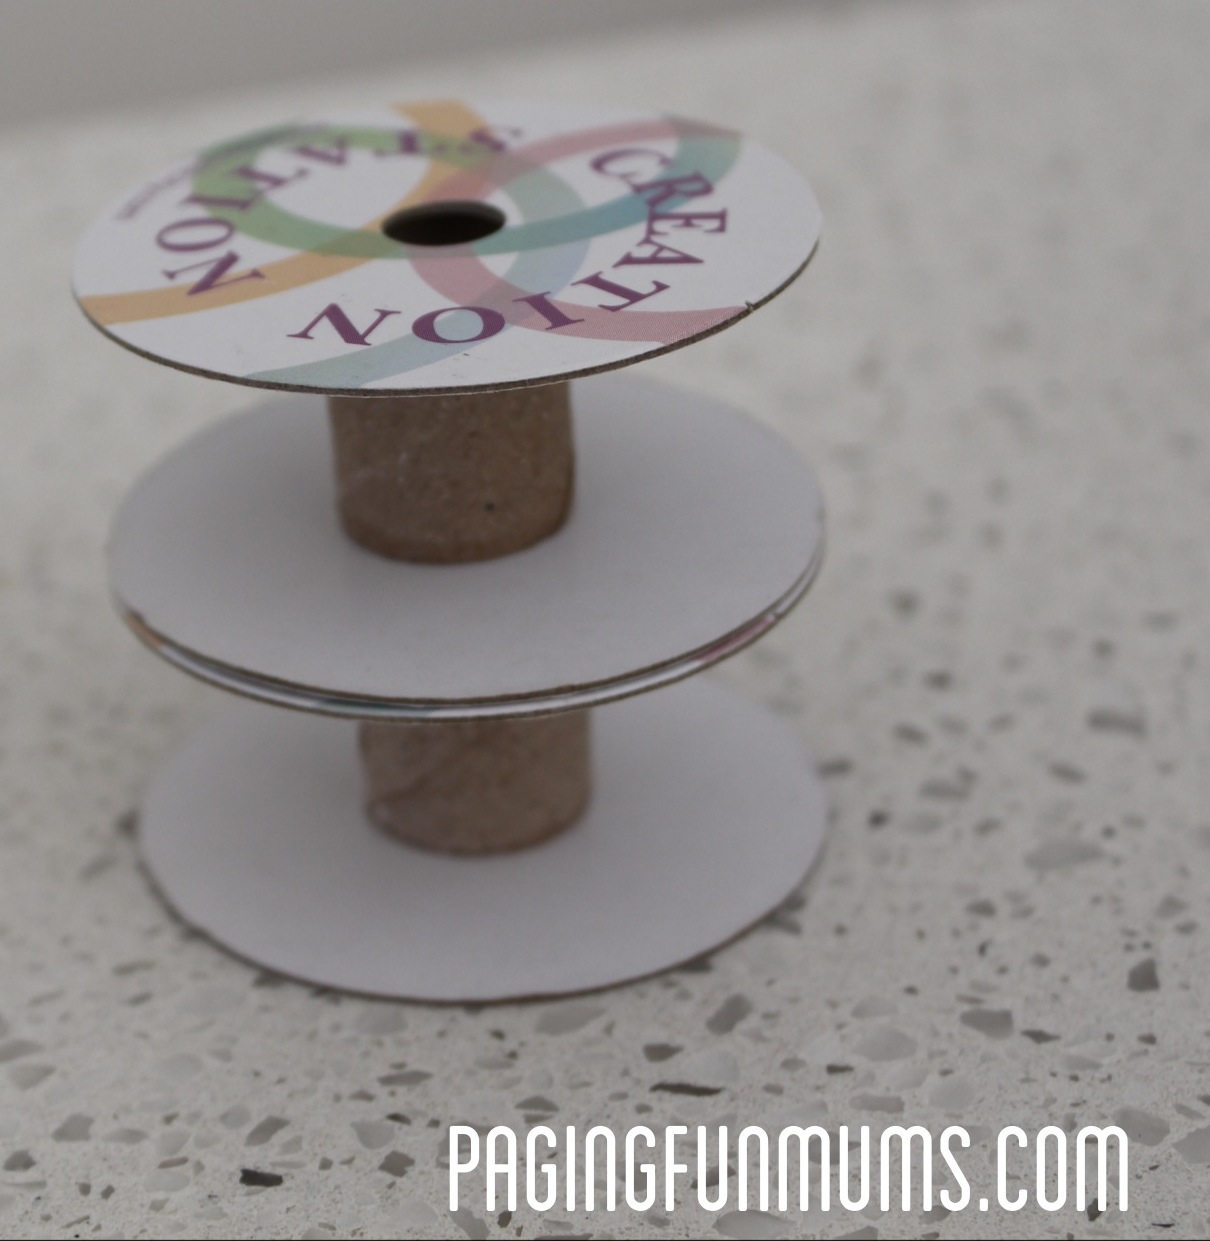
The table was made by glueing two ribbon spools together (as per image below) & covering in red polka dot fabric. I then cut the outside of a doily out & glued on to pretty it up. For the chairs/stools, I painted 2 champagne corks with red paint, let them dry, then painted on the little white dots. They are like cute little toad stools…I would like to make more of these for a future fairy garden…but I digress. The lamp was made from a silicone mini muffin case & a piece of ribbon. I also added a LED Candle (that you can find everywhere at Christmas time) for a light bulb (pictured in a separate image above). You could also use a fairy light (you can buy small sections of fairy lights – especially at Christmas), but my candle worked quite well I thought..it hangs a little wonky in the image, but that goes well with the ‘wonky’ theme of this doll house! lol : )
Miss A loves to play with her peg dolls in the shoe box doll house – which I made a little while back: You can check them out here: DIY Peg Dolls and it also makes a great home for our Pet Rocks .
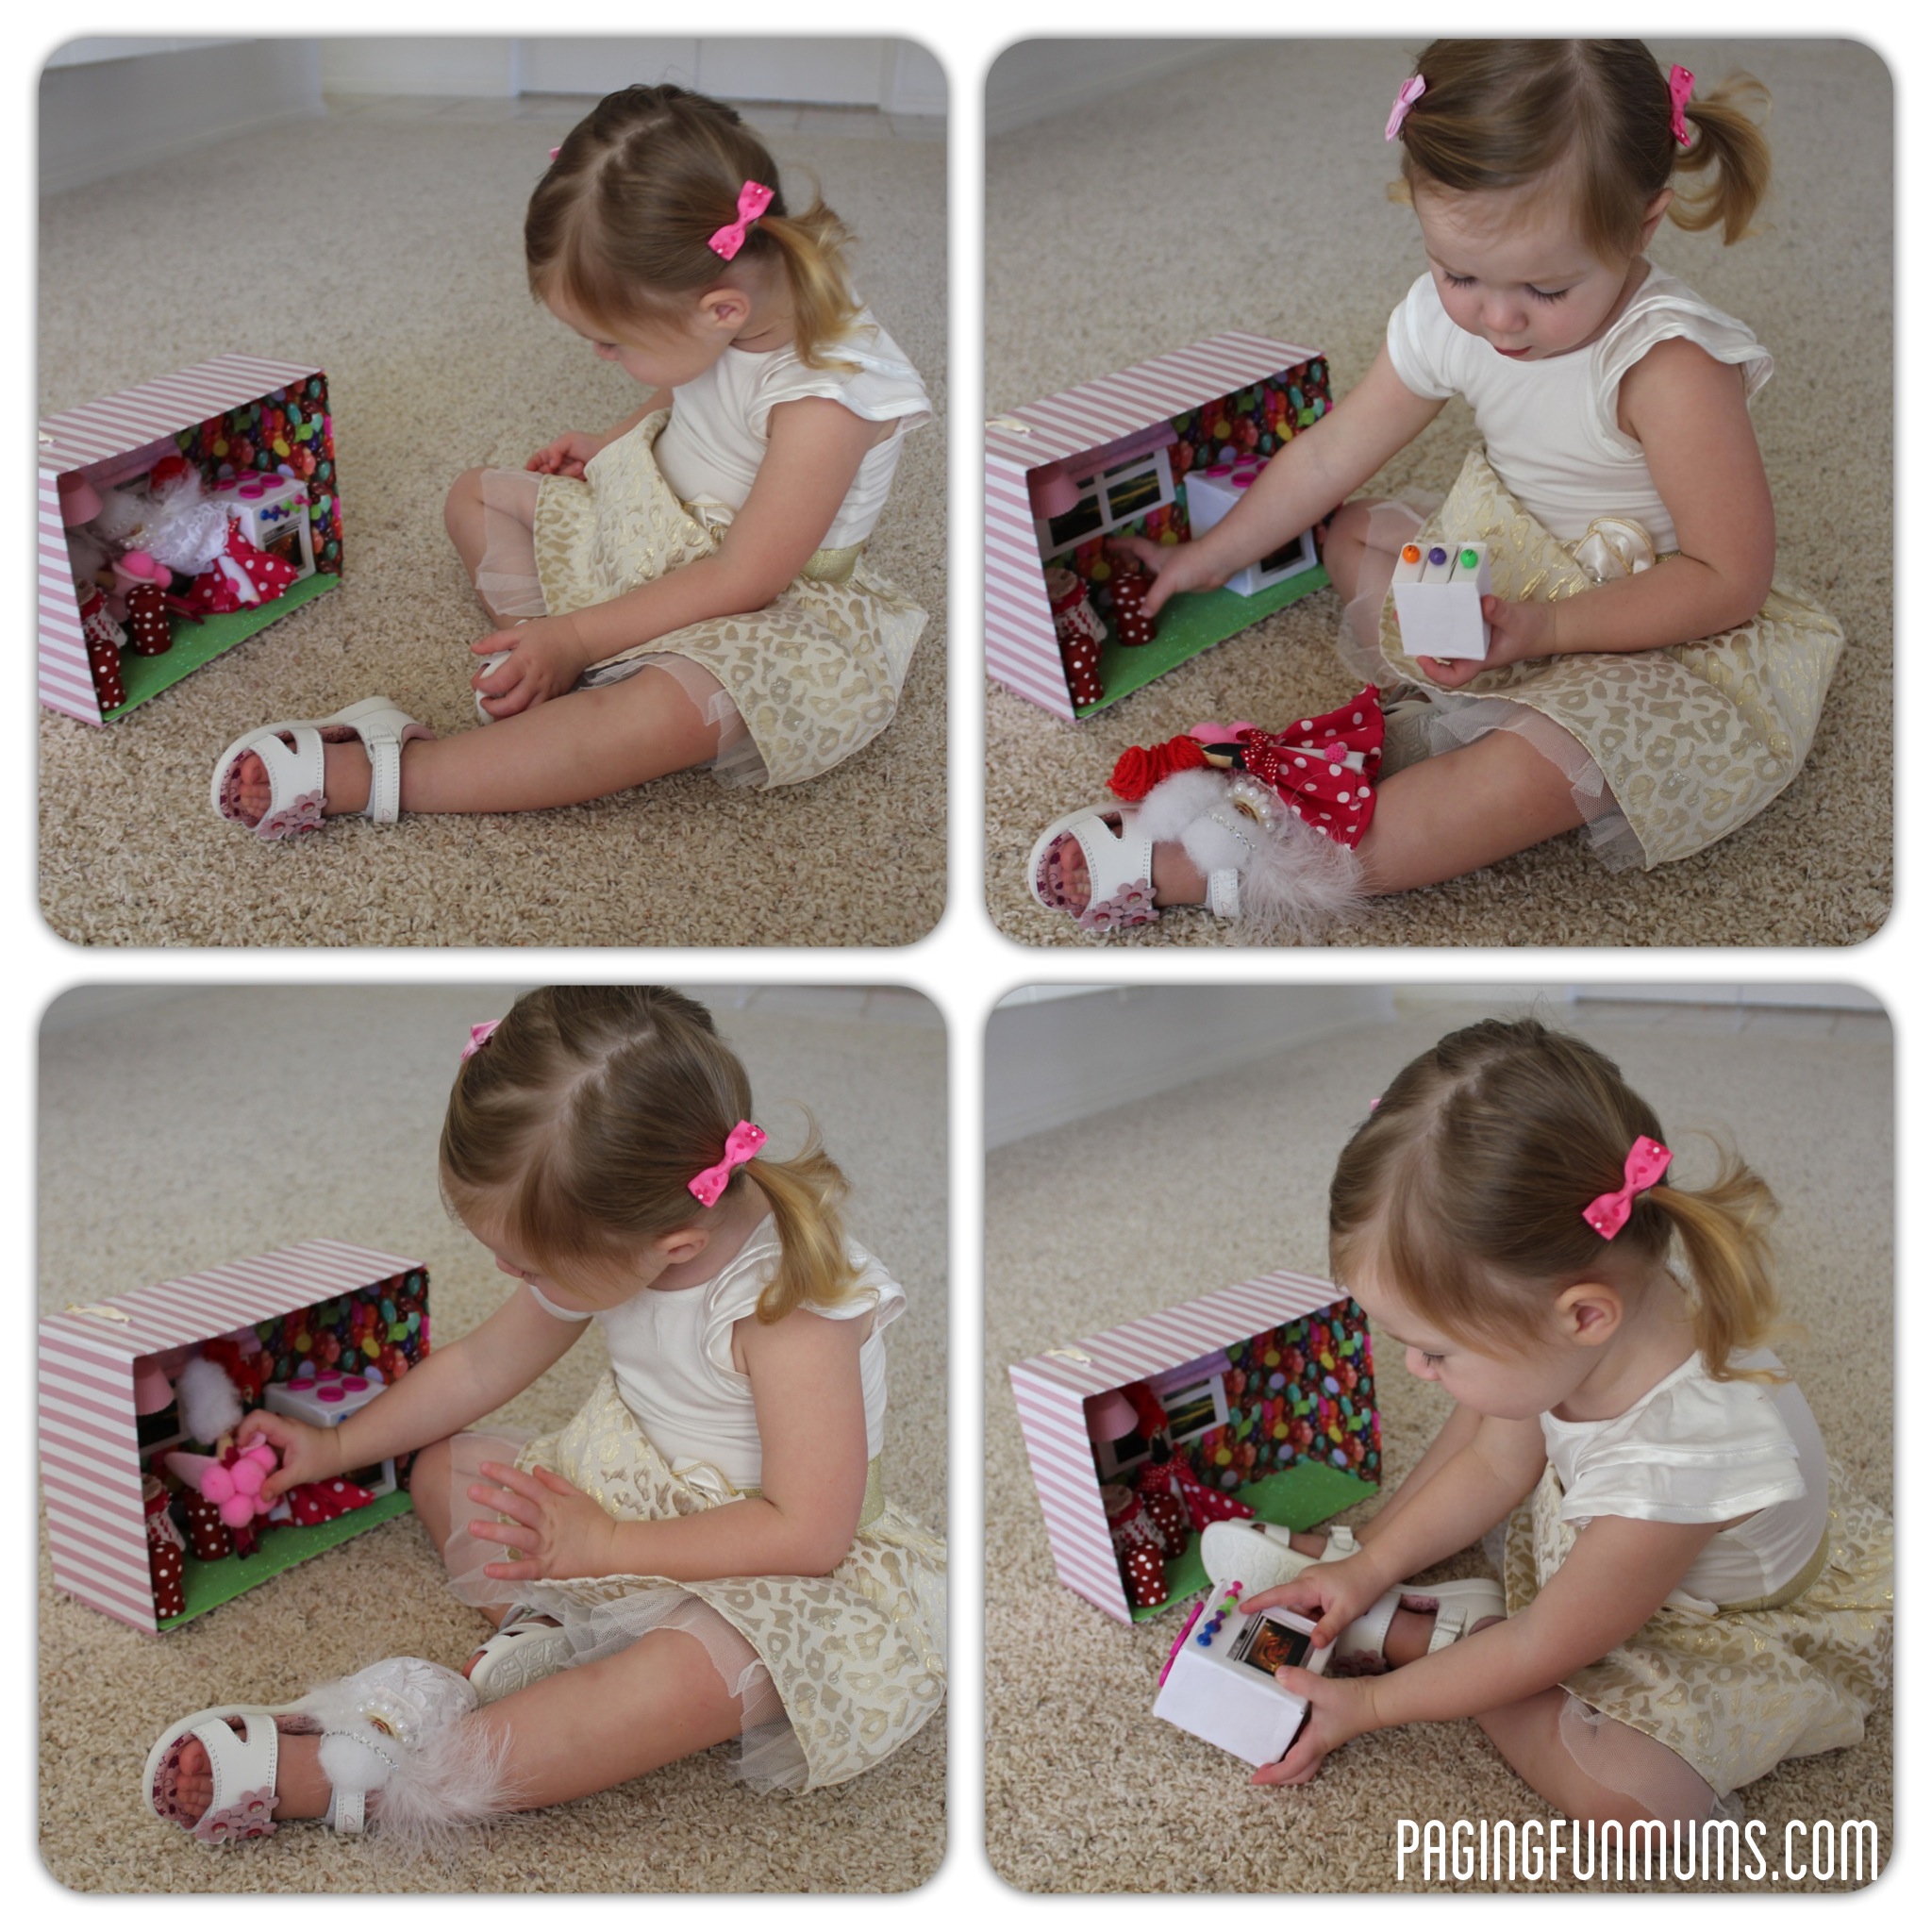
Miss A has a wonderful time playing with her shoe box doll house! It’s so great, because all we need to do is put everything inside (including dolls and/or pet rocks) pop on the lid and you have the perfect travelling doll house!
You may also like our:







Thanks for these great ideas. I enjoyed looking before I created my own. I have posted extra ideas for home made dolls house furniture and people at my blog. Links below:
dolls: http://angathome.com/2013/07/25/wooden-bead-and-pipecleaner-peg-dolls-for-dollhouses/
shoebox dolls house for travelling: http://angathome.com/2013/07/22/dolls-houses-in-a-shoebox/
simple furniture ideas: http://angathome.com/2013/07/17/wooden-clothes-peg-dolls-house-furniture/
Thanks Ange! I went over to your blog, all of your ideas are adorable! It makes me want to make another doll house! Jenni x