

Ink stamp pads can be expensive and the ink in them stains little fingers for quite some time! I thought I would try my hand at some homemade stamp pads! They were a hit and we found we could use them over and over!
Check out our video below on how to make your own stamps and stamp pads below!
To make your own you will need:
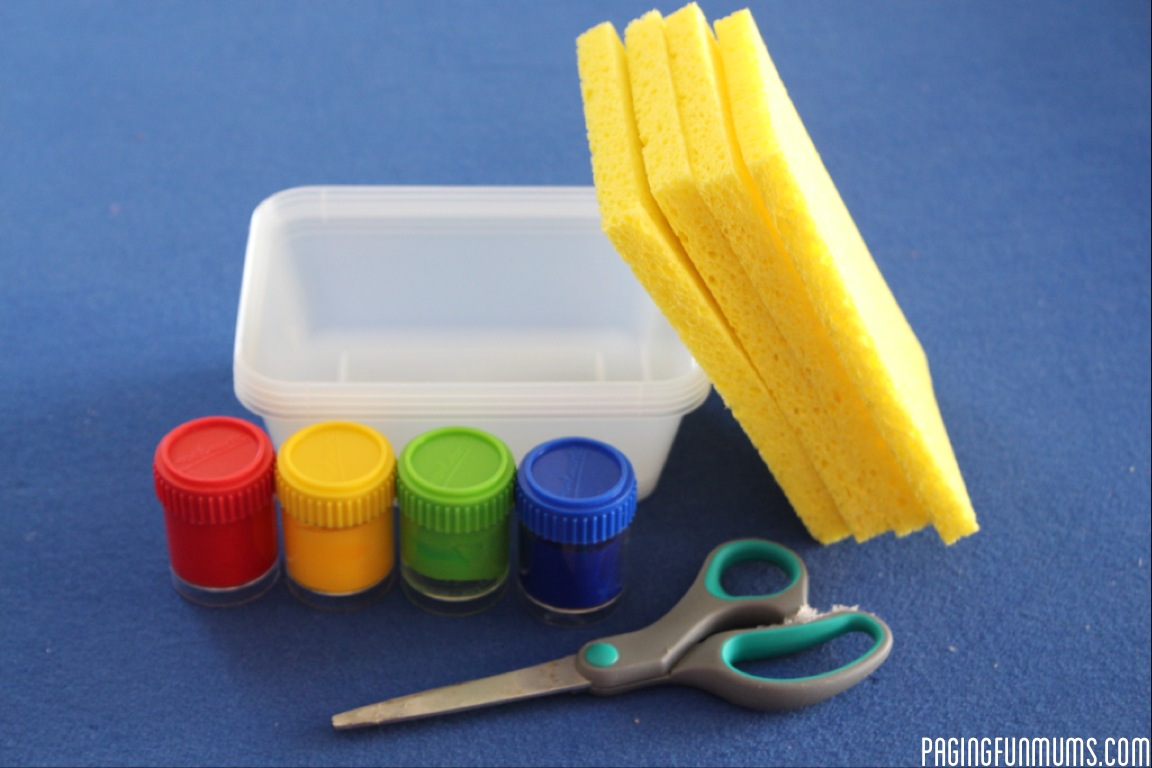
Sponges
Plastic containers (I bought a set of 5 for $2 at the supermarket – you could also recycle takeaway containers too)
Paint
Scissors
Pen (not pictured)
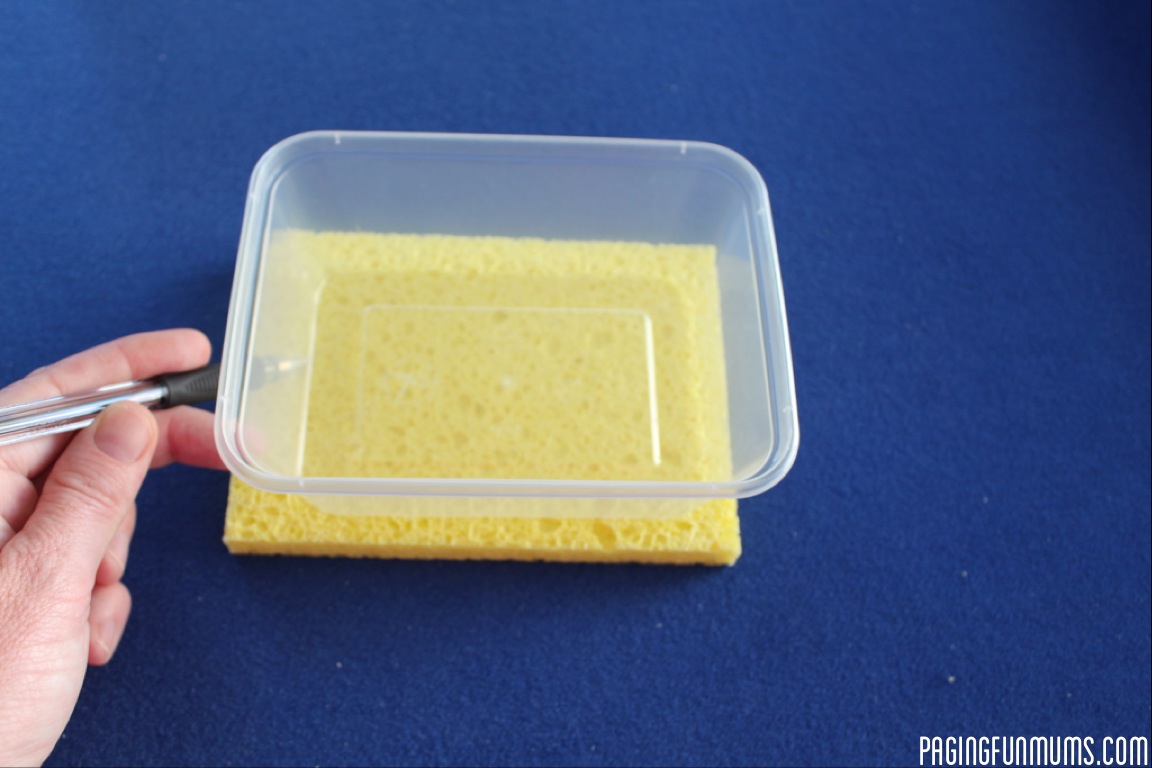
1. Take your container and place it on top of your sponge. Trace around the base of the container with the pen.
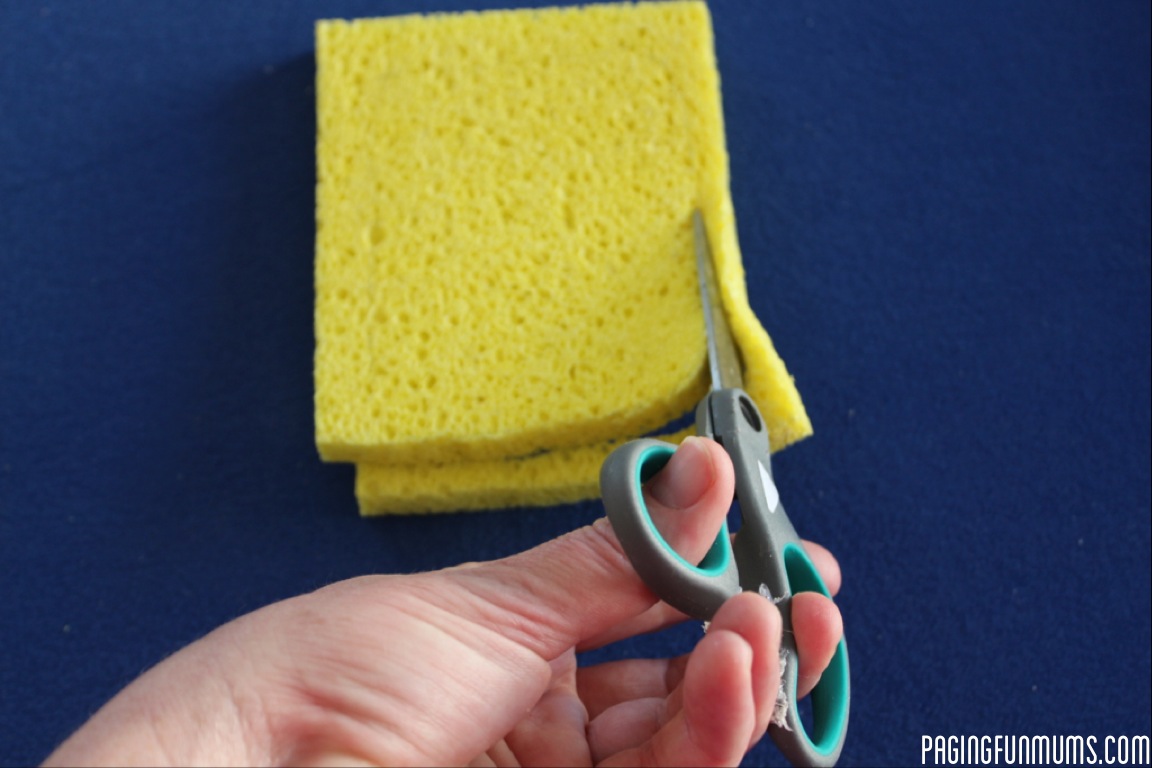
2. Cut around the shape with scissors.
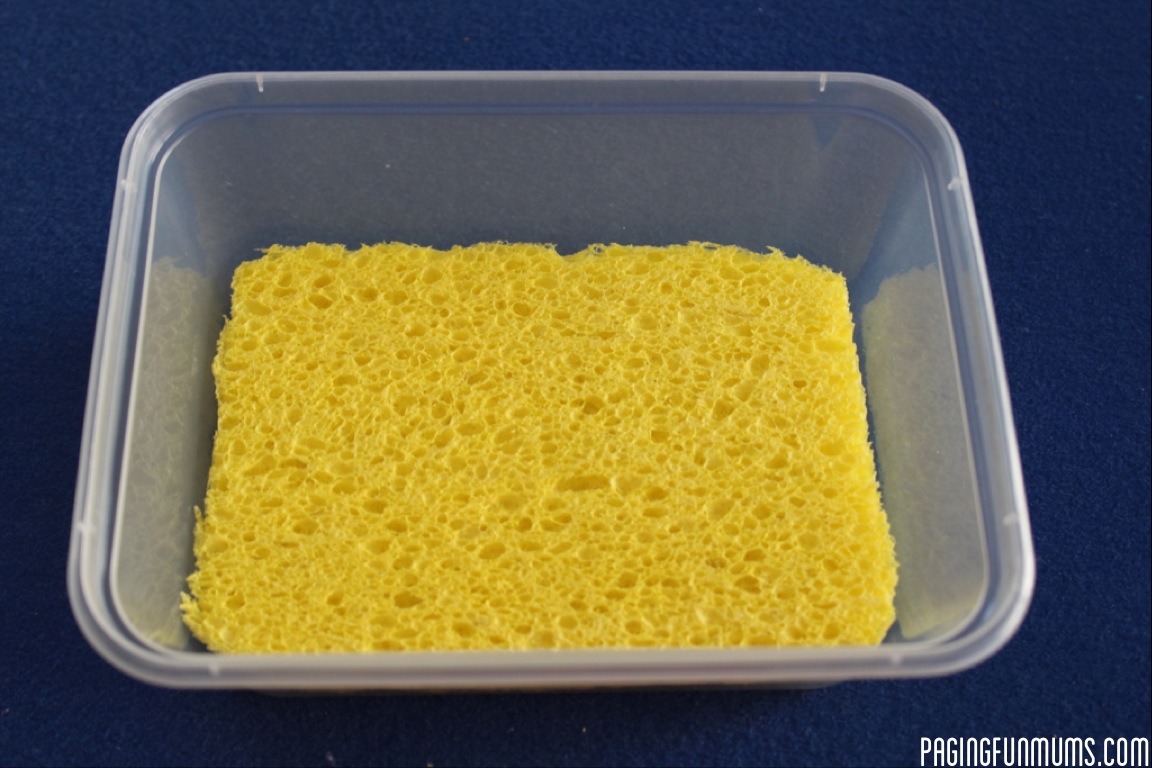
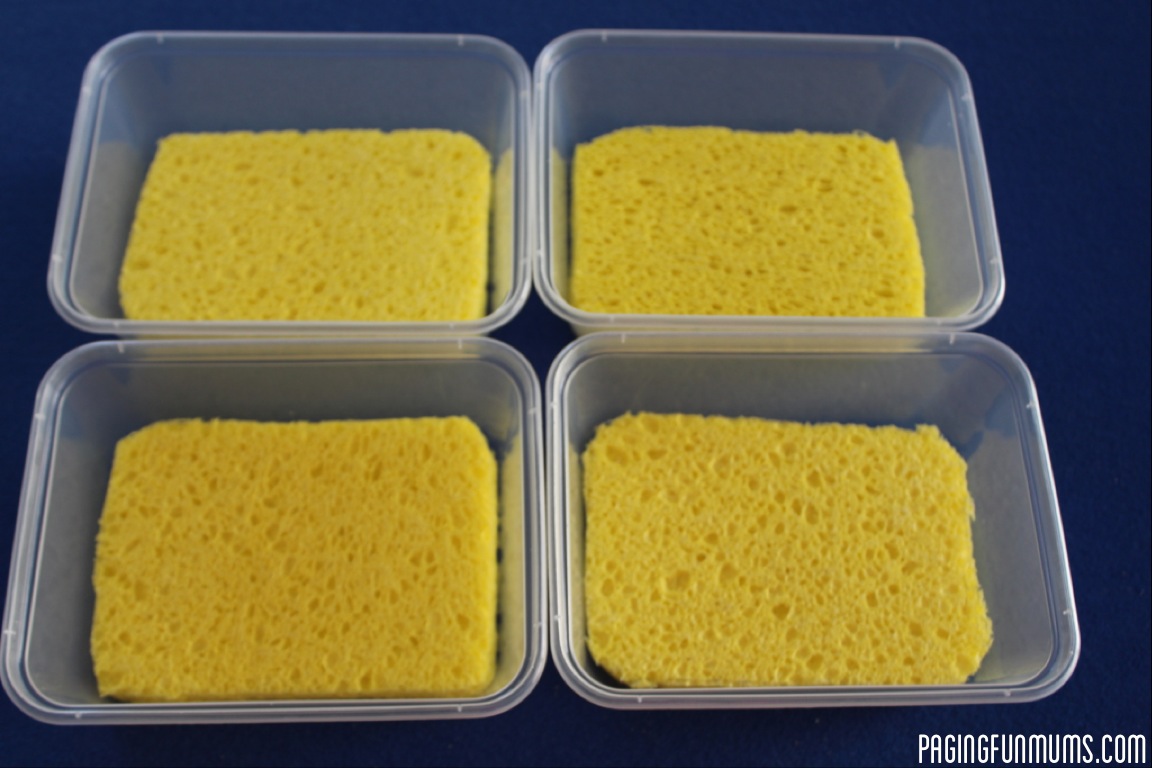
3. Place your sponges into their containers.
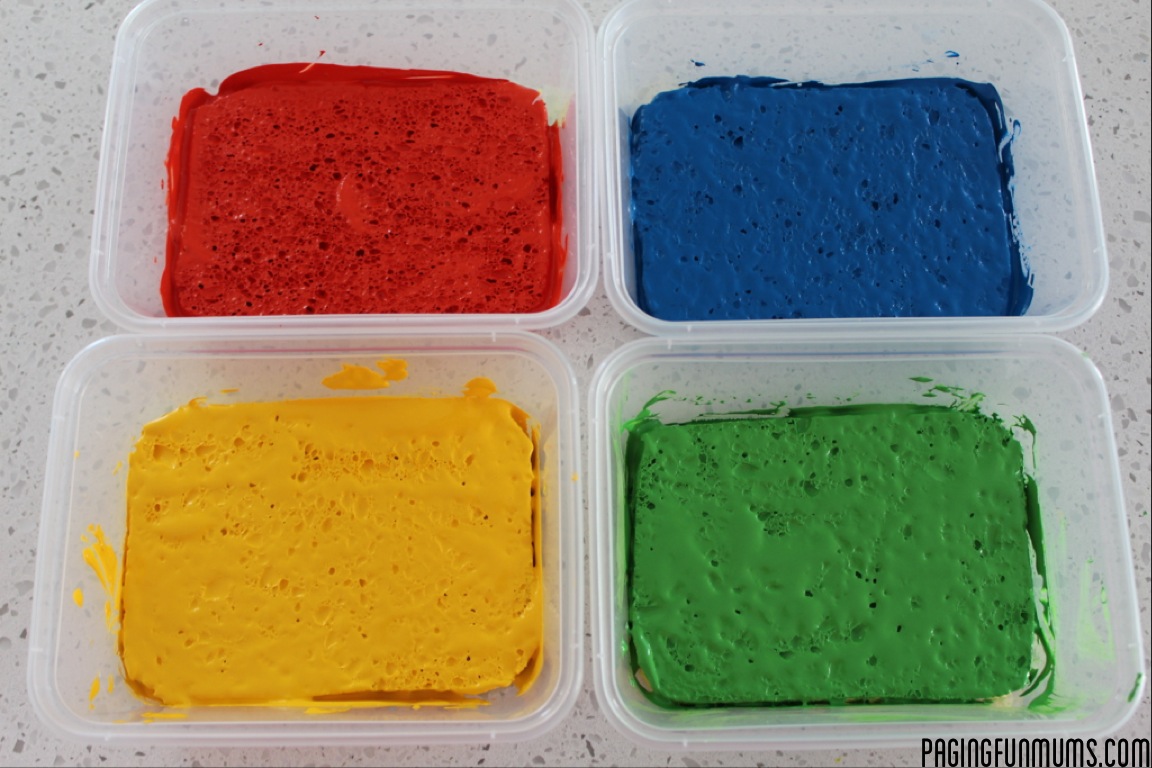
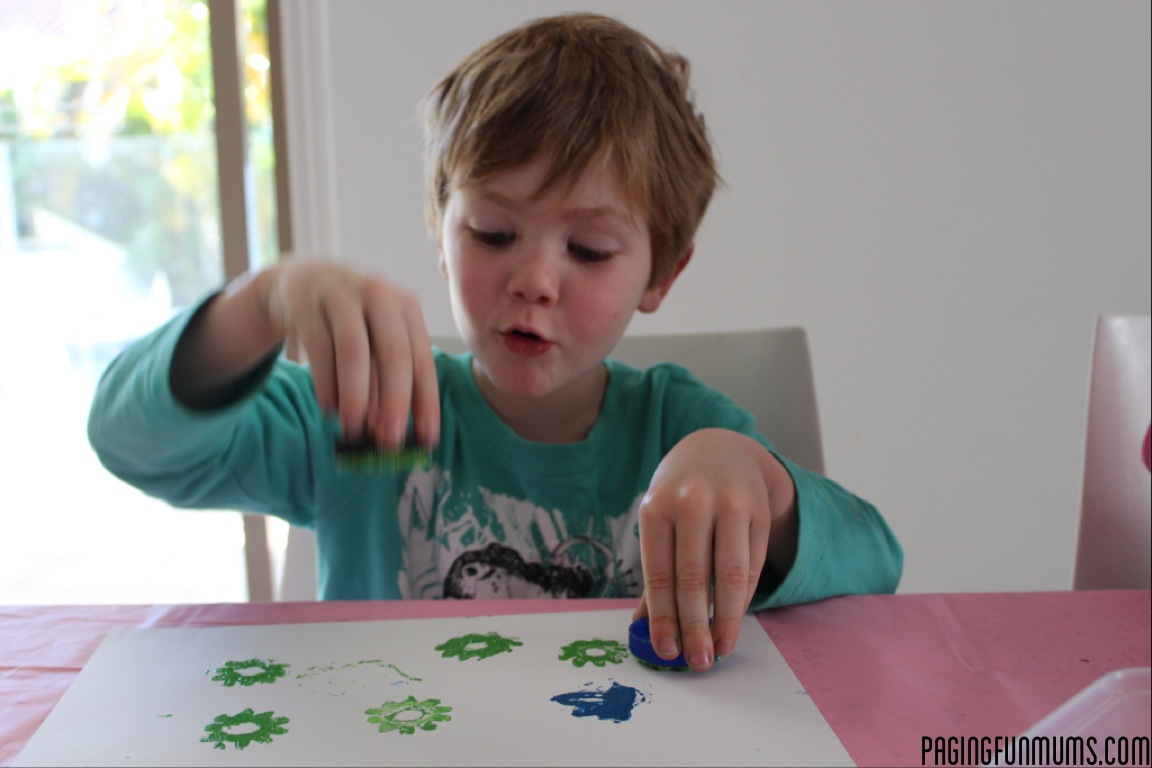
4. Cover each sponge liberally with the paint and stamp away! (make sure you add plenty of paint so the stamp pads do not dry out).
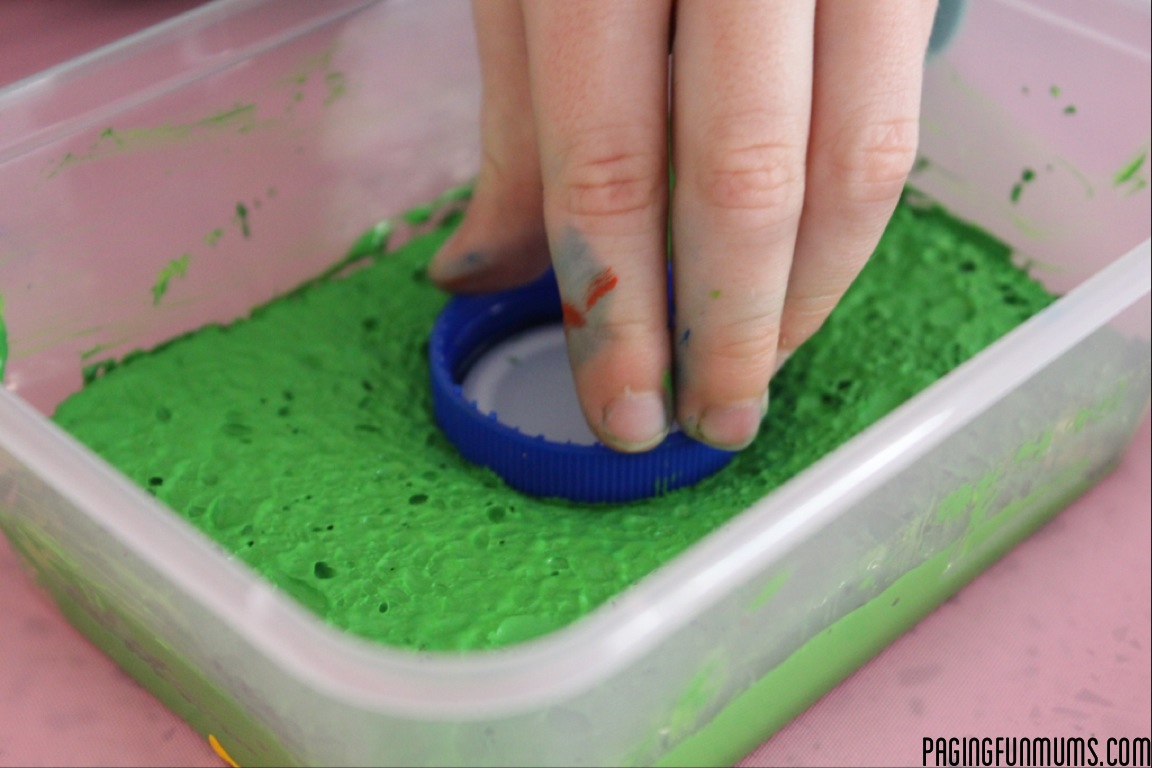
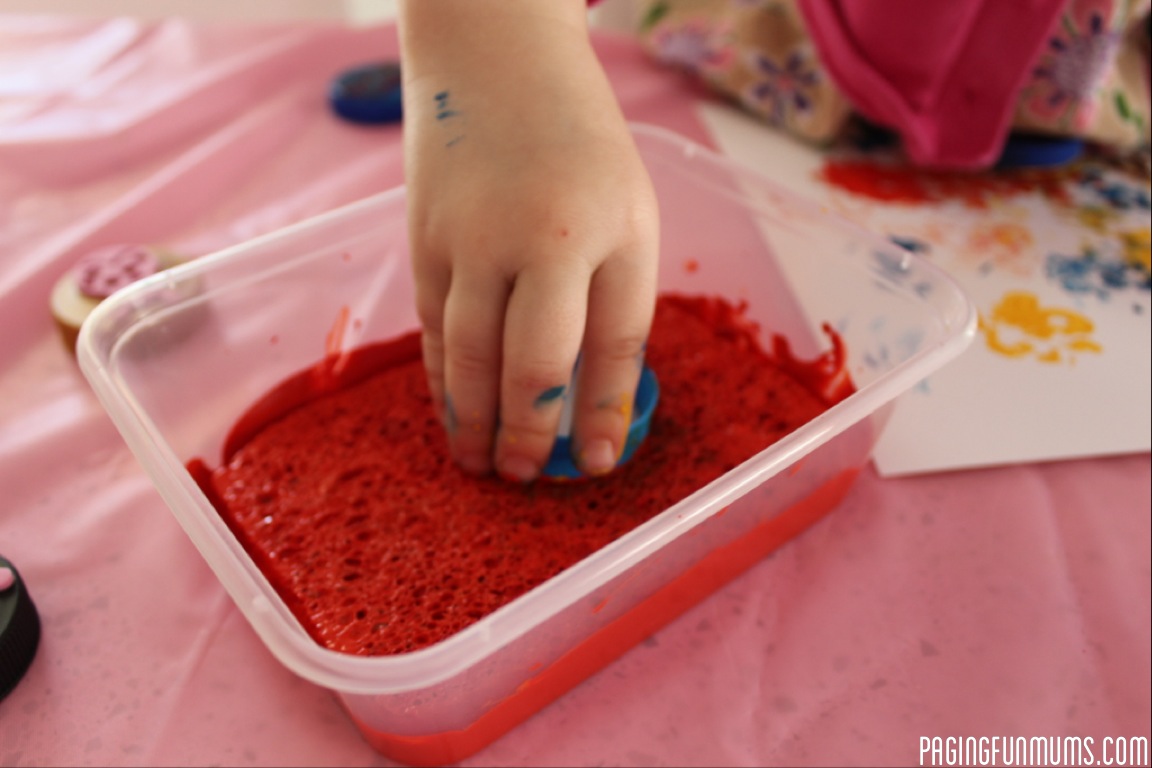
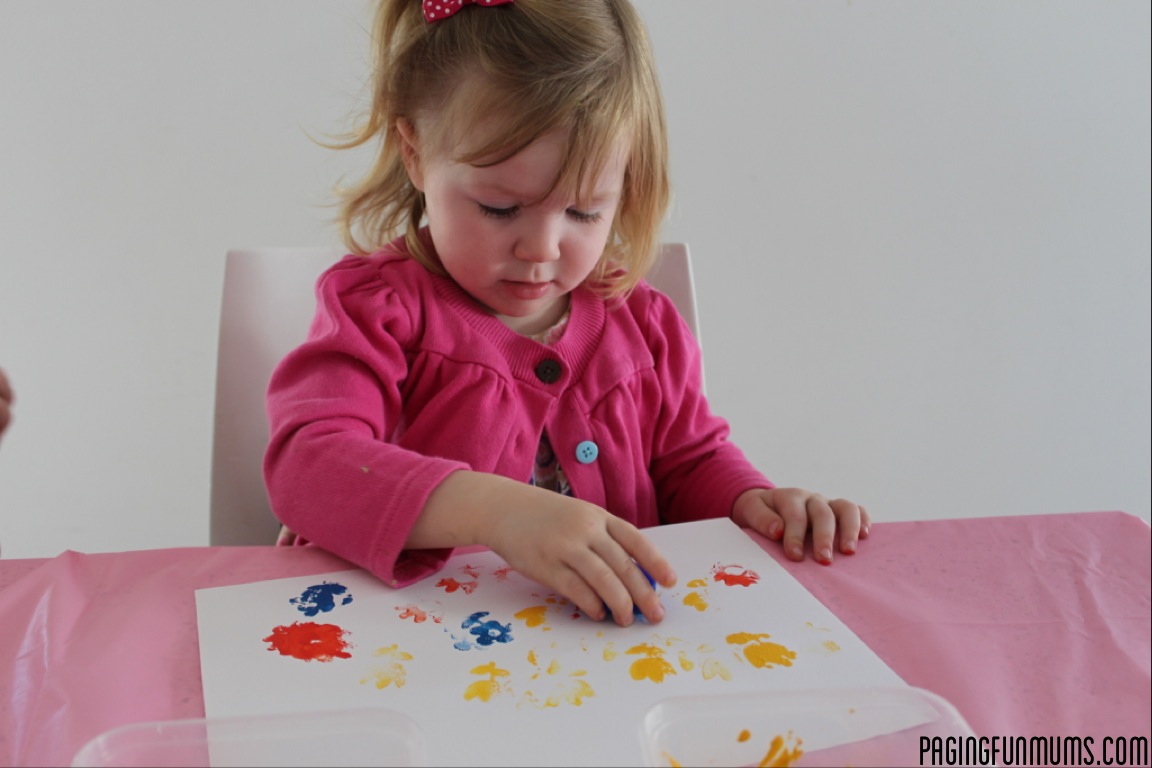
We made these Bottle Top Stamps that you might like to try too!
Place your stamp pad lids on when finished to use over and over!
You may also like our:

What a great idea! Cant wait to try this out with Miss K 🙂
Hi thanks for the idea. I just woke up this morning thinking of checking your website for ideas for stamp pads 🙂 just one doubt. What paints should I use??
Hi Vasudha, I just used some inexpensive children’s paint from the craft store : ) Jenni x
I dampen the sponges with water before adding paint, they absorb better.
Awesome idea! I just wonder how long it keeps? Can bacteria grow on the sponges if they are covered in paint?
Thanks Jess! It will keep for a week for quite a while. If you are worried, you can place it in the fridge : ) Jenni x
As always great ideas are being shared.
Appreciate the time taken by you.
Regards,
Olwyn
How fun!!!
Love your simple inexpensive ideas. Please keep them coming!
Im having trouble finding sponges that are thin without the scrubby stuff. How thick were the sponges you used and where did you buy them?