• Skip to primary navigation
  • Skip to content
  • Skip to primary sidebar
  • Skip to footer

Paging Fun Mums

Replacing Insanity with fun!

  • Home
  • About Us
  • Kid’s Craft
    • Mother’s Day
    • Father’s Day
    • Valentine’s Day
    • Others
  • Kids Activities
    • 101 Kids Activities
    • Gardening with Kids
  • Seasonal Crafts
    • Easter
    • Christmas
    • New Years
    • St Patrick’s Day
  • Recipes
  • Protecting your children with iPads & iPhones
  • Privacy Policy

DIY Personalised Clock

June 11, 2013 by pagingfunmums 10 Comments

DIY Personalised Clock

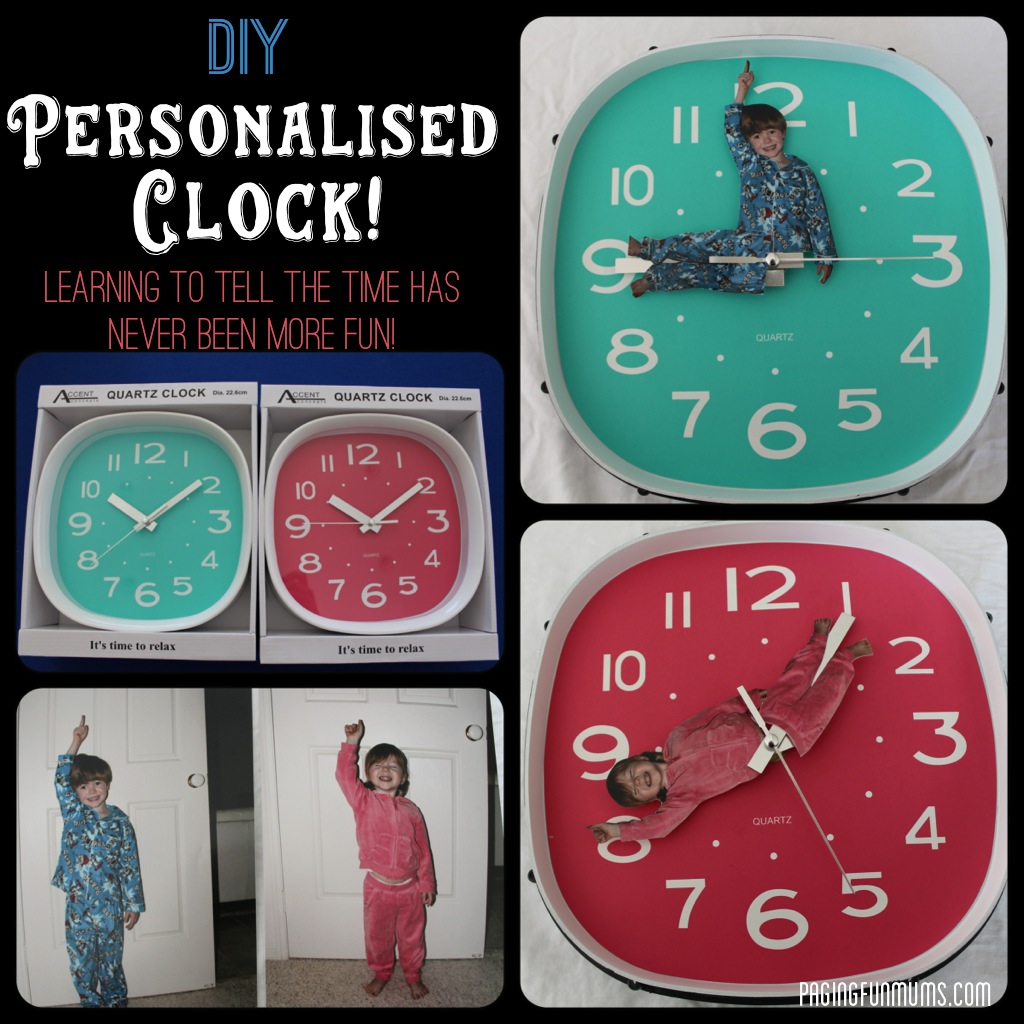
Thats right, DIY Personalised Clock!

I found this fantastic idea over on Pinterest here  and just HAD to make it.

I’m keen to start Master L (5yo) on learning the time so I thought this was a FUN way to get his learning juices flowing!

This would also make a wonderful gift too! It may look difficult to make, but trust me, it was a piece of cake! It’s also very inexpensive – in total it only cost me a little over $10!

You will need:

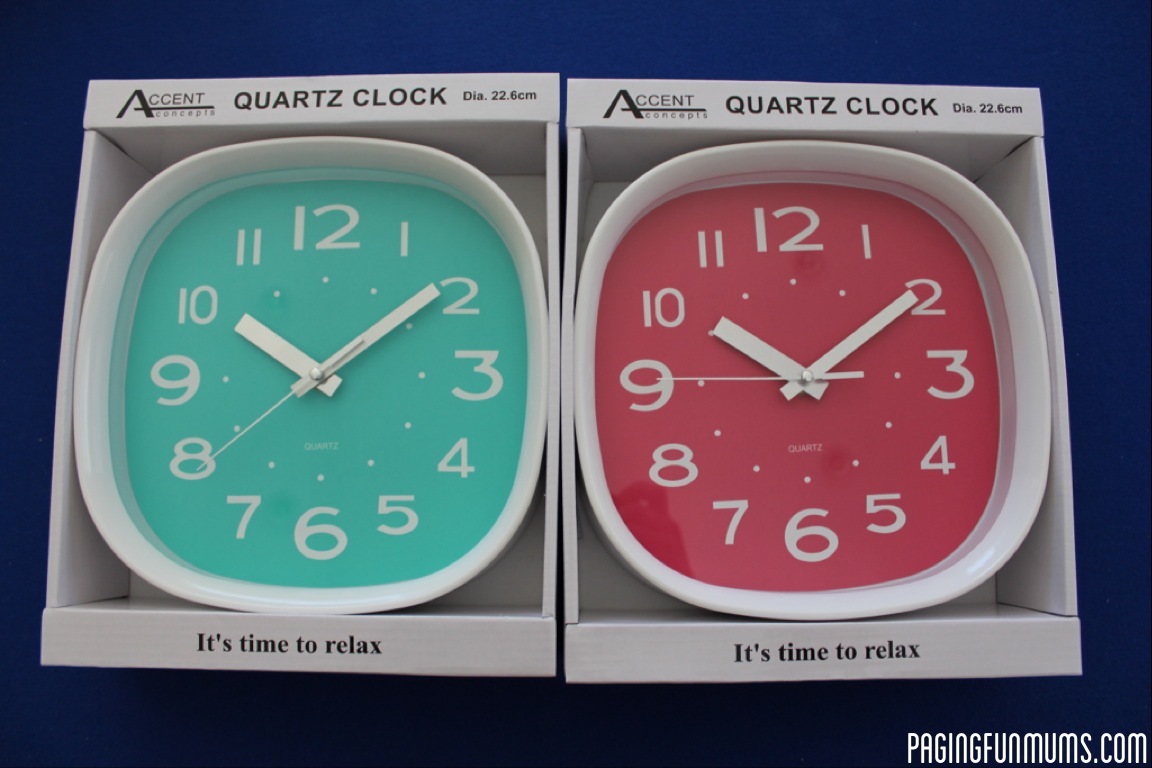
22cm clock (9 inches)

DIY Personalised Clock

Glue (I always use a glue gun, but craft glue would work just as well)

Screwdriver

Clock battery

Scissors

DIY Personalised Clock

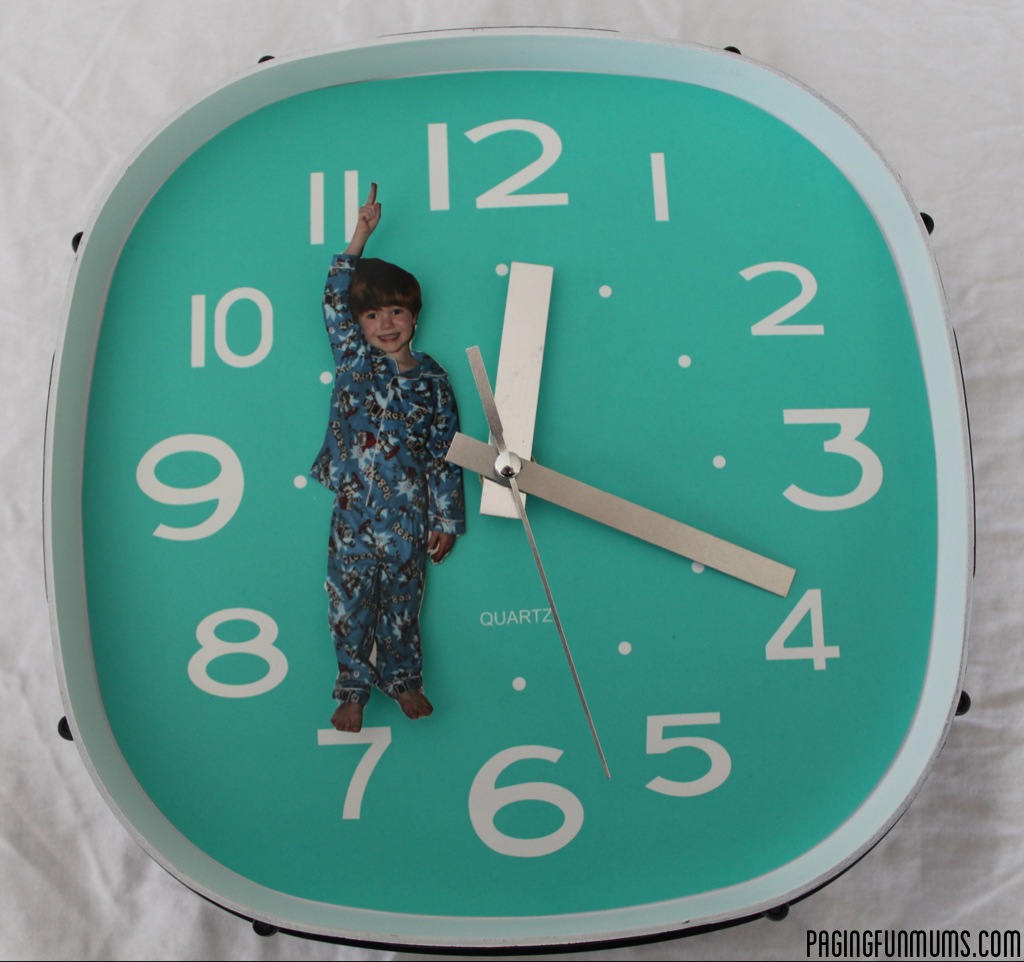
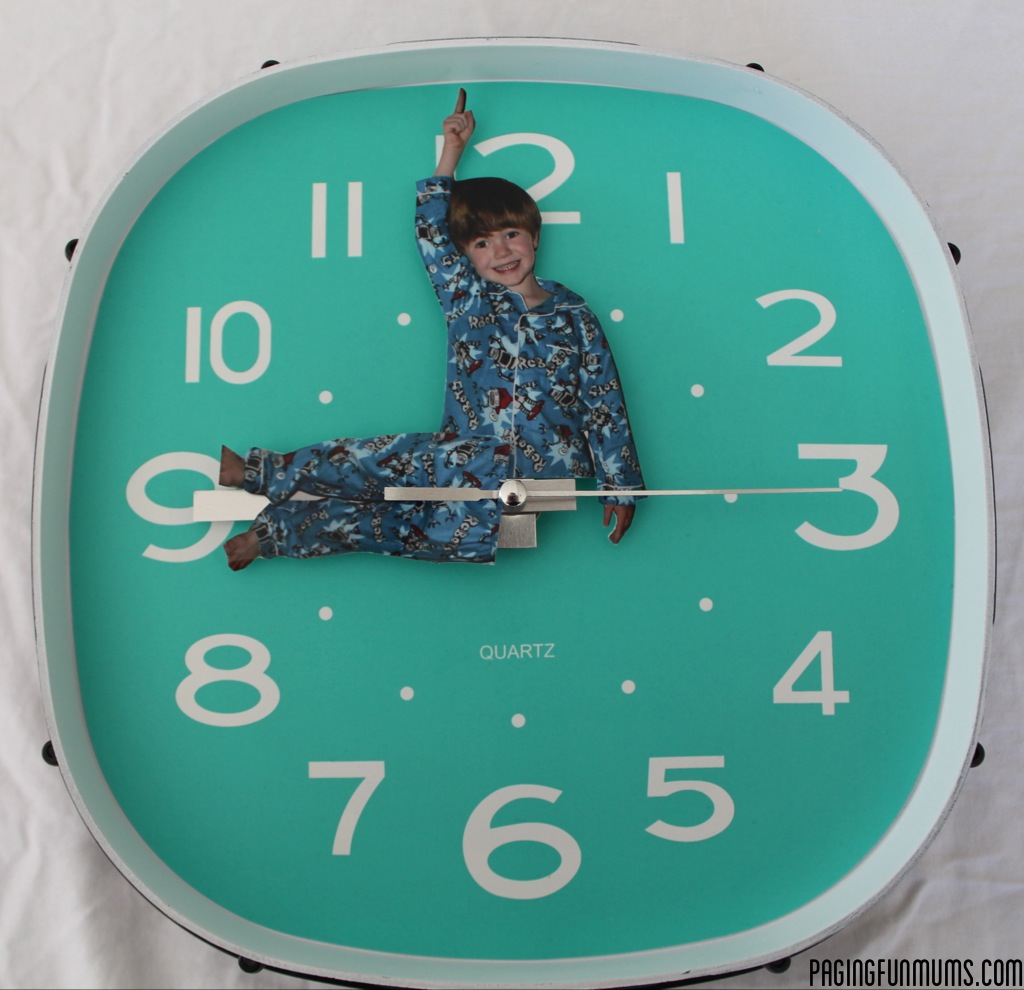
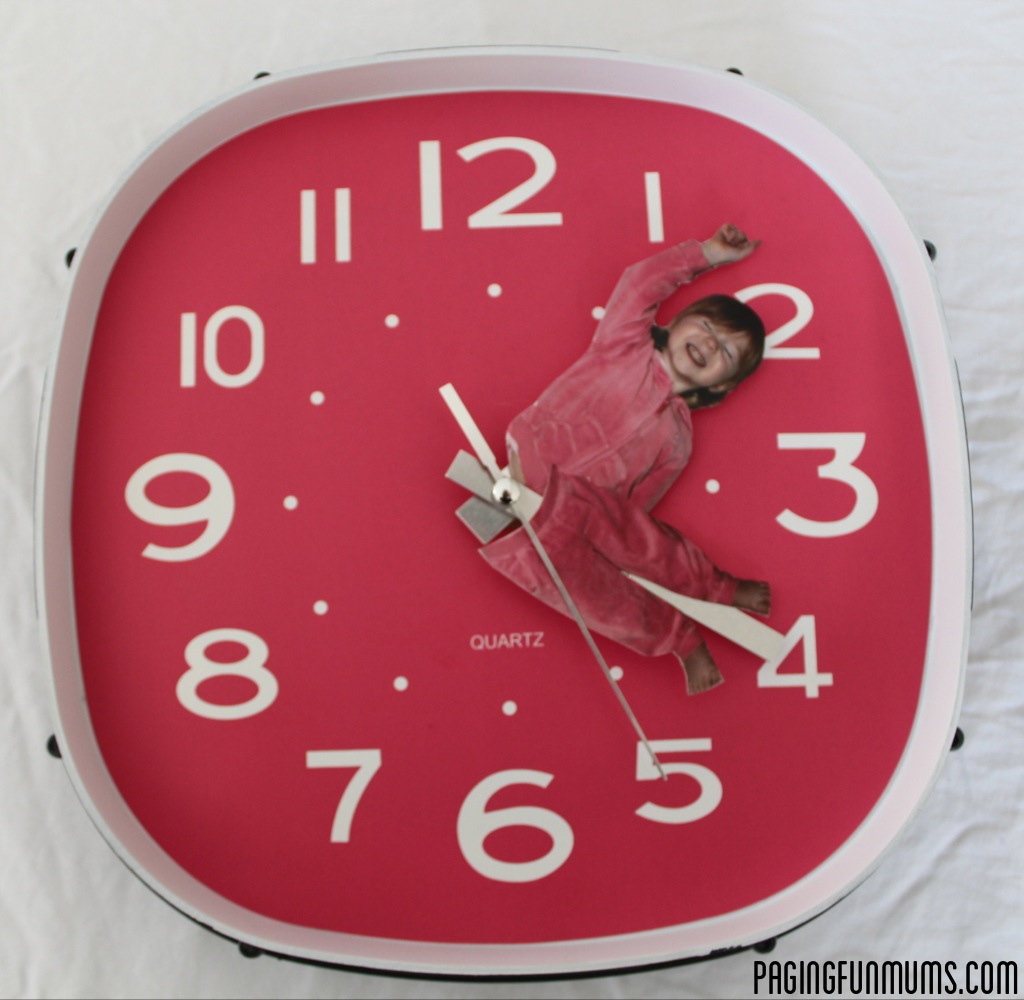
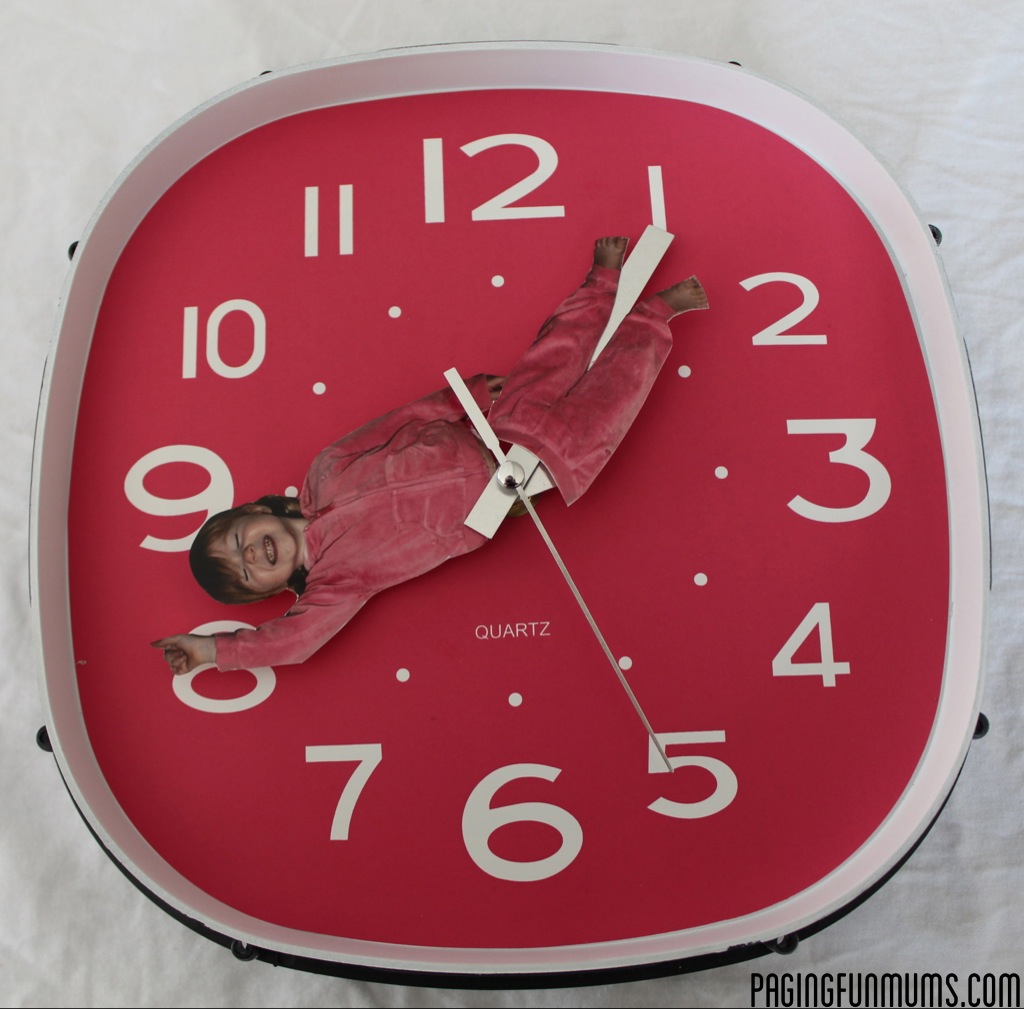
First take a photo of your ‘subject’. It looks really good if the clothing is matching (i.e. the same colour/pattern top as the bottom). Master L had these cool new PJ’s & Miss A rocked the Pink Tracksuit.

Make sure you get the whole  ‘subject’ in the shot from the tip of their finger to the bottom of their toes and take the photo front on.

The ideal pose it to have one finger pointing straight up with their arm close to their ear & the other arm down by their side.

I printed the images on both a 6×4 and 5×7 size photo. I ended up using the 5×7 but had I cropped my image to fit the entire photo, the 6×4 would have been fine.

DIY Personalised Clock

DIY Personalised Clock

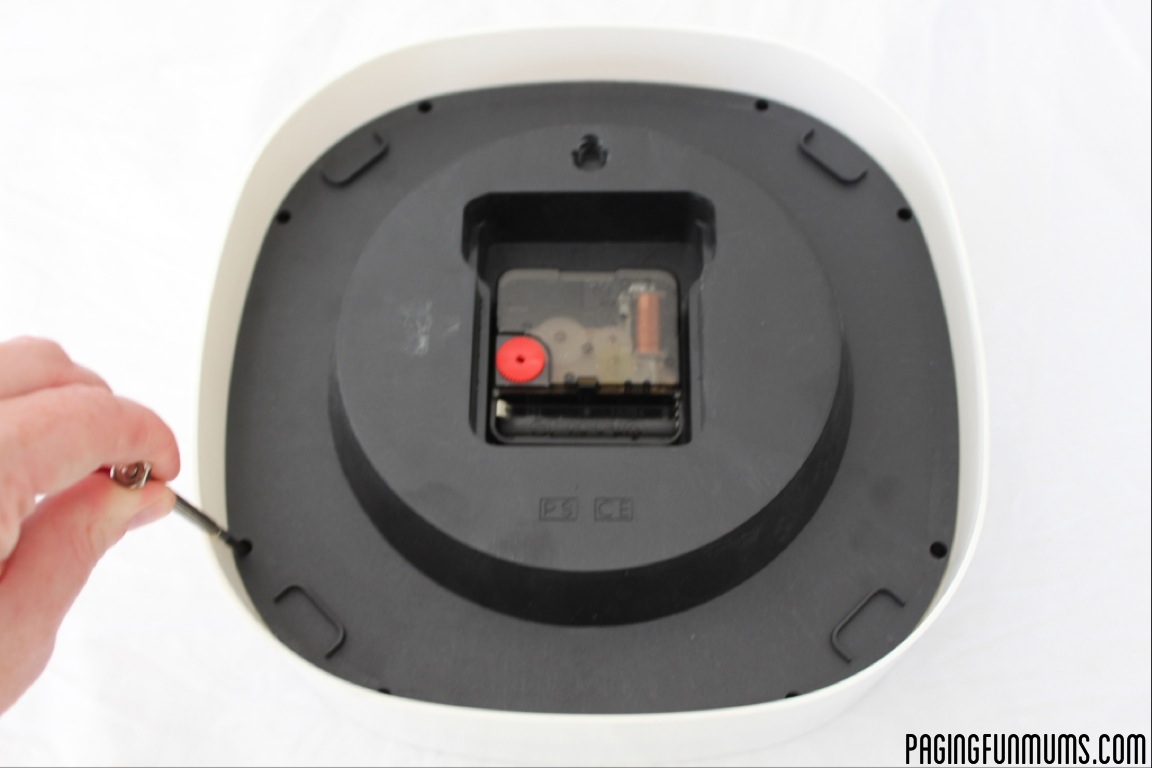
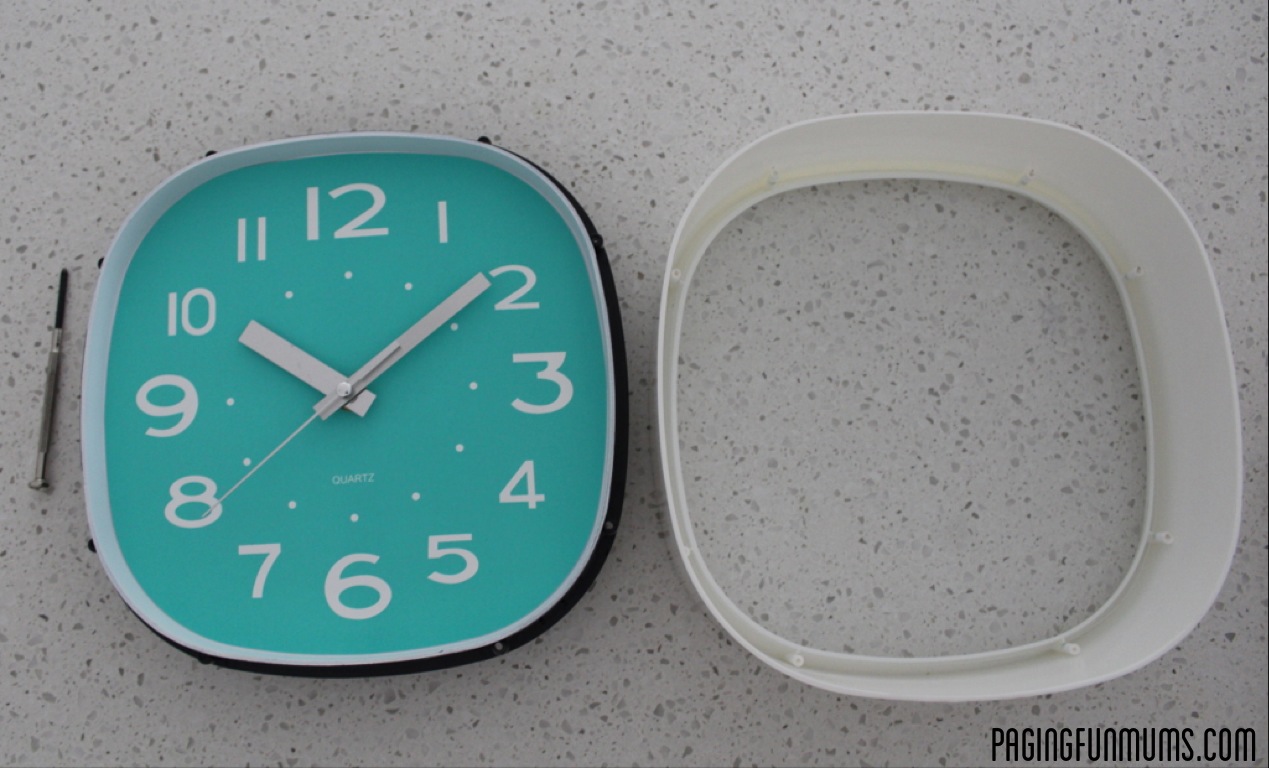
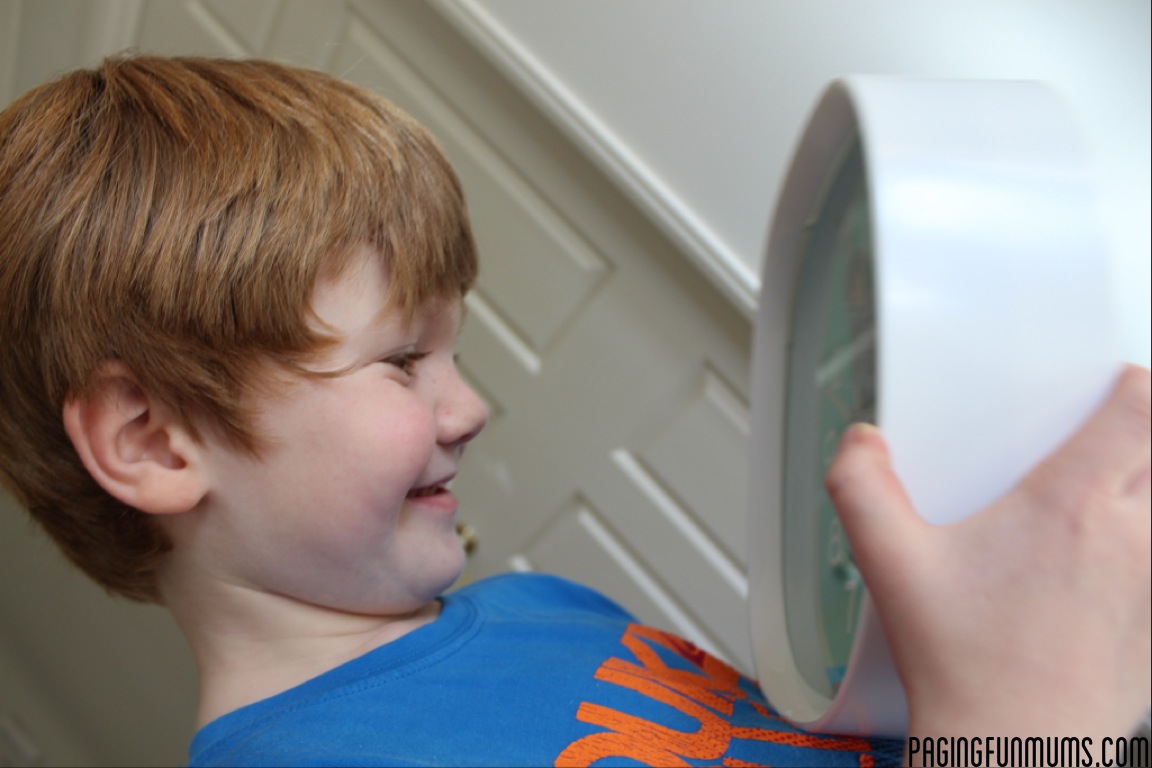
Now using your screwdriver, take the front off the clock and keep the screws in a safe place!

You can pull off the seconds hand at this point, but I didn’t bother.

DIY Personalised Clock

Now cut your subjects out of the photos carefully all the way around.

DIY Personalised Clock

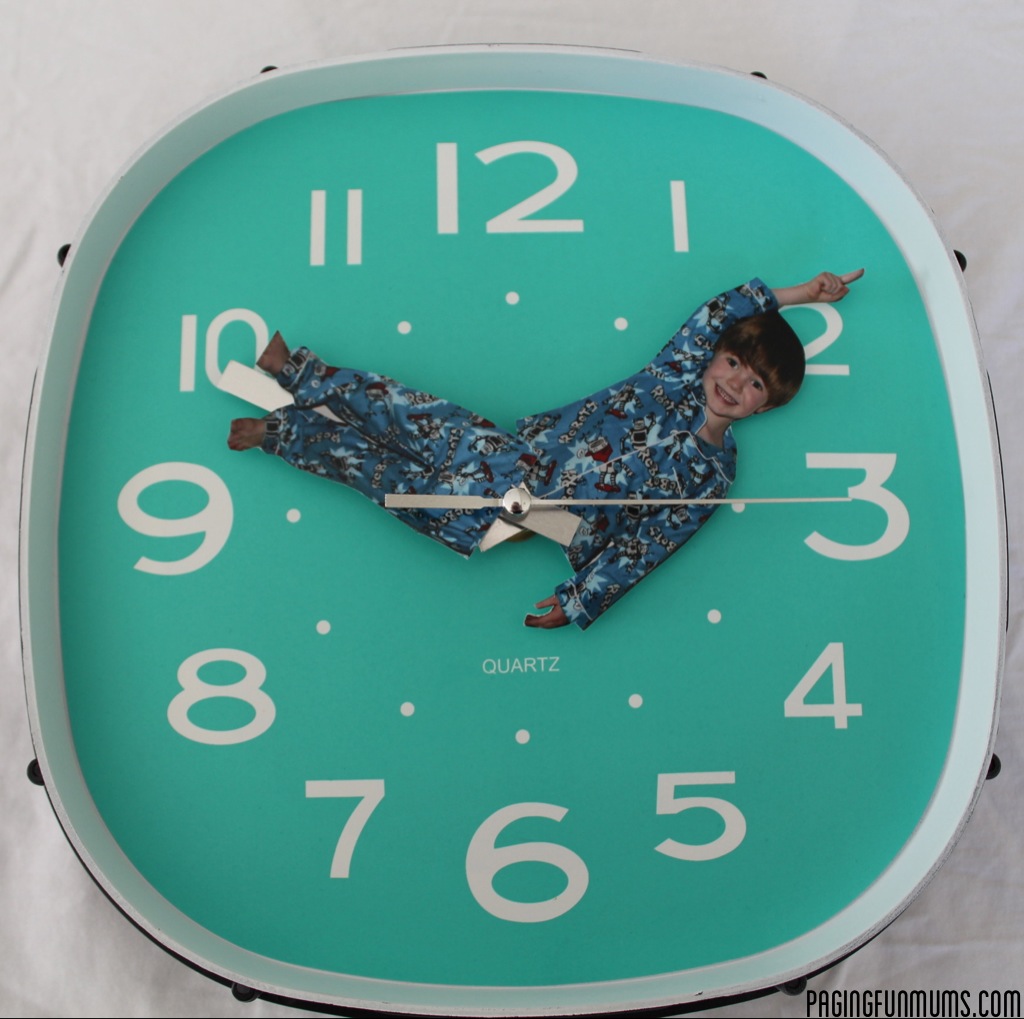
Then have a play and work out where you are going to cut the picture in half…obviously the waist would be the best place : )

Then glue both halves to the clock hands. Make sure both halves sit nice and flat to ensure the clock hands can go all the way around with ease.

DIY Personalised Clock

Add your battery to the clock and double check it works correctly.

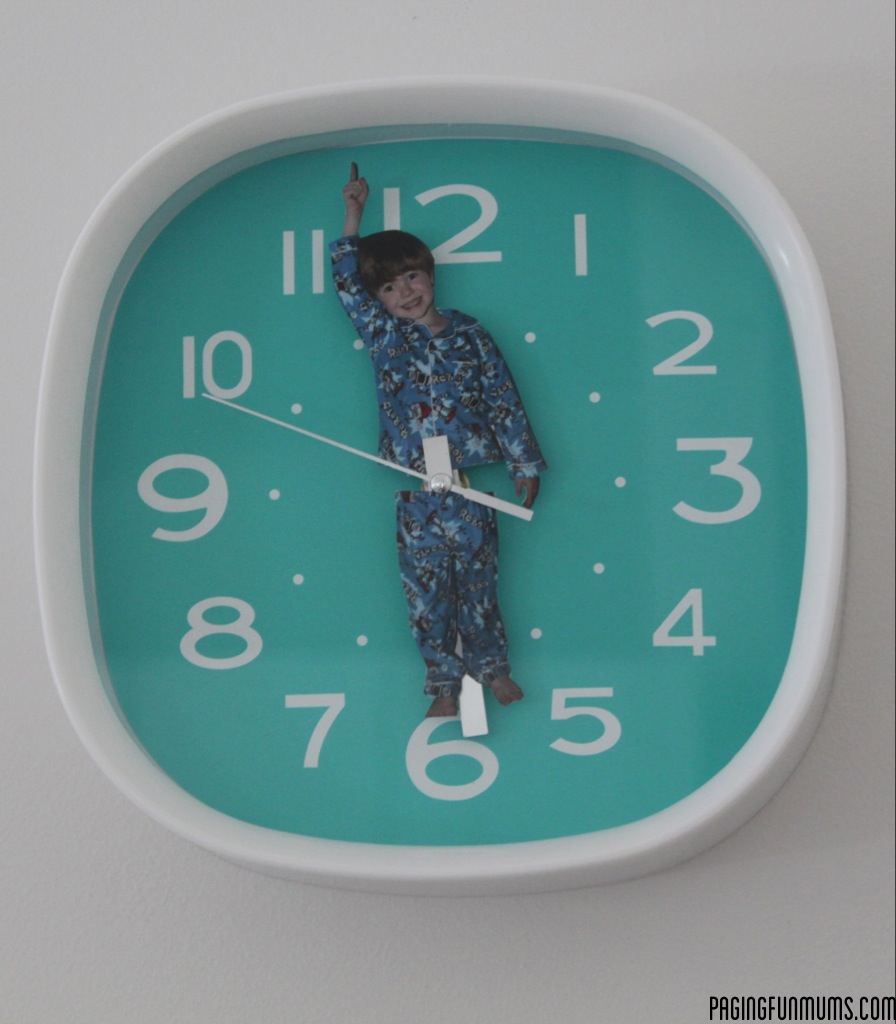
Reassemble your clock and you are ready to start teaching the time!

Master L was so excited to receive his special gift! It was the cutest! This is his sweet little face!

DIY Personalised Clock

DIY Personalised Clock

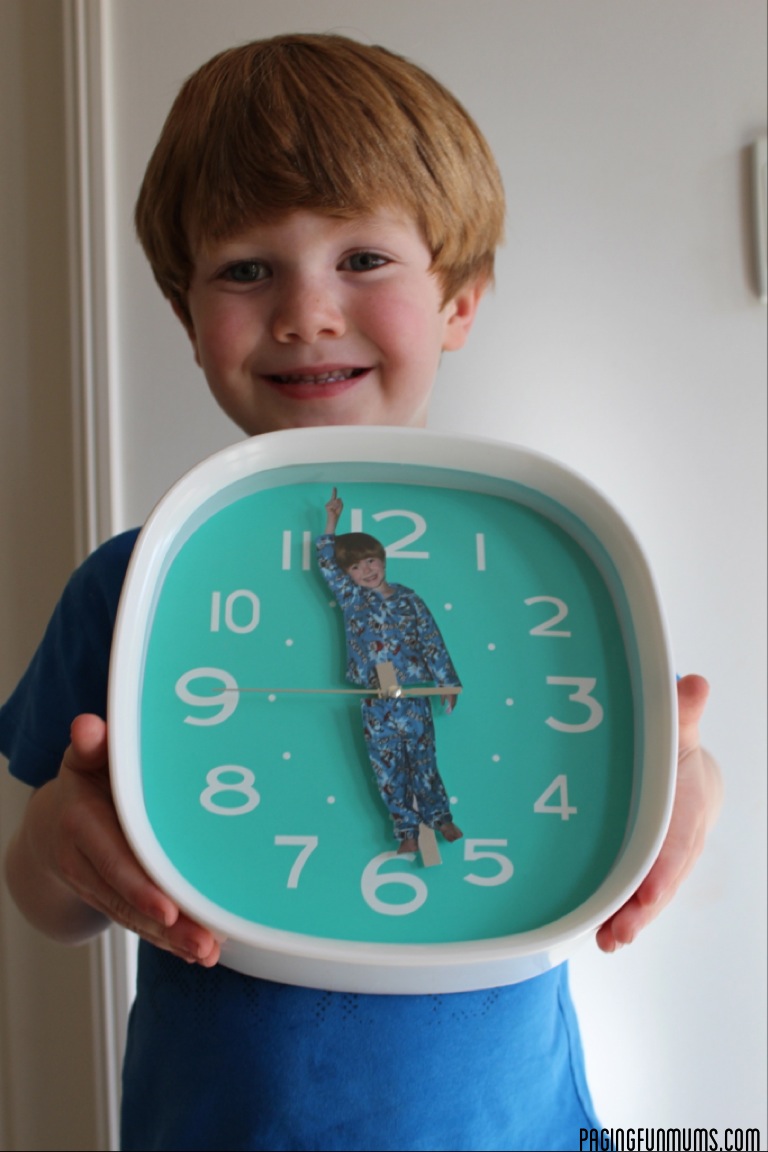
I was so glad I did this, both of the kiddies loved their clocks! Such a nice little keepsake for them to have in their room!

DIY Personalised Clock DIY Personalised Clock DIY Personalised Clock DIY Personalised Clock DIY Personalised Clock


If you enjoyed this activity, you may also like:

Sand Footprint Craft

Family Handprint Keepsake

DIY Personalised Magnet Puppets

Thumbprint Necklace Keepsake

If you want to become a Fellow Fun Mum Member & receive all of our fun craft, recipes & activities as well as special offers & promotions – click the button on our home page : )
 
Oh, and why not pop over and ‘like’ us on Facebook OR perhaps Twitter is your thing. . You can also find us on Pinterest & Instagram too!            

Filed Under: Gift Ideas, Kids Craft, Others Tagged With: custom clock, diy personalised clock, fun way to learn to tell the time, photo hands clock

« DIY Paint – Made from household ingredients
My kids are definitely the best thing that has happened to me! – Jenni »

Reader Interactions

Comments

  1. Leslie Ramey says

    June 11, 2013 at 3:11 pm

    That is hilarious!! I’ll have to do this one!!

    Reply
    • pagingfunmums says

      June 12, 2013 at 12:03 am

      I know right! So funny! We’d love for you to send us a pic if you end up doing it

      Reply
  2. Ketty Jones says

    July 5, 2013 at 10:33 am

    Unbelievable! I am a great lover of all these creative and new ideas. I have done something similar to it. I have made a wall clock by using a handmade paper. I wish, I could post a picture of it. 🙁

    Reply
    • pagingfunmums says

      July 6, 2013 at 11:05 pm

      That sounds great Ketty! We’ve got plenty more ideas for you too : ) Jenni x

      Reply
  3. Cheese and Pickles says

    February 26, 2014 at 2:38 am

    Oh what a fantastic idea. I love how unique this is! And so easy to do. Thank you for sharing this guide.

    Reply
  4. Moji says

    October 8, 2015 at 1:57 am

    Love this! I also made my children’s presonalized clocks! Thanks for your idea!

    Reply
  5. Sarah Luddy says

    November 13, 2015 at 7:27 pm

    Please can you tell me where your clocks are from? They are perfect!

    Reply
    • pagingfunmums says

      November 15, 2015 at 10:18 am

      Hi Sarah, I got them from my local $2 shop – ‘The Bargain Box’. They are cute aren’t they! Jen x

      Reply
      • Sarah Luddy says

        November 15, 2015 at 8:37 pm

        Thanks. I will look around me for something similar 🙂

Trackbacks

  1. 10+ Simple Handmade Gifts from Children - Moments A Day says:
    April 24, 2014 at 11:44 am

    […] Personalised Clock from Paging Fun Mums […]

    Reply

Leave a Reply Cancel reply

Your email address will not be published. Required fields are marked *

Primary Sidebar

Browse Paging Fun Mums

Get your Christmas Shopping done at Brisbane Airport…PLUS an exciting giveaway!

Elf on the Shelf Skittles Trick

My Games Room Table Top Arcade Review – this is awesome!

Footer

Any questions or ideas? Please contact us.

Our PO address is:
PO BOX 5673
Maroochydore
BC QLD 4558

Privacy Policy

Find our Privacy Policy here.

Copyright © 2019 · Foodie Pro Theme by Shay Bocks · Built on the Genesis Framework · Powered by WordPress