
I really wanted to do a Craft with my 2 year old Miss A whilst my 4 year old Master L was at kindy. It seems that she just tags along with the other ‘big kid’ activities that take place (without a care in the world of course). So going through my millions of pins under ‘Kids Craft Ideas’, I came across this beautiful little creation that I had pinned eons ago! at Coloured Buttons.
Now, to be fair, this really wast a craft that Little Miss A could take part in but I knew she would have hours of fun with it (plus, by the time I did the kindy run, hit the post office AND the craft shop…it was her nap time anyway).
Now, before I go ahead, I just want to give a little warning…this craft may look little, but the amount of work that went into this was HUGE! It wasn’t so much as difficult as it was finicky! But in the end, I am very happy with the results and Little Miss A just loves it!
Materials

Now, you can really use whatever materials & embellishments you like…that’s the best part!
I used:
Matchbox (you can use the Aussie ‘Red Head’ packs or buy them at a Craft Store like I did)
Baby dolls (again from most craft or $2 stores)
Felt
Beads
Material
Craft Stuffing
Beads
Ribbon
Lace
Thick Cardboard
Various Embellishments i.e: glittery bows, flower beads, sequins
Scissors
Ruler
Glue Gun
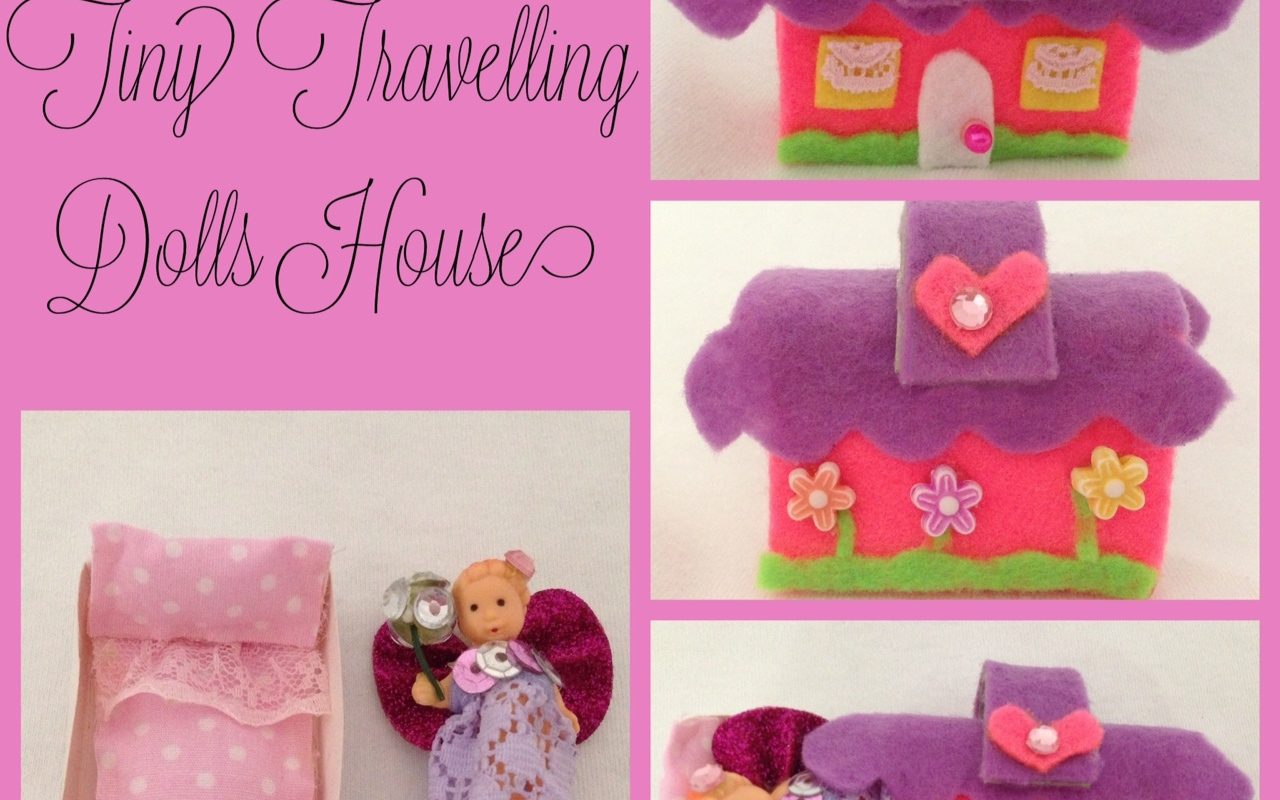
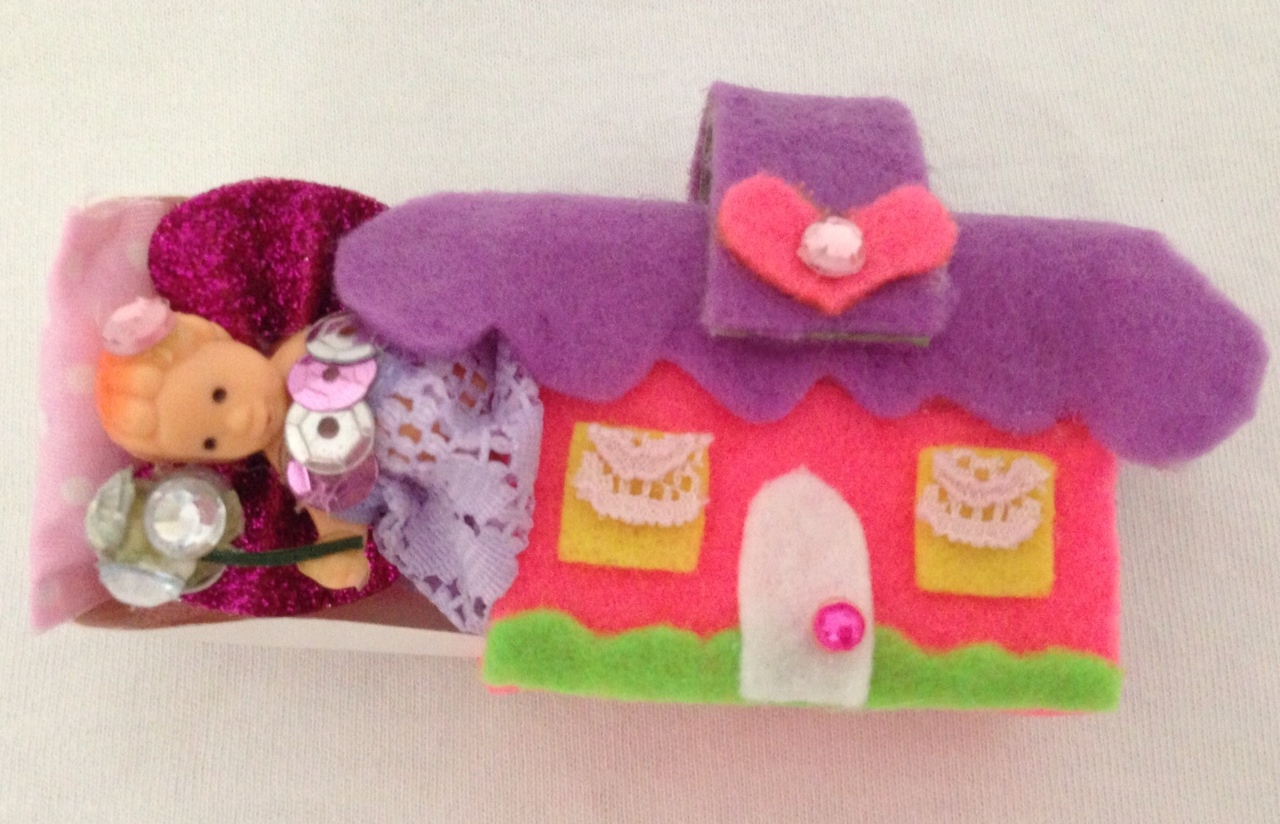
Matchbox Doll House
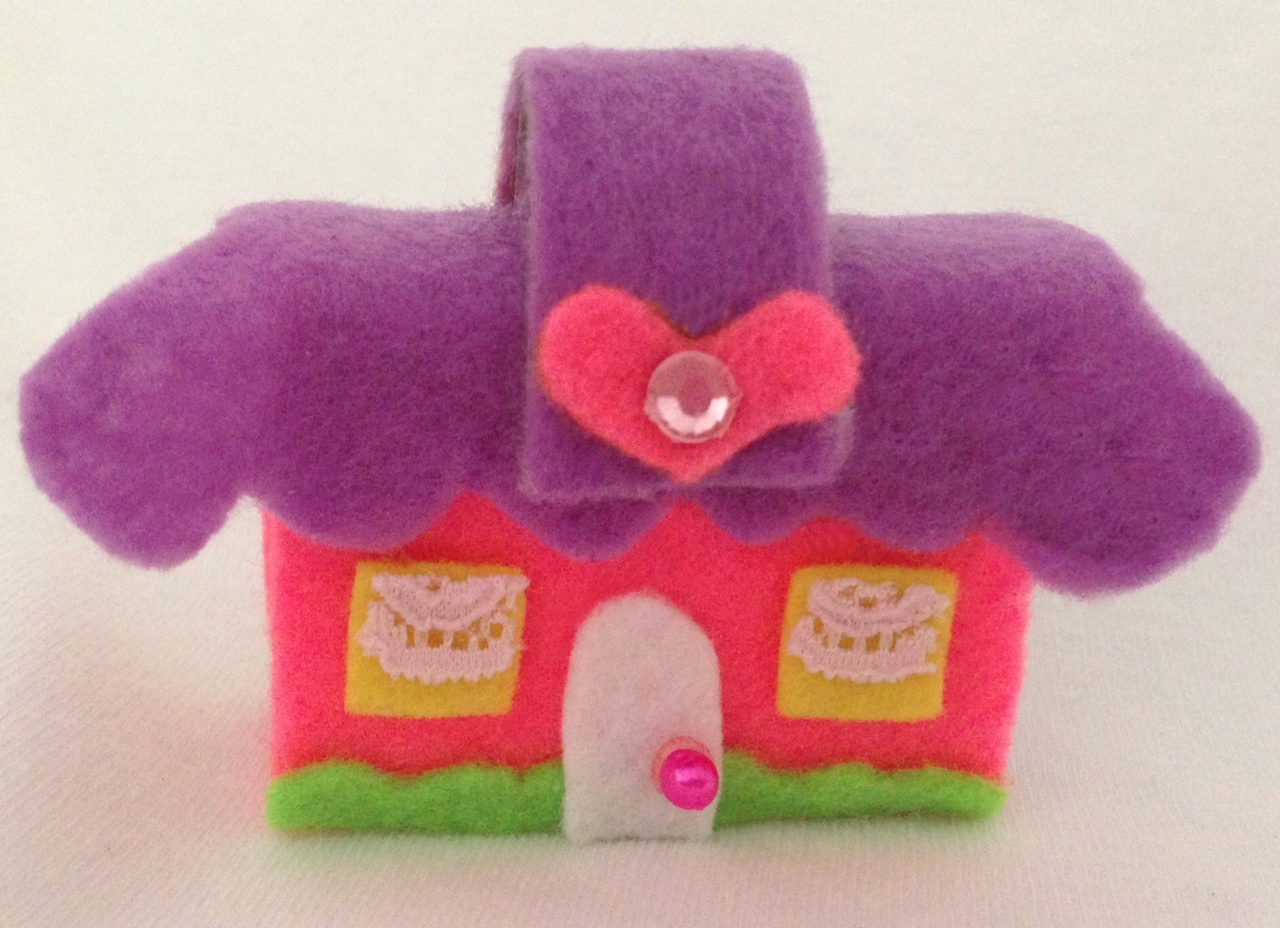
First, I measured & cut the base of the doll house from the felt, then glue-gunned it to the matchbox,
Then I attached the roof…I think it’s a really nice effect to have it peak out into a roof as opposed to just leaving the rectangle shape…and don’t forget the scalloped edge!
Then I cut the cardboard into a small rectangle shape, covered in felt & attached it to the roof to create a ‘loop’ to add a ribbon at the end for Little Miss A to wear around her neck.
Then cut two little tiny squares for the windows & added a teeny tiny ‘lace curtain’ for each (these are some of the ‘finicky’ parts I was talking about).
Then I cut along one of the straight edges of a green sheet of felt, again, in a scallop fashion to form the grass at the front door.
Then I cut an arch shape for the door & attached a little pink (of course!) bead for the door knob & glued this over the top of the grass.
For extra cuteness, I cut a teeny little heart to perch atop the chimney/loop & adorned that with a little bit of bling!
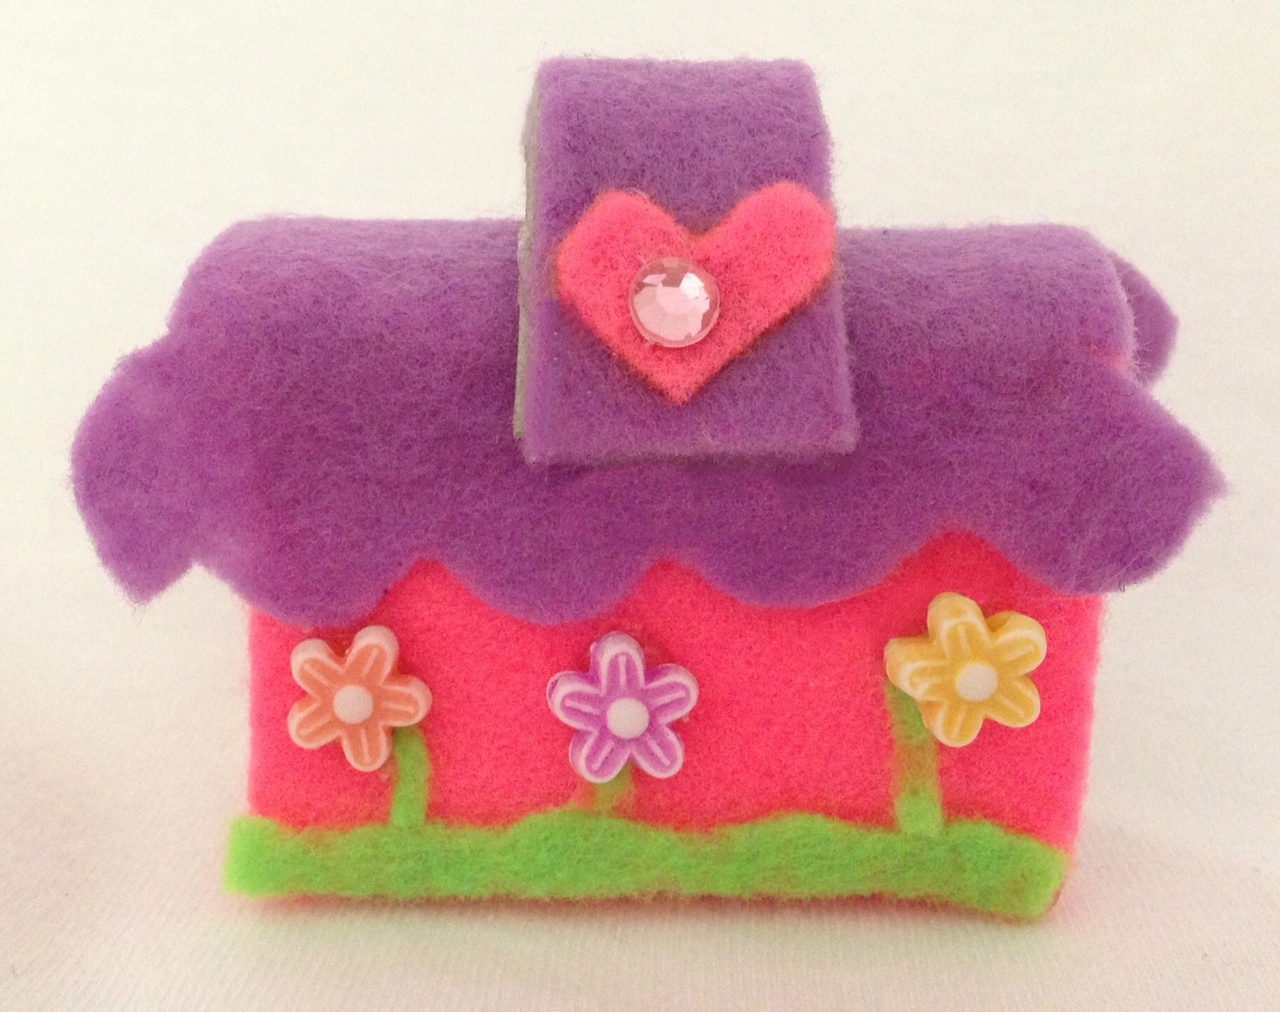
Once the front of the Doll’s House was completed..it was time for the back. This was quite easy, again, I scalloped some grass & cut tiny little flower stems for the flowers out of the green felt & attached flower beads.
Then it was time to sort the Fairy’s sleeping arrangements!
I used some pink & white polka dot cotton fabric & measured & folded to form a sheet, glued 3 sides together, then stuffed with Craft stuffing Then added a small piece of lace to to the top end of it
I then did the same to shape a teeny, weeny pillow (again FINICKY!)
Then it was on to the
Fairy Doll
I found these very sweet little baby dolls at the $2 shop (which you would normally use as Party Favours & Cupcake Toppers for Baby Showers). I wrapped a piece of lace around her bodice & glued in place for the dress then decorated the top with some sequins. I also found some little girl hair bows which I stuck on her back for wings, then made her a wand out of some bling beads & a stem from a fake flower bunch & adorned her head with a teeny jewel. I just love the way the Teeny Fairy turned out, she fits perfectly in her little bed too!
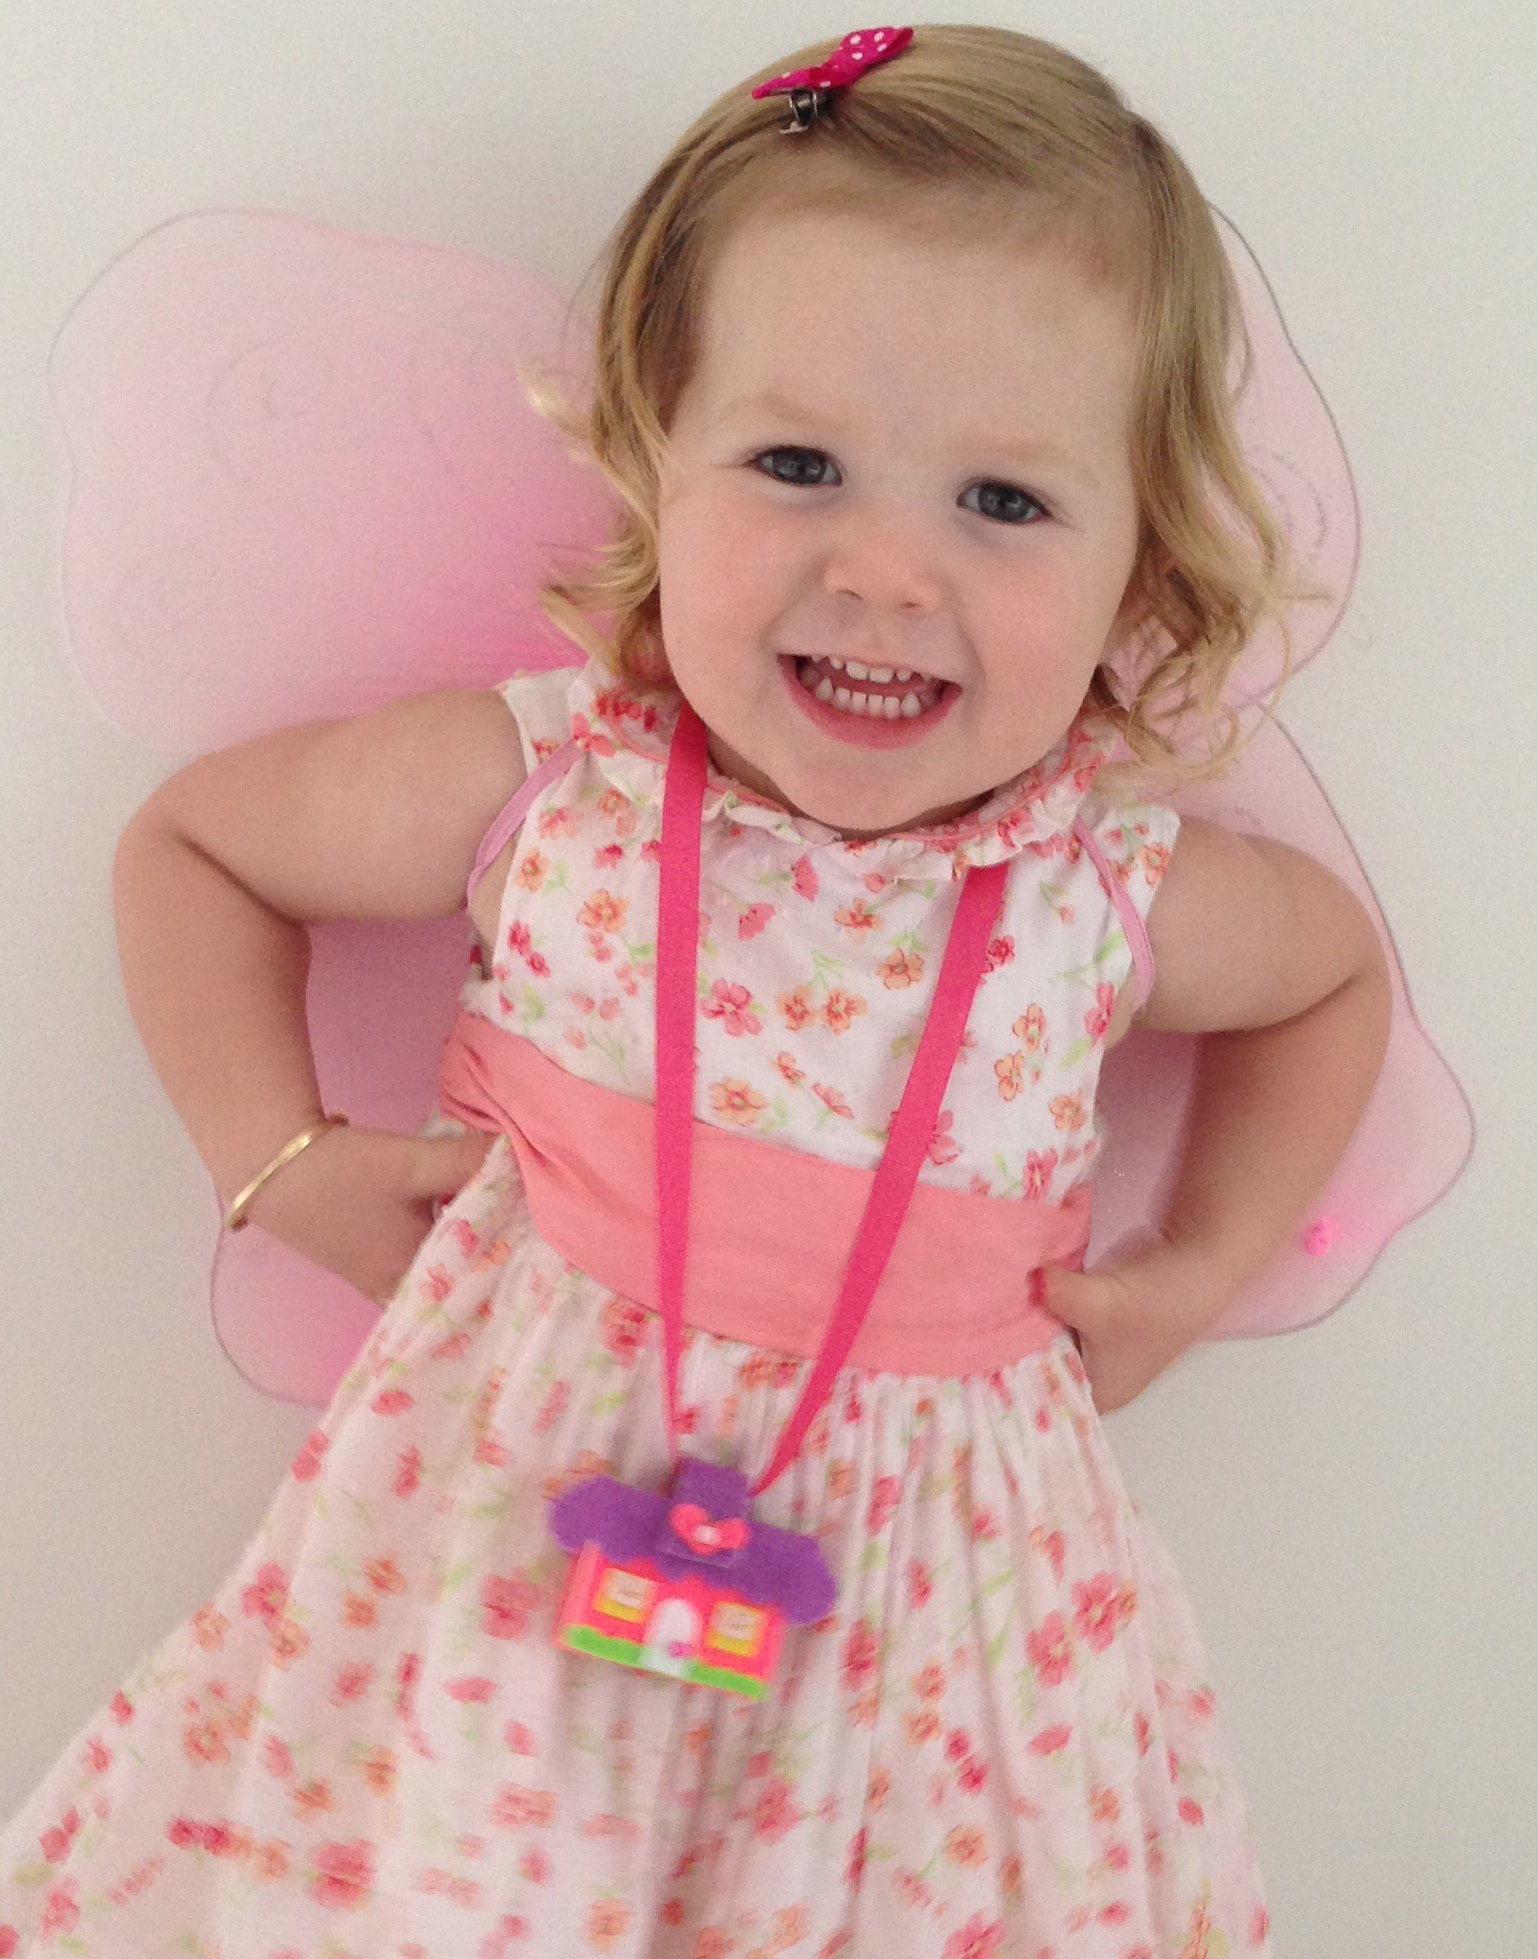
I then threaded a piece of pink ribbon through the loop/chimney & gave it to Little Miss A to carry around her neck. She really loves it, but is a little rough with it…oh well, if she breaks this one, I’m sure I’ll be able to find another 3 hours to make her another one! Lol.
I must say though, that it really was worth the effort, it is just so darn cute! Now I want to make something from a Matchbox for Master L too! If you have any suggestions, I’d love to hear your thoughts!
If you liked this craft, you may also like our: