
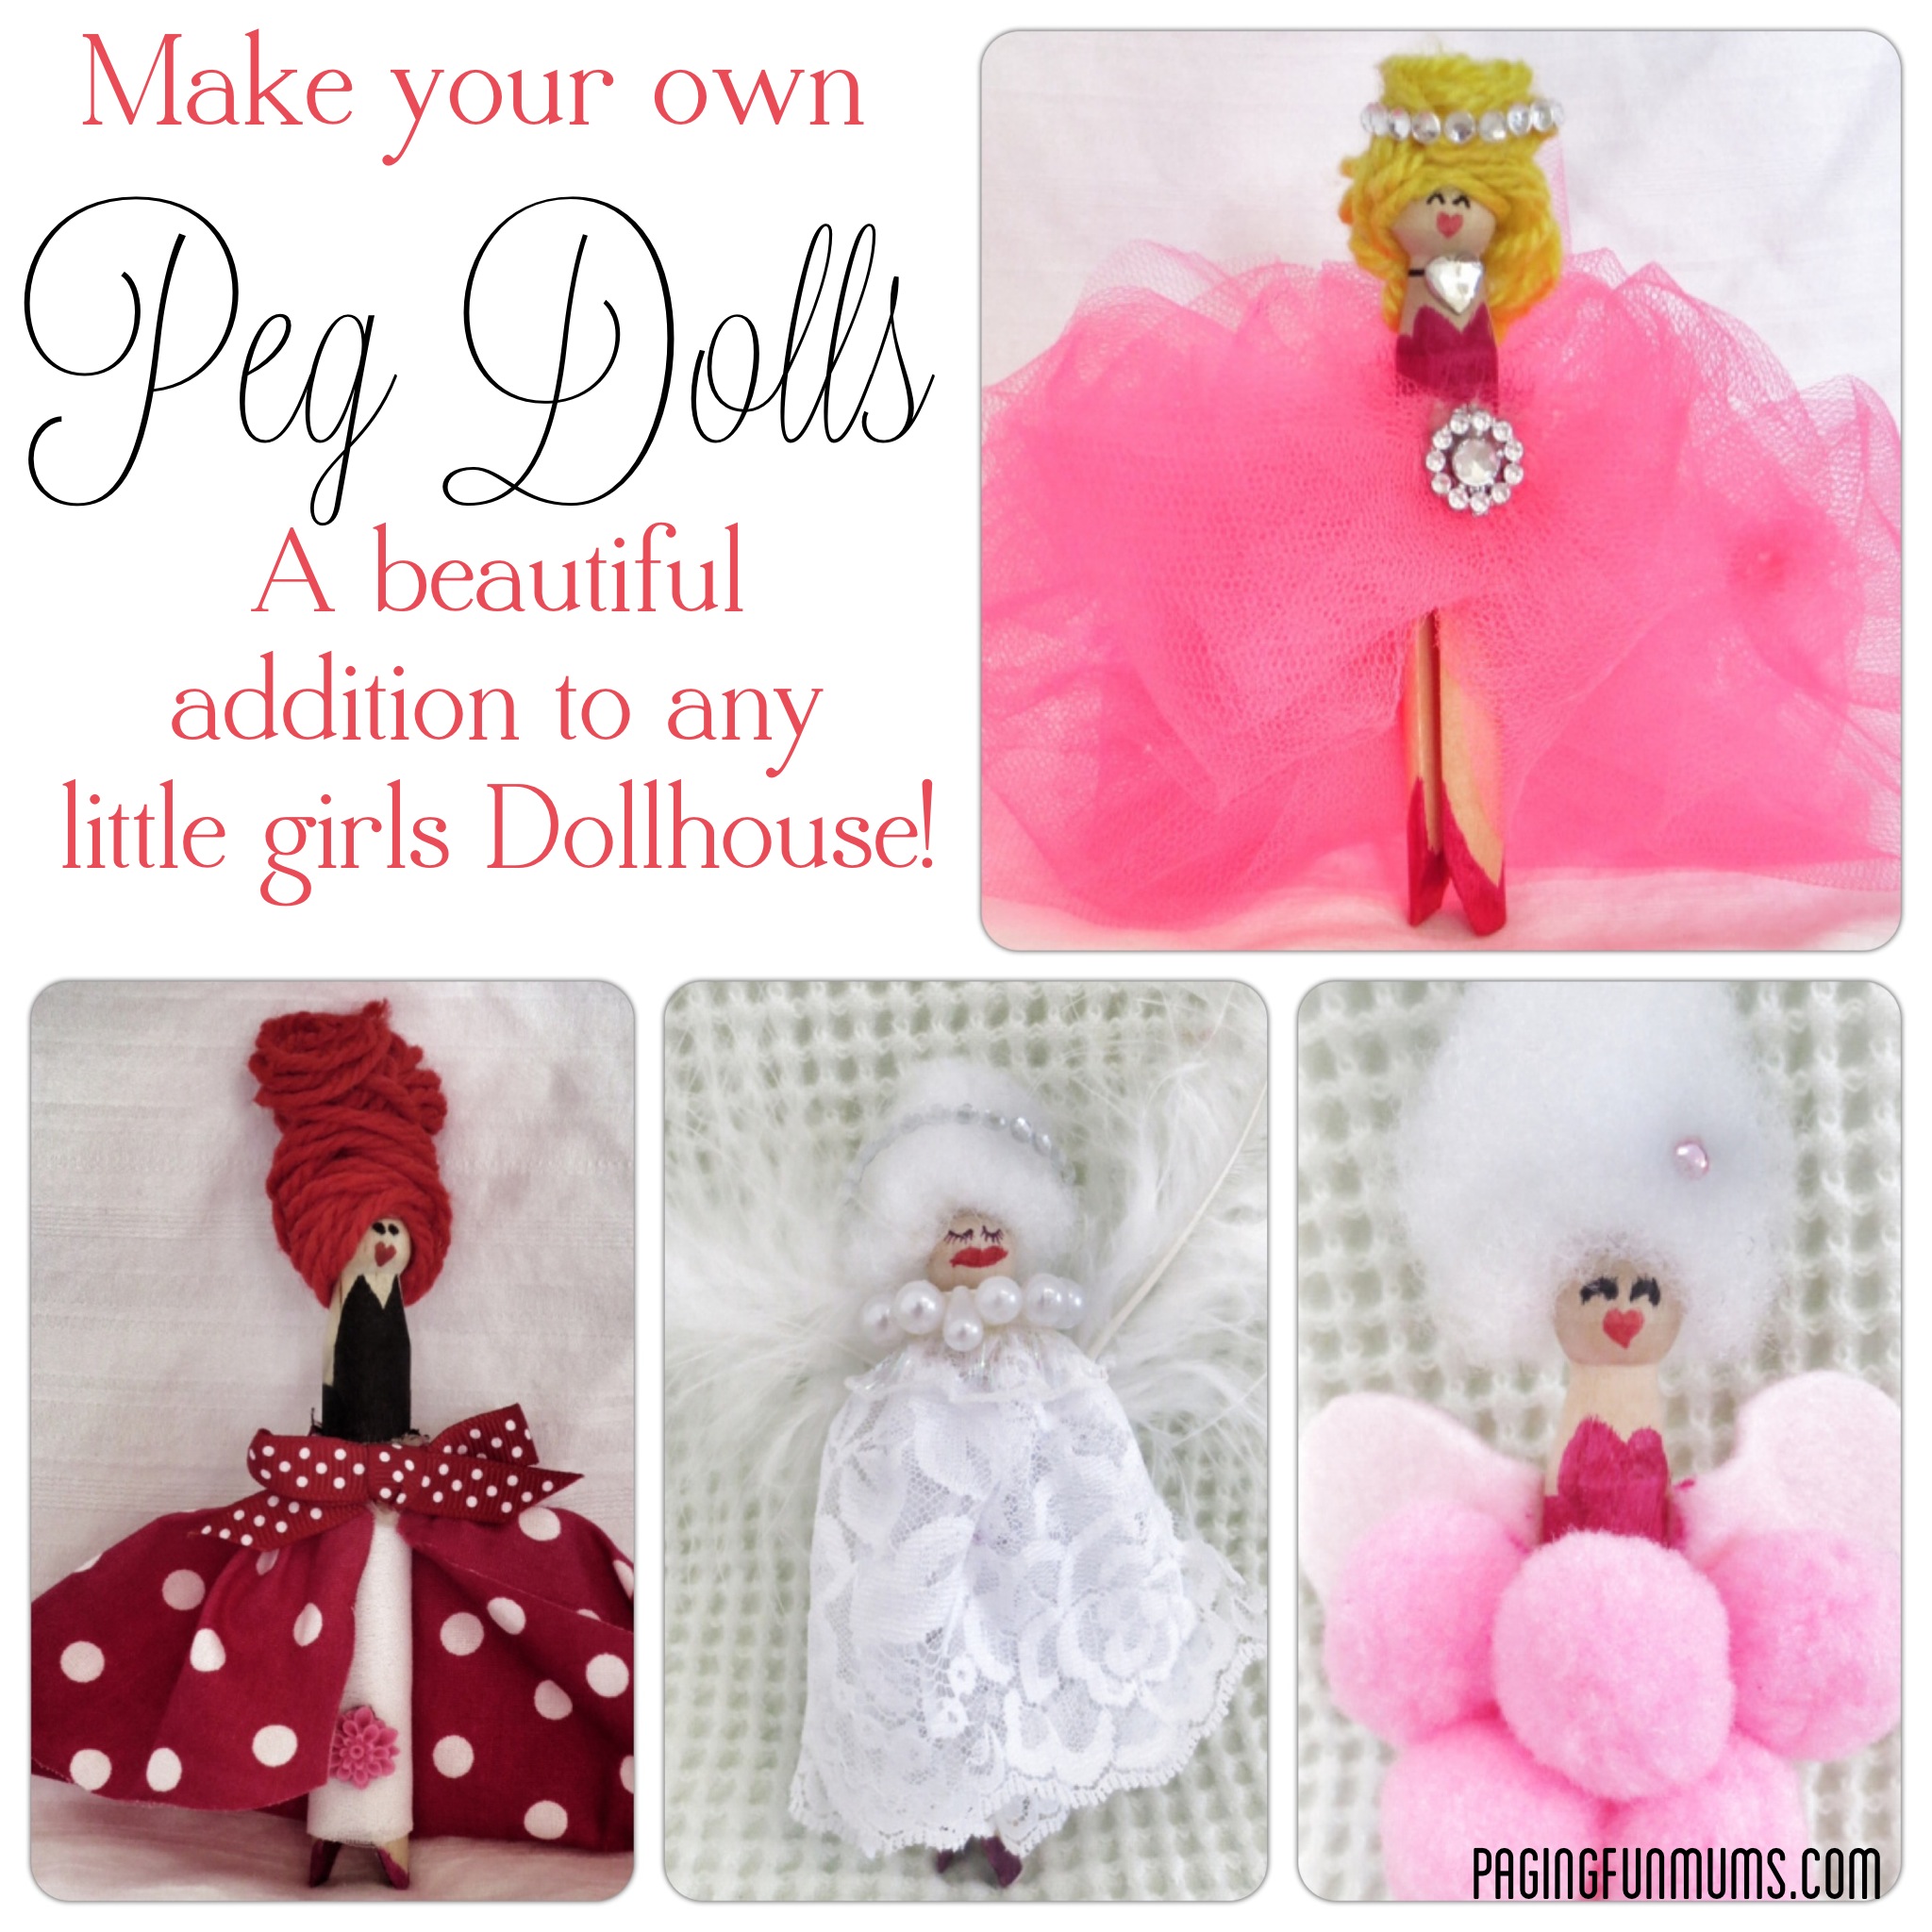
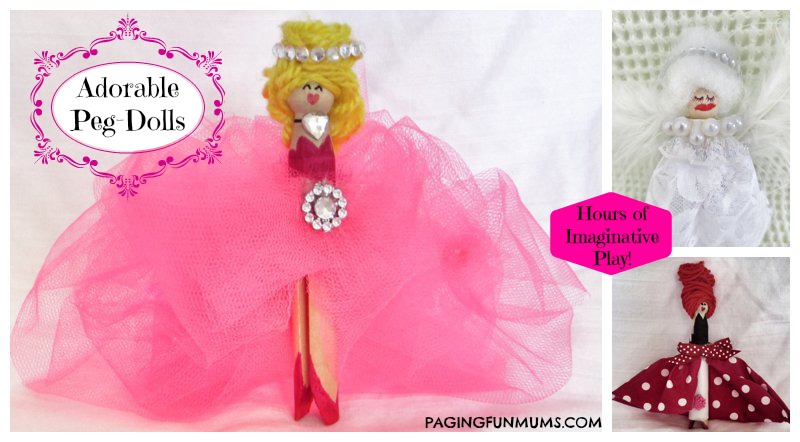
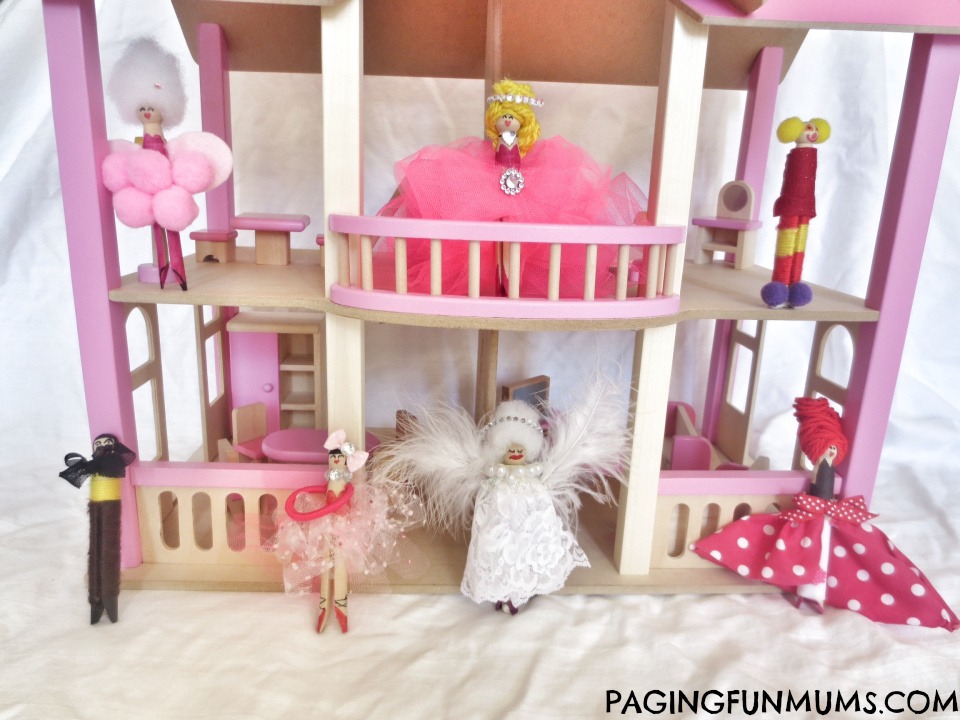
I have been a busy little bee working on some Peg Dolls for my little 2 yo this week. She got a beauitul Doll’s house for Christmas and I figured this was the perfect opportunity to use some things in my craft cupboard! The possibilities are endless and each dolly is individual. You are only limited by your imagination : )
You will need:
Pegs (you can get these from most craft & $2 stores)
Scraps of material: I used tulle, felt, lace, ribbon, cotton & satin
Wool
Hobby Fill or Cotton Balls (for hair)
Permanant Markers or paint
Embellishments such as feathers, pearls, bows, beads & pom poms
Glue Gun
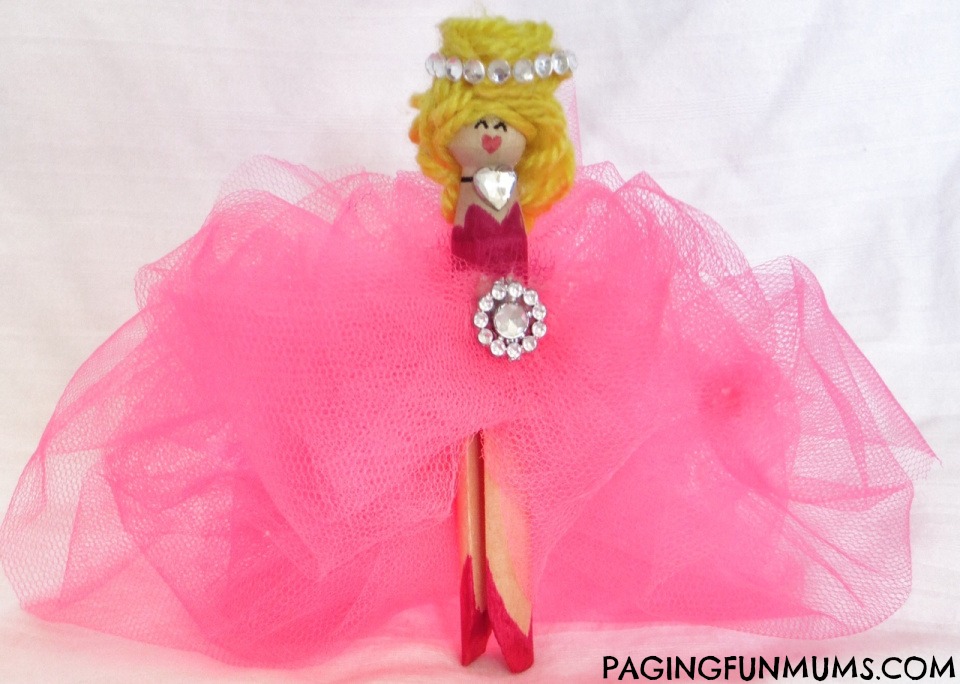
So first I made the ‘Little Princess” Doll… I had so much fun making this one! I felt like I was on Project Runway in the Avant Garde Episode! For this, I drew on the bodice and shoes with a pink permanent marker. I then got a piece of tulle and began glue gunning it to the waist..you can go crazy with this, I just folded the tulle back and forth & glued as I went to make the skirt fuller. I then twirled a long thread of wool arond my index finger to make a ‘cylindrical’ shape, then glued this to the top of her head. Once her hair was on, I drew on her face and added embellishemnts for her necklace, belt buckle & of course, crown ; )
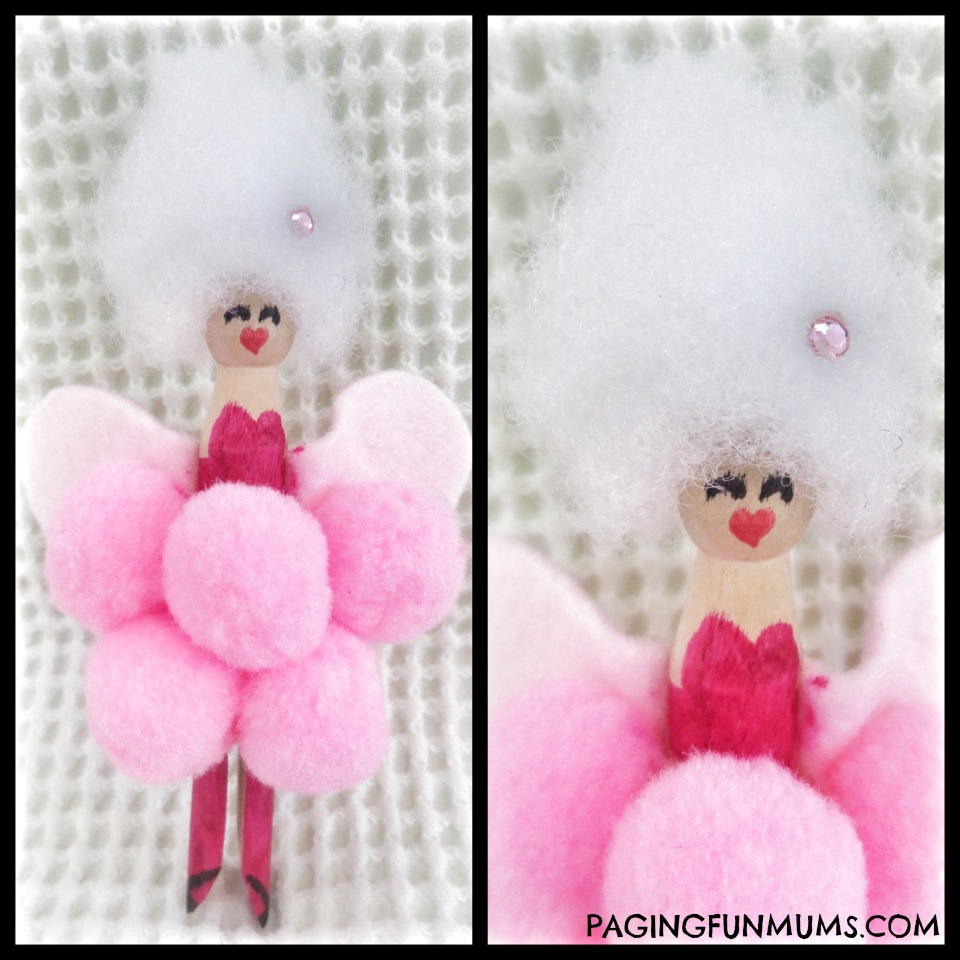
The next doll I did was very ‘Lady Gaga-esque’! Again, I drew on her bodice, socks & shoes with permanent markers, then glued pom poms on for a skirt. I cut the wings out of felt and attached to the back with a glue gun. I then got a small ball of Hobby Fill and rolled it like a playdough sausage – this created some height! Once that was glued onto the top of her head, I drew on her face and the little embellishment in her hair. Very easy and very cute!
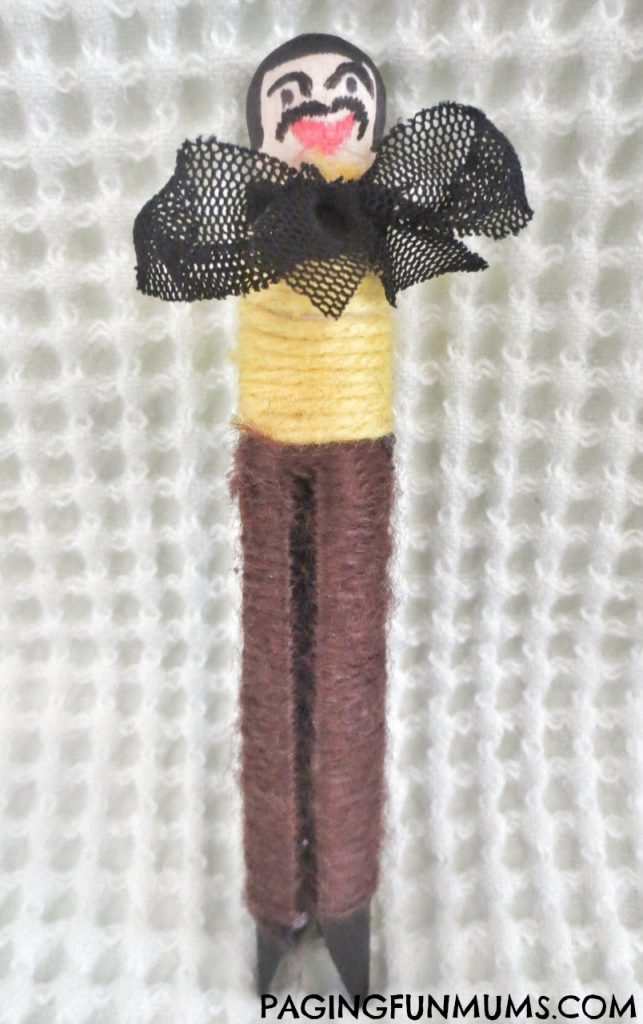
We then needed a man about the house so I constructed this little guy. I wrapped wool around his torso and glued each end down. Then did the same down each ‘leg’. The hair & face were again drawn on with permanent markers and I then added a bow tie with a small scrap of tulle…he has to be sophisticated : )
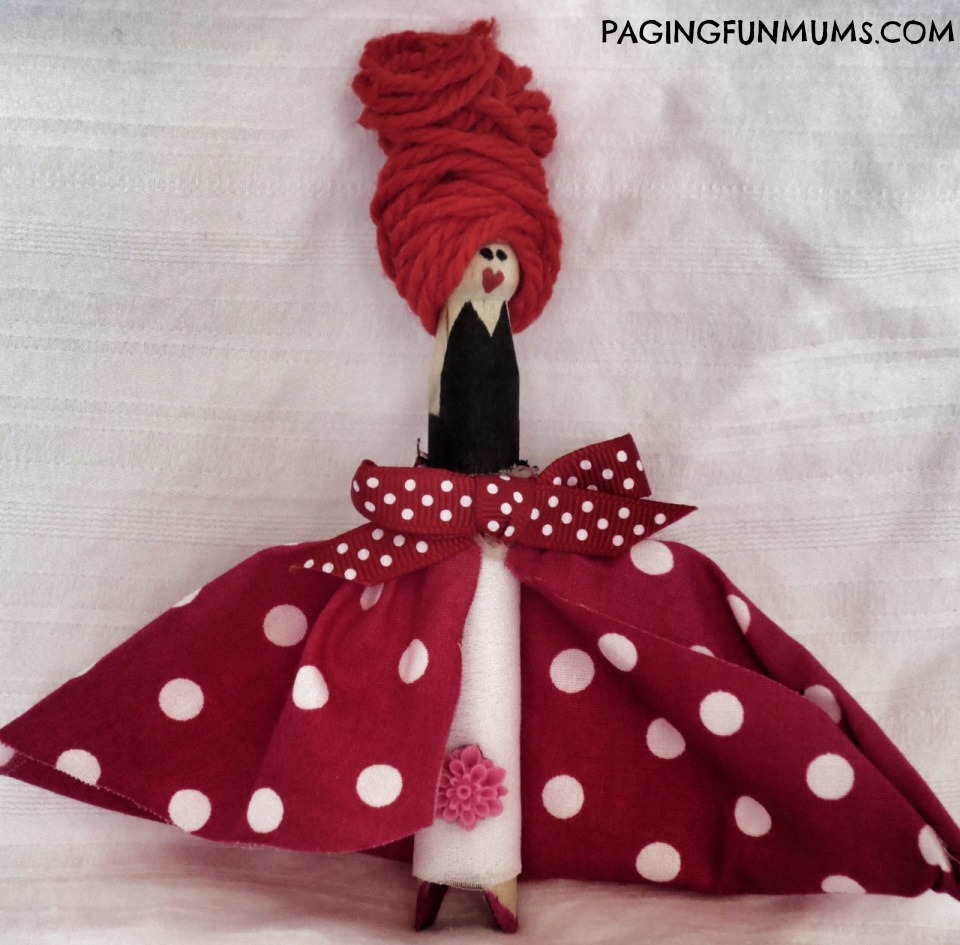
Next up was the little red headed dolly! I wrapped some silk tightly around her waist and glued in place for the under skirt, then glued the red spot material in a ‘pleated’ fashion to style the outer skirt. I then tied a ribbon in a bow and secured with glue for a belt. The bodice, shoes and face were drawn on with permanent marker & the hair was again made using the ‘twirl around the pointer finger’ step.
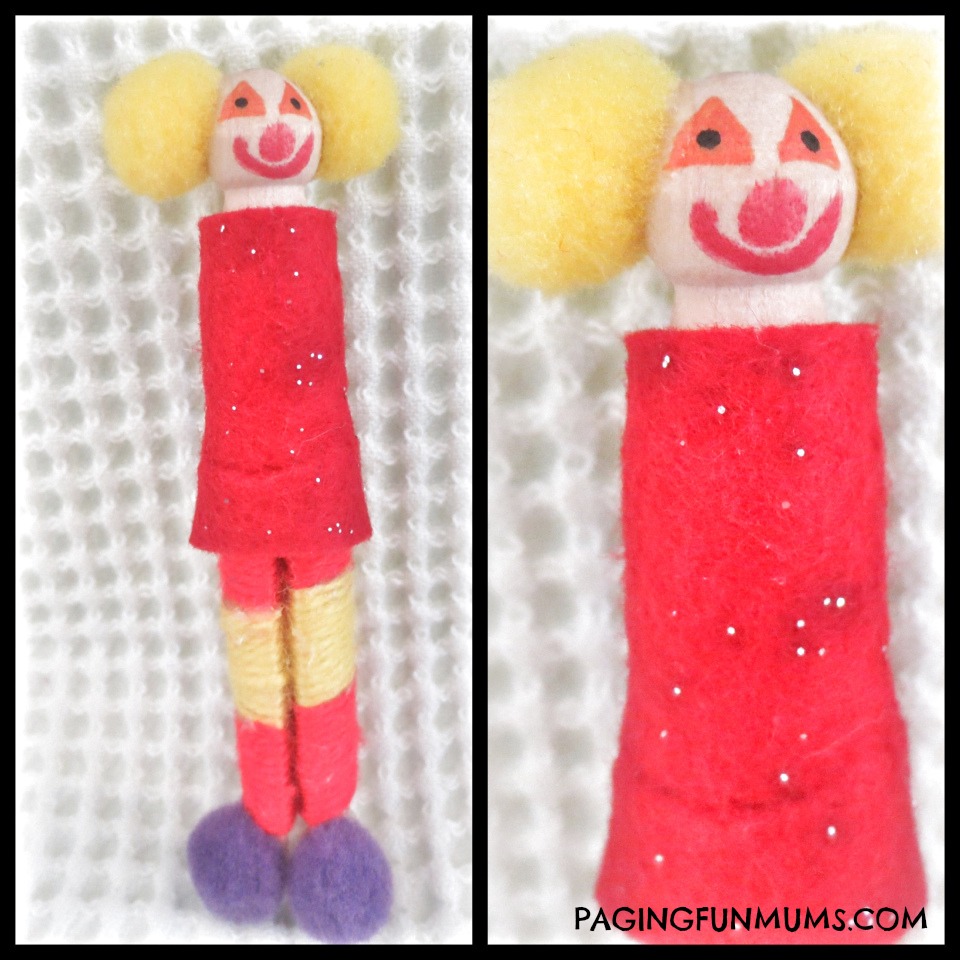
I’m not quite sure how a Clown fits into this scenario, but none the less, the yellow pom poms I had just screamed Clown to me. I used red & yellow wool to wrap around his legs and alternated between the two to create his ‘two toned pants’. Then used some felt for his shirt and secured with the glue gun. I then added the two yellow pom poms to either side of his head and two purple for each shoe, then drew on his face with permanent markers.

This ‘Ballerina Doll’ is something I had made a few months back with the girls for a ‘girly crafter noon’. Again, her hair, face & shoes were drawn on with permanent marker. I cut strips of various tulle and glue gunned these to her waist (prior to this, they were secured with a rubber band, but that won’t fly with Little Miss A’s play action!). A hair tie was then cut in the middle and each end glue gunned to her torso to create arms. Then the necessary ‘Bling’ and Bow was added.
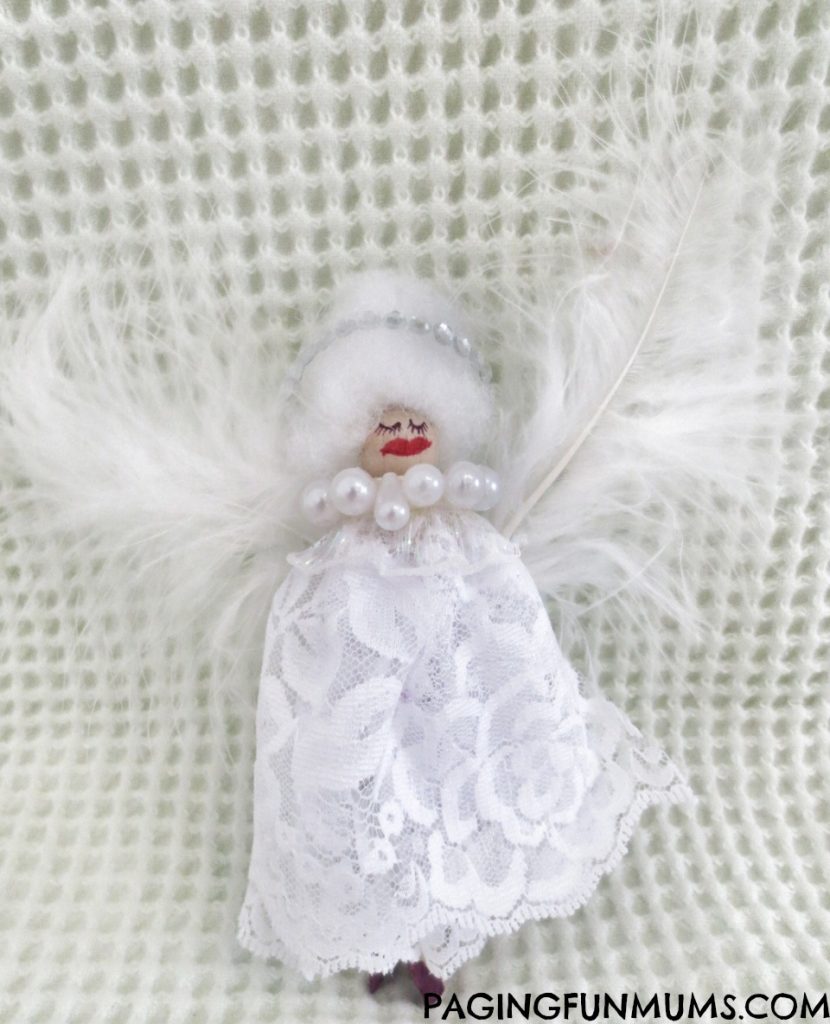
The last dolly is probably my favourite the ‘Angel Doll’. I used a length of lace (about 6cms in length) and wrapped it around the body a few times to make a fuller effect. I then used another thin piece of lace to glue around the neck for a collar. I then attached two feathers to her back with the glue gun for her wings. For her hair, I rolled some Hobby Fill into an oblong sausage shape and glued to the top of her head, then stuck some pearl beads around her neck for her beautiful necklace. Again, I used some bling beads for her crown/hair band. I then finished her off by drawing on her face and feet with permanent markers.
I really enjoyed making these and I hope you too will give it a go! My Miss 2 just loves them (although at first, it was a little hard for me to let go of them!). Check out our ‘Shoe Box Doll House’ too!

I found my pegs during a clean up and thought of you!!!!! I had to search Brisbane for them at the time.
You should take some pics and send them to us! They are adorable! x
I do love yours